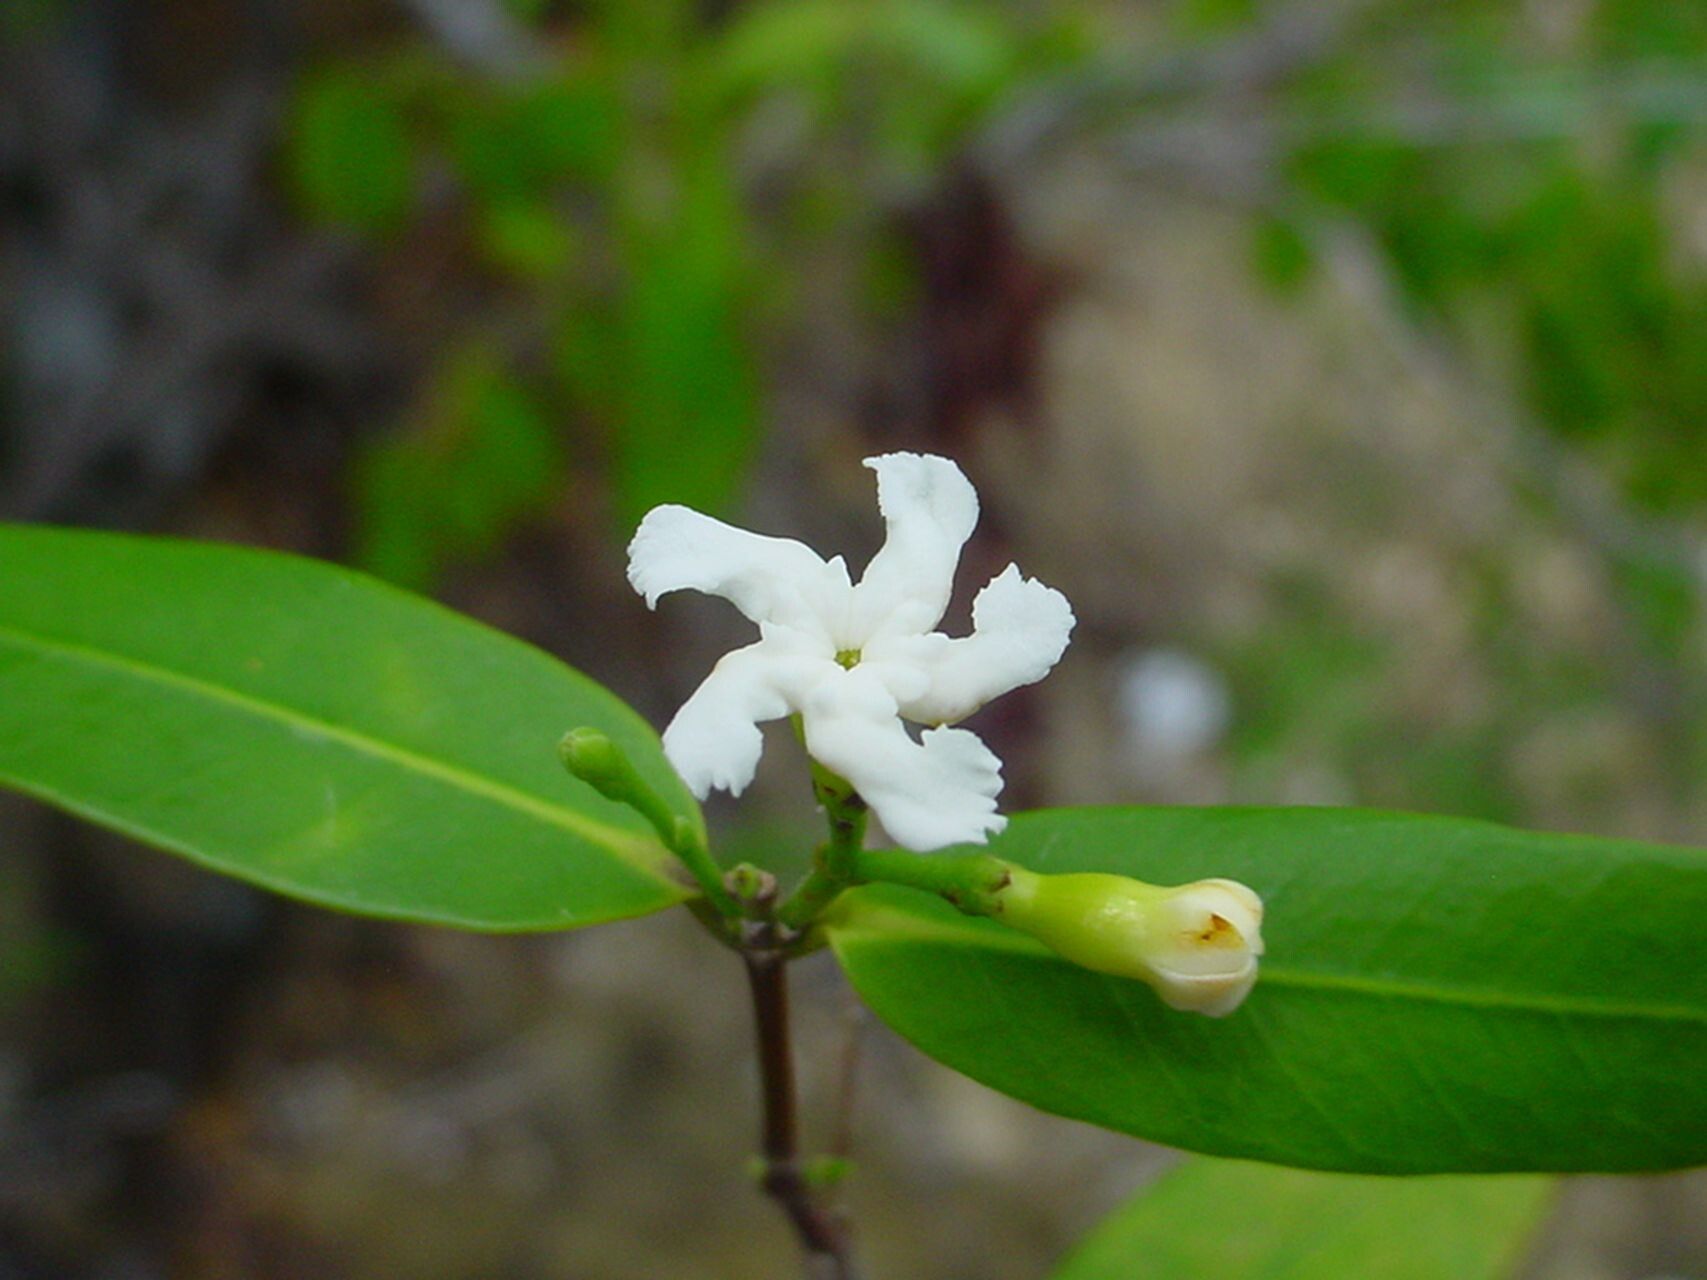
Ah, Melodinus philliraeoides! If you’re looking for a houseplant that brings a bit of exotic charm indoors, you’ve found a winner. With its glossy, deep green leaves and elegant trailing habit, it can really transform a space. And let me tell you, coaxing a brand new plant from a piece of an existing one? That’s pure gardening magic, and it’s a wonderfully rewarding journey. Honestly, Melodinus is a pretty forgiving plant to propagate, which makes it a fantastic choice for those newer to the propagation game.
The Best Time to Start
For Melodinus, like many houseplants, the spring and early summer are your golden ticket. This is when the plant is actively growing and has the energy to put into developing new roots. Aim to take cuttings when the plant is actively producing new growth, not when it’s dormant in winter or stressed from recent repotting.
Supplies You’ll Need
To get started, you’ll want to gather a few things. It’s always good to have them ready before you even think about snipping:
- Sharp, clean pruning shears or a knife: This is crucial for making clean cuts, which helps prevent disease.
- Rooting hormone (optional but helpful): A little bit of this can really give your cuttings a confidence boost.
- A well-draining potting mix: I often use a blend of peat moss, perlite, and a little bit of compost. Or, a good quality houseplant mix works wonders.
- Small pots or propagation trays: Anything from tiny nursery pots to recycled yogurt cups with drainage holes will do.
- A plastic bag or a propagation dome: This creates a mini-greenhouse effect to keep humidity high.
- A spray bottle: For gently misting your cuttings.
- Labels and a marker: To keep track of what you’ve propagated and when.
Propagation Methods
I’ve found that stem cuttings are usually the most successful and straightforward method for Melodinus. Here’s how I do it:
- Select your cutting: Look for a healthy stem that has at least two to three sets of leaves. You want a piece that’s sturdy but not woody. Aim for a cutting that’s about 4-6 inches long.
- Make the cut: Using your clean shears, make a clean cut just below a leaf node (where a leaf attaches to the stem). This node is where roots will most likely emerge.
- Prepare the cutting: Gently remove any leaves from the bottom half of the cutting. Leaving too many leaves on can encourage rot, especially those submerged in water or soil. You can leave a couple of leaves at the very top.
- Apply rooting hormone (if using): Dip the cut end of the stem into your rooting hormone powder. Tap off any excess.
- Plant your cutting:
- In soil: Fill your small pot with your prepared potting mix. Make a small hole with your finger or a pencil, and gently insert the cut end of your Melodinus cutting. Firm the soil gently around the stem to ensure good contact.
- In water (alternative): If you prefer, you can place the prepared cutting in a glass of clean water. Make sure no leaves are touching the water. Change the water every few days to keep it fresh.
The “Secret Sauce” (Pro Tips)
Now, here are a couple of things I’ve learned over the years that can really make a difference:
- Don’t let the leaves touch the water: This might sound simple, but it’s so important if you’re water propagating. Any leaves submerged will eventually rot, and that rot can travel up the stem and kill your cutting before it even has a chance to root.
- Bottom heat is a game-changer: If you have a propagation mat or can place your pots on top of a gently warming appliance (like a router or a cable box that’s not too hot!), the warmth can significantly speed up root development. It mimics the cozy conditions a plant enjoys in its natural habitat.
Aftercare & Troubleshooting
Once your cuttings are planted, it’s time to create a nurturing environment.
- For soil cuttings: Water thoroughly once planted, then mist the leaves regularly to keep humidity up. Cover the pot with a plastic bag or a propagation dome, ensuring there’s some airflow (you can poke a few holes or slightly loosen the bag). Place it in a spot with bright, indirect light. Keep the soil consistently moist, but not soggy.
- For water cuttings: Once roots of about an inch or so have formed, it’s time to transplant them into soil. Follow the same soil planting instructions as above.
What to watch out for: The most common issue is rot. If the stem turns mushy and brown, it’s usually a sign of too much moisture or a lack of airflow. Discard any affected cuttings. If your leaves start to yellow and drop, it might be a sign of shock or that it’s getting too much direct sun. Be patient; it can take a few weeks to see those first signs of new roots!
A Little Patience Goes a Long Way
Propagating your Melodinus philliraeoides is such a satisfying experience. Don’t get discouraged if it takes a little time. Every gardener has had cuttings that didn’t make it. Just keep trying, enjoy the process of nurturing something new, and soon you’ll have a whole little family of these beautiful plants! Happy growing!
Resource:
https://identify.plantnet.org/k-world-flora/species/Melodinus%20philliraeoides%20Labill./data