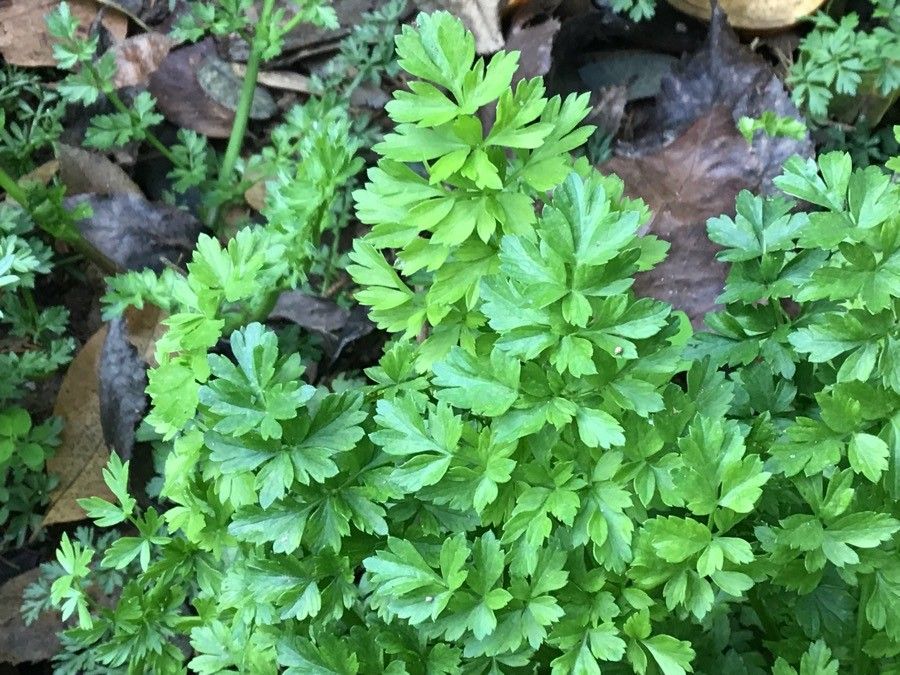
Hey there, fellow garden enthusiasts! It’s so wonderful to connect with you all again. Today, I want to dive into a plant that’s captured my heart: Oenanthe globulosa. If you haven’t encountered this beauty yet, imagine a collection of delicate, globe-shaped flowers atop elegant, often bronze-tinted foliage. It adds such a unique texture and structure to any garden bed or container. And the best part? Learning to propagate it yourself is incredibly rewarding. Now, is it a beginner-friendly plant? I’d say it’s moderately easy. With a little patience and these tips, you’ll be well on your way to a whole new collection.
The Best Time to Start
For the happiest Oenanthe globulosa cuttings, I always aim to get started in late spring or early summer. This is when the plant is actively growing, meaning it has plenty of energy to put into developing new roots. You want to take cuttings from stems that are firm but not yet woody. Think of a healthy, vibrant shoot that’s just finished flowering or is just about to start.
Supplies You’ll Need
Before we get our hands dirty, let’s gather our tools:
- Sharp pruning shears or a clean craft knife: For making clean cuts.
- Rooting hormone (optional but recommended): Helps encourage root development.
- Small pots or trays: Clean ones are key to preventing disease.
- Well-draining potting mix: A good blend of peat moss or coco coir, perlite, and a bit of compost works wonders. You can also use a seed-starting mix.
- Plastic bag or a propagation dome: To create a humid environment.
- Watering can with a fine rose: For gentle watering.
- Labels: To keep track of what you’ve planted where!
Propagation Methods
Oenanthe globulosa is wonderfully versatile, and I’ve found two methods work particularly well: stem cuttings and division.
Stem Cuttings
This is my go-to for increasing my stock.
- Select your stems: Look for healthy, non-flowering shoots about 4-6 inches long.
- Make the cut: Using your clean shears, make a clean cut just below a leaf node. A leaf node is where a leaf attaches to the stem; this is where roots will emerge.
- Prepare the cutting: Gently remove the lower leaves, leaving just a few at the top. If the leaves are large, you can even cut them in half to reduce water loss through transpiration.
- Apply rooting hormone (if using): Dip the cut end of the stem into your rooting hormone powder or gel. Tap off any excess.
- Plant the cuttings: Fill your small pots with your well-draining mix. Make a small hole with your finger or a pencil and insert the cutting, ensuring the leaf nodes that were just below the soil surface are covered. Gently firm the soil around the base.
- Water gently: Water thoroughly but avoid making the soil soggy.
- Create humidity: Place a plastic bag over the pot, securing it with a rubber band, or use your propagation dome. This creates a miniature greenhouse.
- Provide light: Place the pots in a bright location out of direct sunlight.
Division
If your Oenanthe is already a mature plant, division is a fantastic and quick way to get new plants.
- Water your plant: Water your established Oenanthe thoroughly a day or two before you plan to divide it. This helps reduce transplant shock.
- Gently remove from pot: Carefully remove the plant from its container.
- Inspect the root ball: Look for natural divisions. You’ll usually see distinct crowns or sections of the plant.
- Divide carefully: Using your hands or a clean trowel, gently pull or slice the plant into sections. Each section should have a good amount of roots and at least one healthy shoot.
- Pot up: Plant each division into its own pot filled with your potting mix. Cover the roots and firm the soil.
- Water well: Water each new pot thoroughly.
The “Secret Sauce” (Pro Tips)
Here are a couple of things I’ve learned over the years that make a real difference:
- Don’t let the leaves touch the water (if you ever try water propagation for other plants!): While Oenanthe globulosa isn’t a prime candidate for simple water propagation like some herbs, if you ever do try it for any plant, remember this rule. Submerged leaves will rot, inviting fungal issues and dooming your cutting.
- Bottom heat is your friend: If you can, place your pots on a heat mat designed for seedlings. This gentle warmth from below encourages root growth like nothing else. It’s especially helpful if your home is a bit on the cooler side.
- A light misting can help: Instead of waiting for the soil to dry out completely, you can lightly mist the leaves every day or two with a fine spray bottle. This keeps them hydrated while the roots are forming.
Aftercare & Troubleshooting
Once you start seeing little white root tips peeking out of the drainage holes, or you feel a gentle tug when you lightly pull on a cutting, it’s time to gradually acclimate your new plants. Slowly start to open up the plastic bag or ventilation on your dome over a week or so. Water them regularly, allowing the top inch of soil to dry out between waterings.
The biggest challenge you might face is rot. If your cuttings turn black and mushy, or if the soil remains perpetually soggy, it’s a sign of too much moisture and poor air circulation. Make sure your soil is draining well and don’t be afraid to remove any rotting material immediately. Overwatering is the most common culprit here.
A Encouraging Closing
Propagating Oenanthe globulosa is such a fulfilling way to connect with nature’s magic. Don’t get discouraged if your first few attempts aren’t perfect. Gardening is a journey, and each plant you nurture teaches you something new. Be patient, enjoy the process of watching new life emerge, and soon you’ll have a garden full of these delightful globes! Happy growing!
Resource:
https://identify.plantnet.org/k-world-flora/species/Oenanthe%20globulosa%20L./data