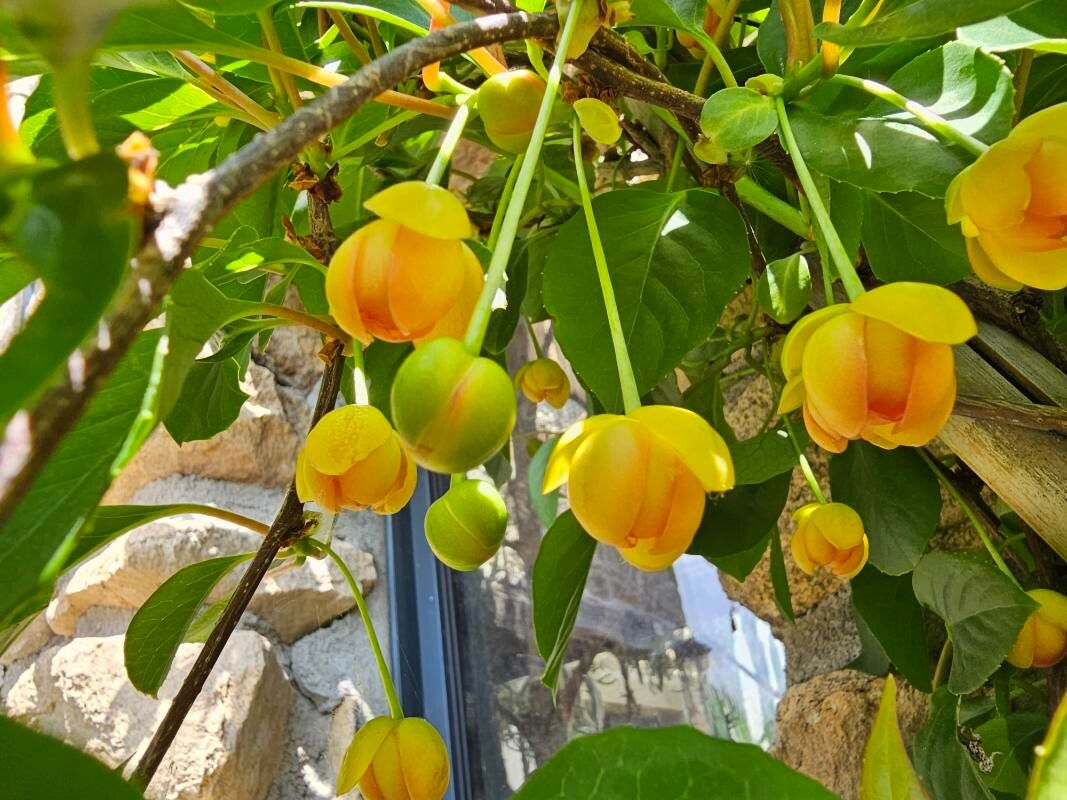
Hey there, fellow plant lovers! I’m thrilled to share a little bit of my garden passion with you today, and we’re diving into something truly special: Schisandra arisanensis. This incredible vine, native to Taiwan, is a real showstopper. Its beautiful glossy leaves, fragrant flowers, and the promise of vibrant red berries make it a truly rewarding plant to have gracing your garden or home.
Now, if you’re wondering if this is a good plant for beginners to propagate, I’d say it has a bit of a learning curve, but it’s far from impossible! With a little patience and the right approach, you’ll be well on your way to having your very own Schisandra clones. Think of it as a fun challenge that yields a beautiful reward.
The Best Time to Start
For the highest success rate with Schisandra arisanensis, we’re looking at the right time of year. Your best bet is to take cuttings in late spring to early summer, after the plant has finished its major spring growth spurt. This is when the stems are firm but still somewhat flexible – a perfect stage for rooting. You can also try in late summer, but spring is generally more forgiving.
Supplies You’ll Need
Gathering your tools before you begin makes the whole process so much smoother. Here’s what I always have on hand:
- Sharp pruning shears or a clean, sharp knife: For taking clean cuts on your cuttings.
- Rooting hormone (optional but recommended): This really gives your cuttings a boost. I prefer a powder form.
- Small pots or trays: Clean, well-draining pots are key.
- Well-draining potting mix: A good blend of perlite, peat moss, and maybe a bit of compost works wonders. You want it to drain freely!
- Clear plastic bags or a propagation dome: To create a humid environment for your cuttings.
- A watering can with a fine rose: For gentle watering.
- Labels and a marker: So you don’t forget what you planted (guilty as charged sometimes!).
Propagation Methods
Schisandra arisanensis is usually propagated from stem cuttings. It’s pretty straightforward once you get the hang of it!
- Select Your Parent Plant: Find a healthy, vigorous Schisandra vine. Look for stems that are about pencil-thick and have just matured – they should be firm but not woody.
- Take Cuttings: Using your clean shears or knife, take cuttings that are 6-8 inches long. Make your cut just below a leaf node (where a leaf attaches to the stem). Aim to get about 2-3 nodes on each cutting.
- Prepare the Cuttings: Remove the lower leaves, leaving only two or three at the very top. This helps prevent rot and directs the plant’s energy into rooting. If your cuttings have any flowers or developing berries, pinch them off.
- Apply Rooting Hormone (if using): Dip the cut end of each cutting into your rooting hormone, tapping off any excess.
- Plant Your Cuttings: Fill your pots or trays with your well-draining potting mix. Make a hole with your finger or a pencil and gently insert the cut end of the Schisandra cutting. Firm the soil around the base to ensure good contact.
- Water Gently: Water thoroughly but gently. You want the soil to be moist, not soggy.
- Create Humidity: This is crucial! Cover the pots with a clear plastic bag (propping it up with a skewer so it doesn’t touch the leaves) or place them in a propagation dome. This traps moisture and creates that humid microclimate cuttings love.
The “Secret Sauce” (Pro Tips)
Here are a few things I’ve learned over the years that make a big difference:
- Bottom Heat is Your Friend: If you have access to a seedling heat mat, place your pots on it. A gentle, consistent warmth from below encourages root development like nothing else. It really speeds things up!
- Don’t Overcrowd: Give your cuttings a little breathing room in their pots. Too many packed together can lead to competition for resources and increased risk of disease spreading if one gets sick.
- Air Them Out: Even though we want humidity, it’s a good idea to remove the plastic bag or open the dome for an hour or so each day. This allows for fresh air circulation, which helps prevent fungal issues.
Aftercare & Troubleshooting
Once you’ve got your cuttings all set up, it’s a waiting game. Keep the soil consistently moist but never waterlogged. You’ll want to place them in a bright spot that receives indirect sunlight. Direct sun will scorch those delicate new cuttings.
You’ll know your Schisandra cuttings have rooted when you see new growth appearing at the tips or if you gently tug on a cutting and feel resistance. This usually takes anywhere from 4-8 weeks, depending on conditions.
Common issues? Rot is the biggest culprit. If you see a cutting turning black and mushy, it’s usually a sign of too much moisture and poor air circulation. If this happens, remove the affected cutting immediately and check your watering and ventilation. Also, keep an eye out for wilting. While some initial wilting is normal, persistent wilting might mean it’s not getting enough moisture or the roots haven’t developed enough to support the leaves.
A Closing Thought
Propagating your own Schisandra arisanensis is a wonderfully rewarding endeavor. It’s a chance to connect with your plants on a deeper level and to fill your garden with their beauty. Remember to be patient, observe your cuttings, and celebrate every little sign of success. Happy propagating!
Resource:
https://identify.plantnet.org/k-world-flora/species/Schisandra%20arisanensis%20Hayata/data