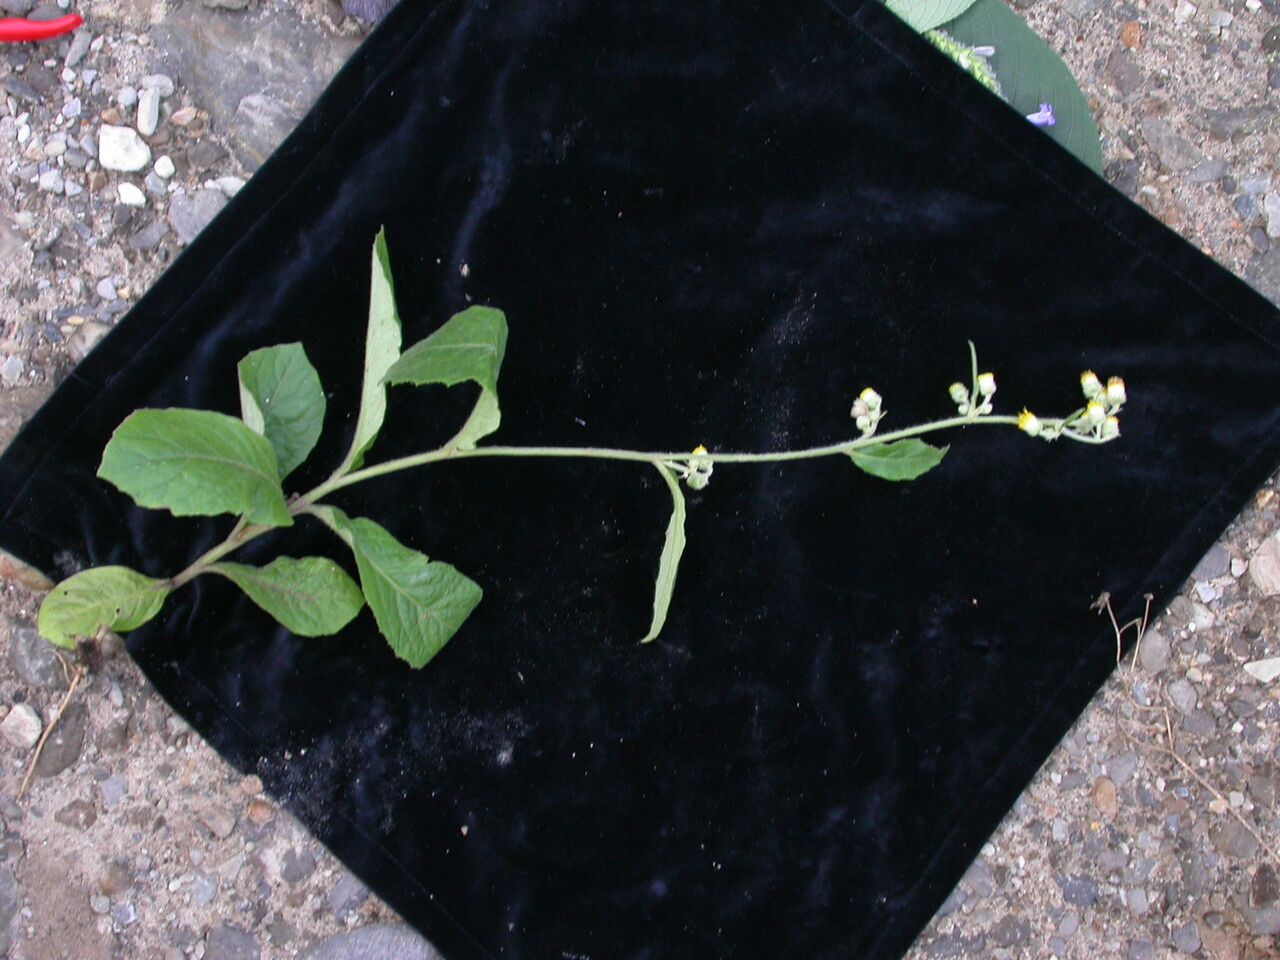
Hello there, fellow garden enthusiasts! Today, I want to share something truly special with you: how to bring more of the lovely Blumea hieraciifolia into your life. You know, that delicate little plant with its soft, fuzzy leaves and charming, often daisy-like flowers? It’s such a joy to have around, adding a gentle touch of charm to any corner. And the best part? Propagating it is a wonderfully rewarding experience. For beginners, I’d say Blumea hieraciifolia is moderately easy. It’s not a set-it-and-forget-it plant when it comes to propagation, but with a little attention, you’ll be amazed at how readily it makes new friends.
The Best Time to Start
When is the magic moment for propagating Blumea hieraciifolia? I’ve found the late spring to early summer months are your best bet. The plant is usually in a vigorous growth phase then, meaning it has plenty of energy to dedicate to putting out roots. Look for actively growing stems that feel firm and healthy, not woody or overly soft.
Supplies You’ll Need
Before we dive in, let’s gather our tools. Think of this as packing a picnic basket for your plant babies!
- Sharp pruning shears or a clean knife: For making nice, clean cuts.
- Well-draining potting mix: A good general houseplant mix with added perlite or coarse sand works wonders to prevent soggy soil.
- Small pots or seed trays: Whatever you have on hand that’s clean and has drainage holes.
- Rooting hormone (optional but helpful): A powder or gel can give your cuttings a little boost.
- Clear plastic bag or a mini greenhouse: To create a humid environment.
- Watering can with a fine rose: For gentle watering.
Propagation Methods
Let’s get our hands dirty! Blumea hieraciifolia is quite amenable to a few different methods.
Stem Cuttings
This is my go-to for this plant. It’s straightforward and usually yields great results.
- Take your cuttings: Using your clean shears or knife, snip off healthy stems about 4-6 inches long. Make a cut just below a leaf node (where a leaf attaches to the stem). Remove the lower leaves, leaving just a couple of pairs at the top.
- Prepare the cuttings: If you’re using rooting hormone, dip the cut end into it according to the product’s instructions.
- Plant your cuttings: Fill your small pots with your well-draining potting mix. Water it lightly so it’s moist but not waterlogged. Make a small hole in the center of the pot with your finger or a pencil.
- Insert the cuttings: Gently push the cut end of each stem into the hole, ensuring the leaf nodes you’ve stripped are buried under the soil. This is where new roots will emerge from.
- Create humidity: Water the soil gently again. Then, cover the pot with a clear plastic bag, or place it in a small greenhouse. You want to create a mini-climate that keeps the humidity high but allows for some air circulation.
Division
If your Blumea hieraciifolia has become a bit of a clump, division is a fantastic way to get multiple plants from one.
- Gently unpot: Carefully remove the entire plant from its pot.
- Examine the root ball: You’ll often see distinct sections of the plant growing from the same root system.
- Carefully separate: Gently tease the root ball apart with your fingers. If it’s a bit stubborn, you can use a clean, sharp knife to slice through any tangled roots. Aim to get sections that have both roots and some leafy stems.
- Repot the divisions: Plant each division into its own small pot filled with your well-draining potting mix, just as you would with a standalone plant. Water them in well.
The “Secret Sauce” (Pro Tips)
Now for those little nuggets of wisdom that can make all the difference!
- Don’t let those lower leaves touch the soil/water: Whether you’re doing cuttings or divisions, any foliage submerged will just invite rot. Keep those leaves up and out of the dampness. For stem cuttings, trimming them away is your first defense.
- Bottom heat is your friend: If you can, place your pots on a heat mat designed for propagation. This gentle warmth from below encourages root development much faster than ambient room temperature. It’s like tucking them into a warm bed to sleep!
Aftercare & Troubleshooting
Once you’ve planted your cuttings or divisions, the waiting game begins!
Keep them in a brightly lit spot, but avoid direct, harsh sunlight, which can scorch the delicate new growth. The soil should remain consistently moist but never soggy. Misting the leaves occasionally can also help maintain humidity, especially if you don’t have a cover.
When will you know it’s working? You’ll see new leaf growth appearing at the top of the stem. This is a great sign! And if you gently tug on a cutting after a few weeks, you’ll feel some resistance – that’s roots!
What if things go wrong?
- Wilting or yellowing leaves: This can be a sign of overwatering or not enough humidity. Check your watering schedule and make sure your humidity cover is doing its job.
- Soft, mushy stems: This is usually rot, a sure sign of too much moisture and not enough air circulation. Unfortunately, once rot sets in, it’s very hard to save. It’s a good reminder to let that soil dry out a touch between waterings.
A Little Patience, A Lot of Green
Propagating Blumea hieraciifolia is a delightful journey. It’s a chance to learn, to observe, and to nurture new life. Don’t be discouraged if your first attempt isn’t perfect – every gardener has their learning curve! Just keep at it, enjoy the process, and soon you’ll have a whole collection of these charming little plants to share or simply to fill your home with their gentle beauty. Happy growing!
Resource:
https://identify.plantnet.org/k-world-flora/species/Blumea%20hieraciifolia%20(Spreng.)%20DC./data