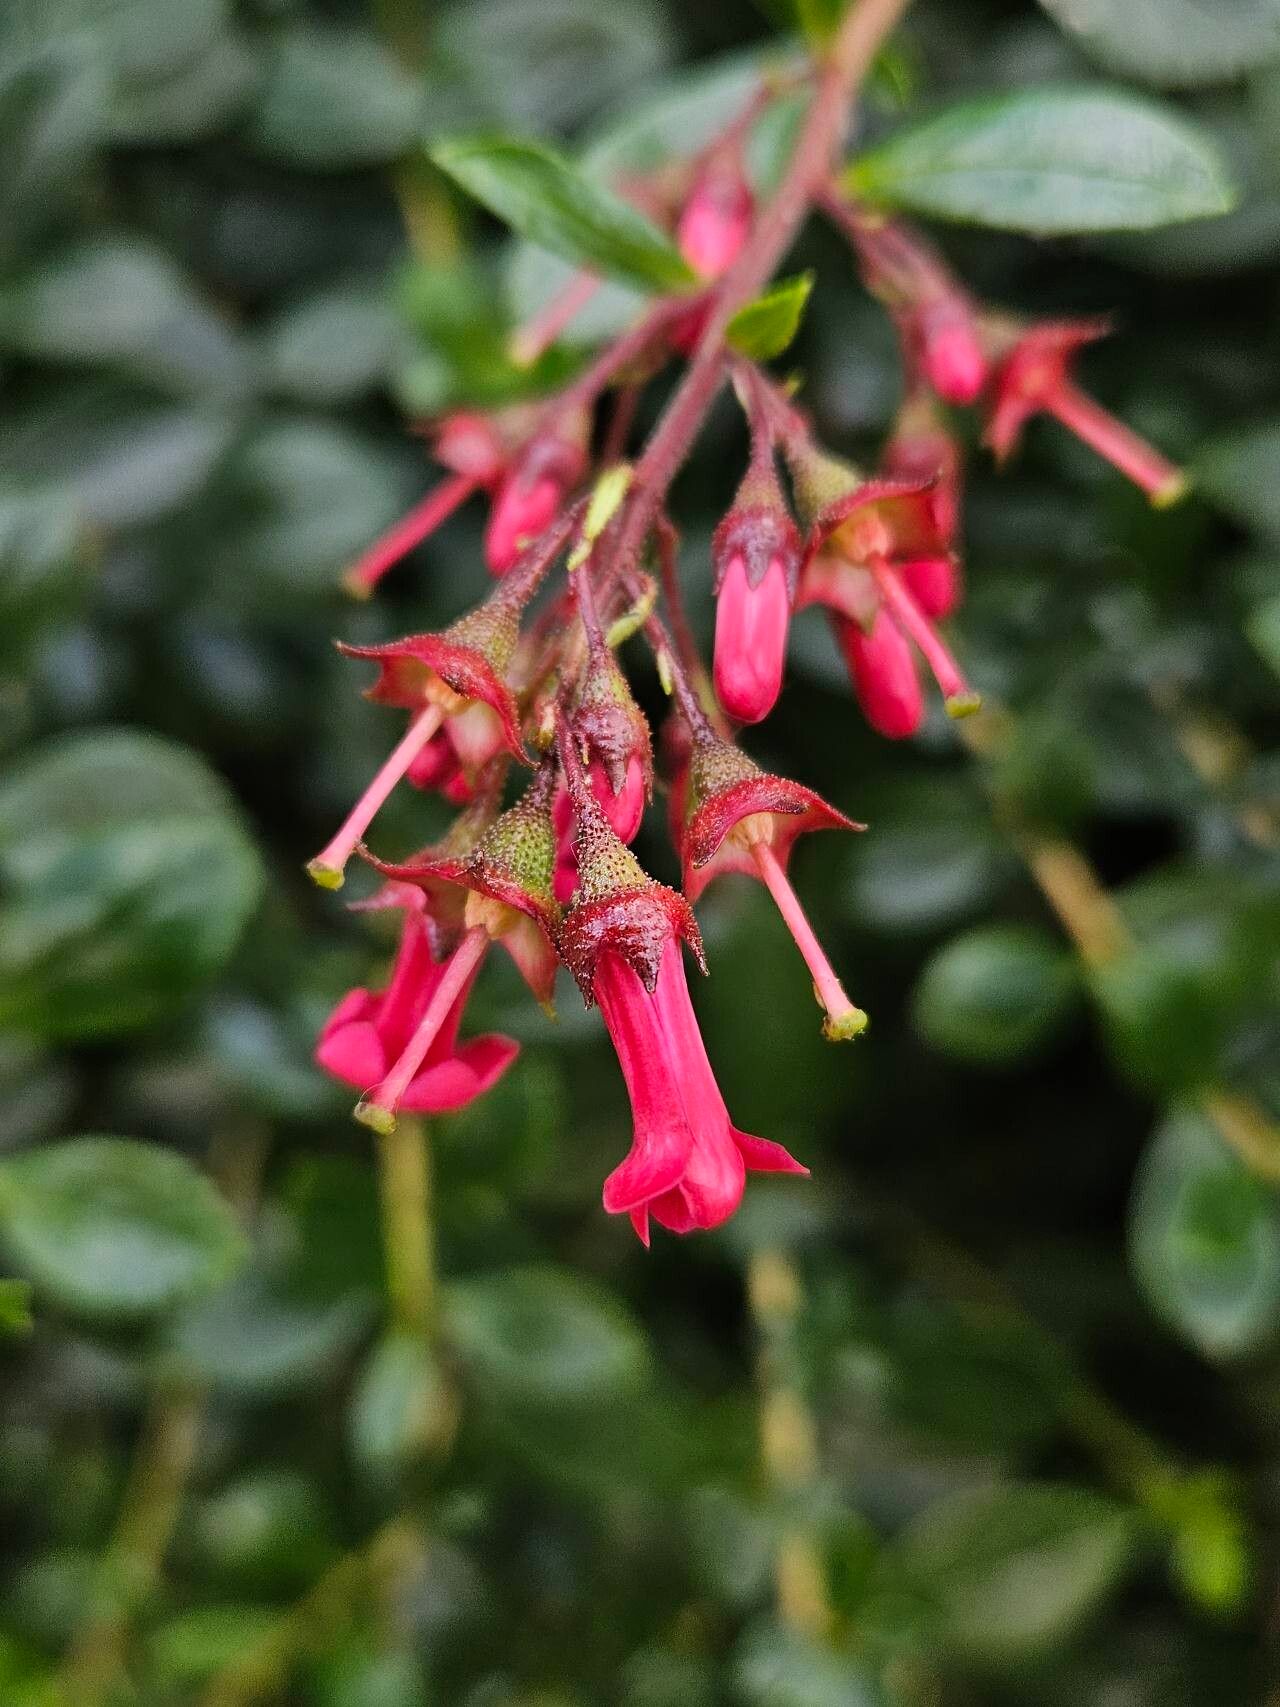
Hey there, fellow garden lovers! It’s so good to have you here. Today, we’re diving into the wonderful world of Escallonia rubra, that gorgeous shrub with its glossy foliage and charming clusters of pinkish-red flowers. If you’ve ever admired these beauties in a neighbor’s garden or even your own, you know how much joy they bring. And guess what? Propagating them is surprisingly doable, a truly rewarding way to fill your garden (or share with friends!) without breaking the bank. Don’t be intimidated – this is absolutely a project for beginners.
The Perfect Window for Rooting
When it comes to getting the best start with your Escallonia cuttings, timing really is everything. I’ve found the absolute sweet spot to be late spring to early summer. This is when the plant is actively growing, and the stems have had enough time to mature a bit but are still nice and pliable. You’re looking for soft-to-semi-hardwood stems. They should be flexible enough to bend without snapping, but not so soft that they’re floppy. Think of it as the plant’s “growing spurt” phase.
Gearing Up: Your Propagation Toolkit
Before we get our hands dirty, let’s make sure we have everything ready. Having your supplies organized beforehand makes the whole process so much smoother.
- Sharp Pruning Shears or a Craft Knife: Cleanliness is crucial here to prevent disease.
- Small Pots or Seed Trays: Clean ones, always!
- A Good Potting Mix: I prefer a well-draining mix, often a blend of potting soil and perlite or coarse sand. This is super important to prevent waterlogged roots.
- Rooting Hormone (Optional but Recommended): This gives your cuttings that extra encouragement to sprout roots. Look for powder or gel.
- Plastic Bags or a Propagation Dome: To create a humid microclimate.
- A Small Watering Can or Spray Bottle: For gentle watering.
- Labels and a Marker: To keep track of what you’ve planted!
Bringing New Escallonias to Life
We’ll focus on the easiest and most effective method: stem cuttings. It’s my go-to for Escallonia, and it rarely lets me down.
- Take Your Cuttings: Head out to your Escallonia shrub on a bright, cool morning. Select healthy, non-flowering shoots that are about 4-6 inches long. Using your clean shears, make a clean cut just below a leaf node (that little bump where a leaf attaches to the stem). This is where the magic happens for root formation.
- Prepare the Cuttings: Gently remove the lower leaves from the bottom inch or two of the stem. You can leave a few leaves at the top. If the remaining leaves are very large, you can even cut them in half to reduce water loss through transpiration.
- Dip in Rooting Hormone (Optional): If you’re using rooting hormone, lightly moisten the cut end and then dip it into the powder or gel. Tap off any excess.
- Pot Them Up: Fill your clean pots with your well-draining potting mix. Make a small hole in the center of each pot with your finger or a pencil.
- Insert the Cuttings: Carefully insert the prepared cuttings into the holes, ensuring the leaf nodes are covered by the soil. Gently firm the soil around the base of each cutting.
- Water Gently: Lightly water the soil. You want it to be moist, not soggy. Use a spray bottle if you’re worried about disturbing the soil too much.
- Create Humidity: This is a key step! Cover the pots with a plastic bag, securing it around the rim, or place them under a propagation dome. This traps in moisture and prevents the cuttings from drying out. You can prop up the bag with a small stake if it touches the leaves.
- Find a Cozy Spot: Place your potted cuttings in a bright location but out of direct sunlight. A greenhouse, a bright windowsill, or even a sheltered spot outdoors during mild weather works well.
The “Secret Sauce”: My Insider Tips
Over the years, I’ve learned a few tricks that really boost my success rates.
- My absolute favorite tip for cuttings is to use bottom heat. If you have a heat mat designed for seedlings, place your pots on it. This gentle warmth encourages root development from below, even if the air temperature is a bit cooler. You’ll see roots forming much faster!
- When you’re doing water propagation (which is less common for Escallonia but possible), remember this: don’t let the leaves touch the water. Submerged leaves will rot and can take down the entire cutting. Just let the bare stem end sit in the water.
- I also like to “wound” the base slightly. Before dipping in rooting hormone, I’ll gently scrape away a tiny sliver of the outer bark on one side of the stem at the base. This exposes more of the cambium layer, which is where roots tend to emerge. Be gentle, you’re just exposing, not stripping!
Patience and Perseverance: Aftercare & Troubleshooting
Now comes the waiting game! Keep the soil consistently moist but never waterlogged. Mist the leaves occasionally if the humidity drops. You’ll know your cuttings have successfully rooted when you see new leaf growth or when you give them a gentle tug and feel resistance. This can take anywhere from 4 to 8 weeks, sometimes longer.
What if things don’t go as planned? The most common culprit is rot, often caused by overwatering and poor drainage. If you see soft, black stems, or mushy leaves, unfortunately, that cutting is likely lost. Don’t get discouraged! It happens to everyone. Just toss the affected cutting and start again, perhaps with a little less water next time or a more well-draining soil mix.
You’ve Got This!
See? Not so daunting, is it? Propagating your own Escallonia rubra is a wonderfully fulfilling part of gardening. It’s about patience, observation, and a little bit of that green-thumb magic. Don’t be afraid to experiment, and most importantly, enjoy the process of nurturing new life from a simple stem. Happy propagating!
Resource: