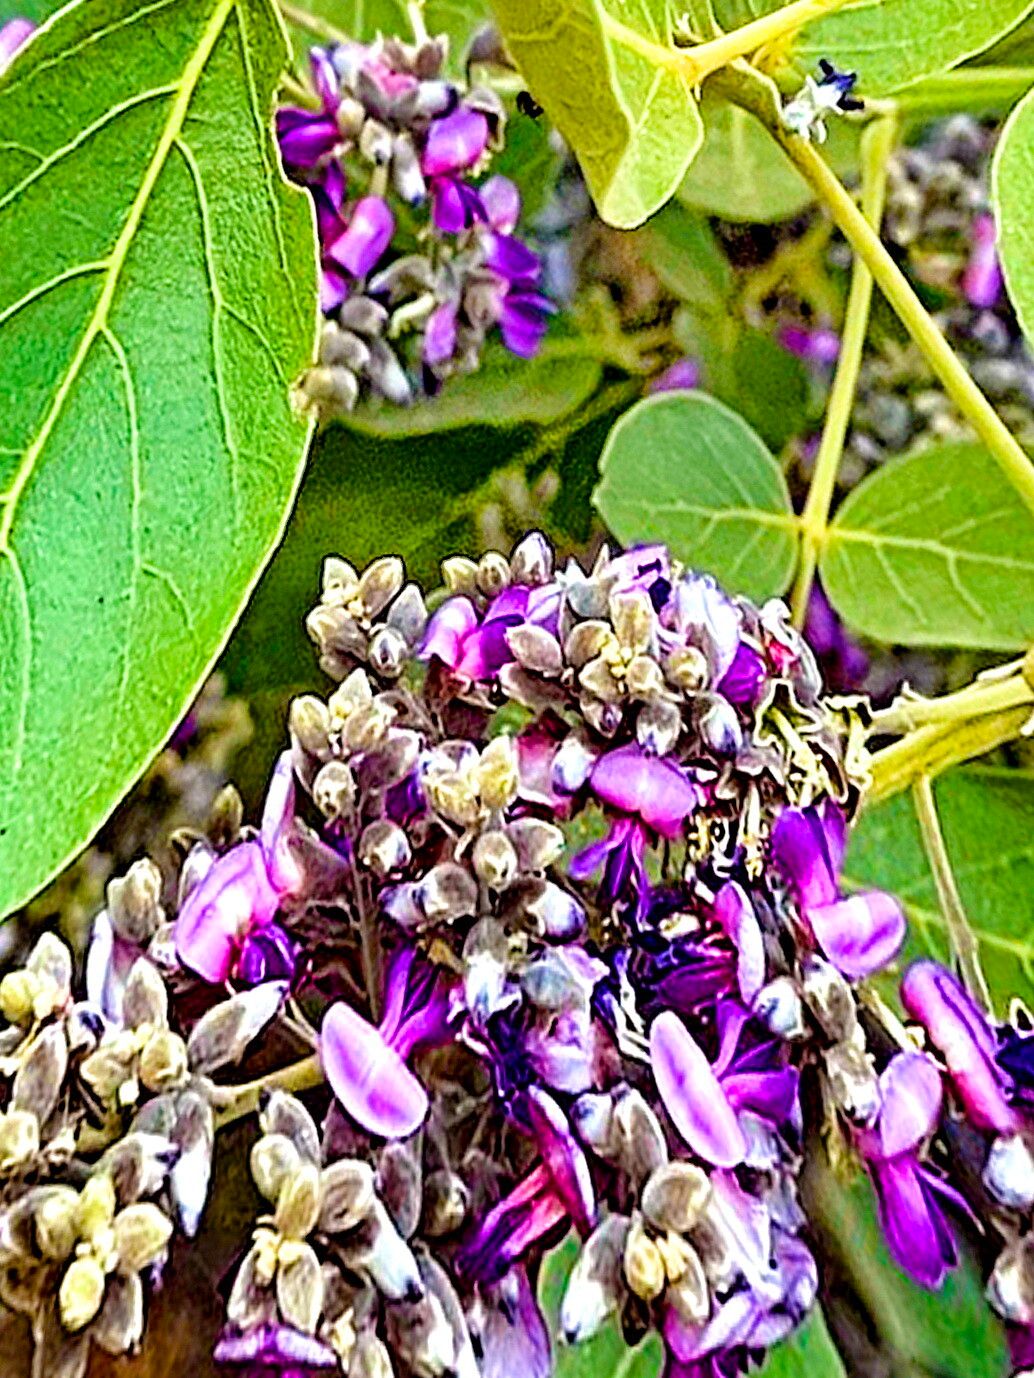
Oh, Philenoptera violacea! What a stunner. Those delicate, violet-blue flowers cascading down make it a real showstopper in any garden. And the fragrance! Pure botanical poetry. If you’ve ever admired this beauty and wished you had more of it, you’re in luck. Propagating it is incredibly rewarding, and while it might have a slight learning curve, it’s definitely achievable for most home gardeners. Don’t let that deter you!
When the Magic Happens: The Best Time to Start
For me, the sweet spot for propagating Philenoptera violacea is usually late spring to early summer. This is when the plant is actively growing and has plenty of energy to put into developing new roots. You want to take cuttings from healthy, vigorous stems that aren’t currently in bloom. Think of it as borrowing a bit of their summertime enthusiasm.
Gearing Up: What You’ll Need
Gathering your supplies beforehand makes the whole process so much smoother. Here’s what I always have on hand:
- Sharp Pruning Shears or a Clean Knife: For making nice, clean cuts.
- Rooting Hormone: A good quality powder or gel can significantly boost your success rate.
- Small Pots or Seed Starting Trays: With good drainage holes, of course!
- Well-Draining Potting Mix: I love a mix of perlite, coco coir, and a bit of peat moss. You can also buy specific succulent or cutting mixes.
- Clear Plastic Bags or a Propagator Lid: To create a humid environment.
- Watering Can or Spray Bottle: For gentle watering.
- Labeling Stakes and a Marker: You’ll thank yourself later!
Cultivating New Beginnings: Propagation Methods
There are a couple of ways you can go about bringing new Philenoptera violacea plants to life, but my go-to is usually stem cuttings.
Stem Cuttings: The Tried and True
- Select Your Parent Plant: Choose a healthy, non-flowering stem on your Philenoptera violacea. Look for one that’s about 4-6 inches long.
- Make the Cut: Using your clean pruning shears or knife, make a clean, angled cut just below a leaf node. This little bump where the leaf attaches is where the magic for rooting happens.
- Prepare the Cutting: Gently remove the lower leaves from the cutting, leaving just a few at the top. This prevents them from rotting in the soil or water later on. If you have very large leaves, you can even cut them in half to reduce water loss.
- Dip and Plant: Dip the cut end of the stem into your rooting hormone, ensuring it’s well coated. Then, gently insert the cutting into your prepared potting mix, making sure the leaf nodes are buried.
- Water Gently: Water the soil lightly. You want it to be moist, but not waterlogged.
Water Propagation: A Peek at Progress
This method is lovely because you can actually see the roots forming!
- Prepare the Cutting: Follow steps 1-3 from the stem cuttings method.
- Place in Water: Fill a clean jar or glass with room-temperature water. Place your prepared cutting in the water, ensuring that no leaves are submerged.
- Change Water Regularly: Change the water every few days to keep it fresh and prevent bacterial growth.
- Watch for Roots: You should start to see tiny white roots emerge from the leaf nodes in a few weeks. Once the roots are about an inch long, you can transplant them into soil.
The “Secret Sauce”: My Insider Tips
Over the years, I’ve learned a few tricks that seem to make all the difference.
- Don’t Drown Your Leaves: Whether in soil or water, keep those leaves high and dry! Any foliage touching the growing medium or water is an invitation for rot. It’s the quickest way to lose a promising cutting.
- Embrace the Humid Hug: New cuttings are thirsty, but they can’t drink through their roots yet. Creating a mini greenhouse effect is crucial. Once you’ve potted your cuttings, cover them with a clear plastic bag (making sure it doesn’t touch the leaves!) or a propagator lid. This traps humidity and keeps the leaves from drying out. You can remove it for a few minutes each day to allow for air circulation.
- A Little Warmth Goes a Long Way: If you have a heating mat designed for seed starting, using bottom heat can really speed up the rooting process. It mimics the warmth of spring soil and gives those roots an extra encouragement to grow.
Nurturing the Newbies: Aftercare & Troubleshooting
Once you see signs of new growth or sturdy roots pushing through the drainage holes, your cutting has officially become a baby plant!
- Gradual Acclimation: Slowly introduce your new plant to less humid conditions. You can do this by gradually opening the plastic bag or propagator lid over a few days.
- Gentle Watering: Continue to water when the top inch of soil feels dry. Avoid overwatering, as this is the most common reason for failure.
- Bright, Indirect Light: Place your new plant in a spot that receives bright, indirect light. Direct sun can scorch delicate new growth.
Now, what if things go wrong? The most common culprit is rot. If your cutting looks mushy, turns black, or smells funky, it’s likely rotted. This is usually due to too much moisture and poor air circulation. Don’t beat yourself up – it happens to the best of us! Sometimes, starting over with a fresh cutting is the best course of action. You might also notice wilting, which can be a sign that the cutting isn’t getting enough moisture or has been placed in a too-hot environment.
Keep Growing!
Propagating Philenoptera violacea is a wonderful way to extend the beauty of your garden. It’s a journey of patience and observation, and each successful new plant is a small triumph. So grab your shears, find a healthy stem, and enjoy the process of nurturing new life. Happy growing!
Resource: