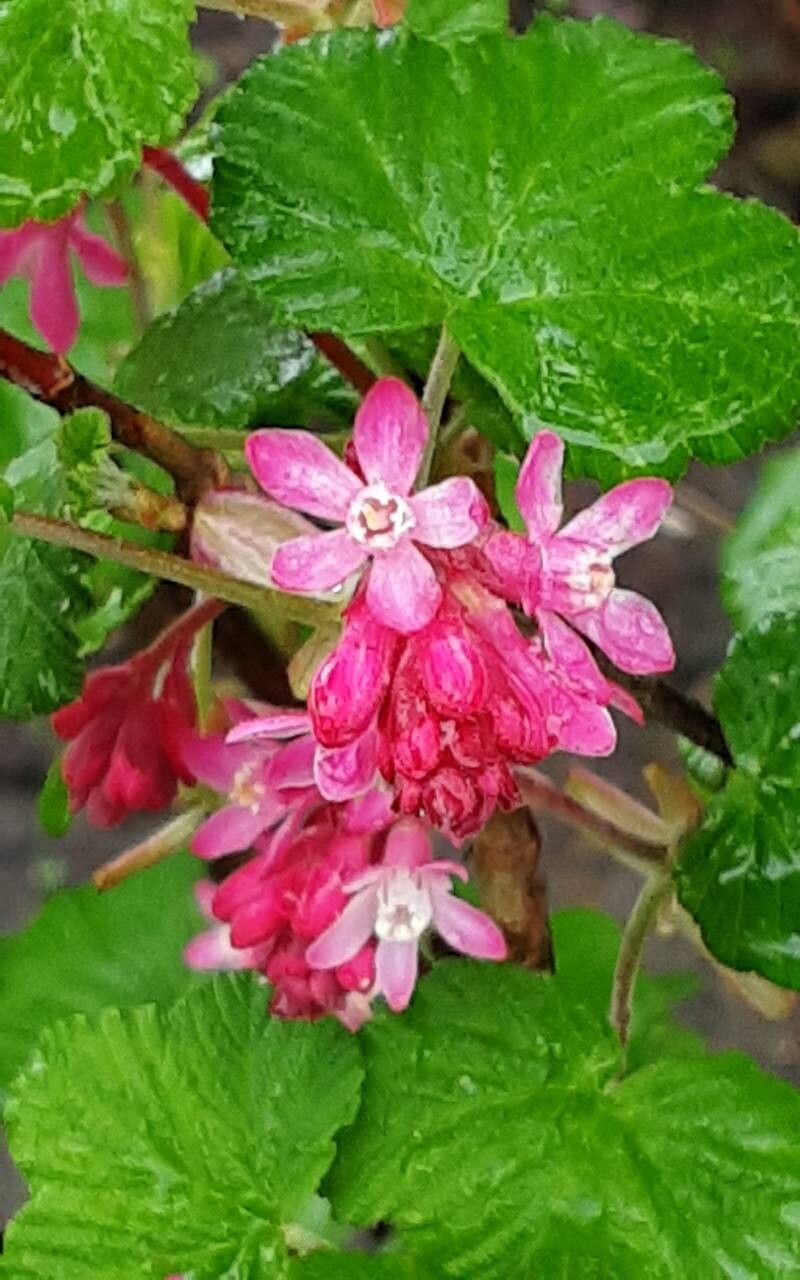
Hey there, fellow plant lovers! I’m thrilled to share my passion for propagating one of my personal favorites: Ribes nevadense, or the Sierra Nevada Currant. This gorgeous native shrub is a real gem in the garden, offering delicate, fragrant flowers in spring and attractive berries for the birds (and sometimes for us!). Seeing a new plant emerge from just a tiny piece of an existing one is incredibly satisfying, and I promise, it’s a journey worth taking. While it’s not as straightforward as some common houseplants, I find Ribes nevadense to be a rewarding challenge, especially if you’re ready to roll up your sleeves and get a little soil-stained.
The Best Time to Start
Spring is truly our golden ticket for propagating Ribes nevadense. Think about when the plant is actively waking up, pushing out new growth. This is when it has the most vigor and its cells are primed for a fresh start. Aim for late spring or early summer, after the initial flush of flowering has finished, but before the heat of mid-summer really sets in. This gives your new cuttings plenty of time to establish roots before winter arrives.
Supplies You’ll Need
Getting your ducks in a row with the right tools will make all the difference. Here’s what I always have on hand:
- Sharp Pruning Shears or a Clean Knife: For making clean cuts.
- Potting Mix: A well-draining mix is crucial. I often use a blend of equal parts peat moss (or coco coir), perlite, and a bit of compost.
- Small Pots or Trays: With drainage holes, of course!
- Rooting Hormone (Optional, but Recommended): A powder or gel to help encourage root development.
- Plastic Bags or a Small Greenhouse: To create a humid environment.
- Watering Can or Spray Bottle: For gentle watering.
Propagation Methods
Let’s get down to business! I find that stem cuttings are the most reliable way to propagate Ribes nevadense.
Stem Cuttings
- Select Your Cuttings: Look for healthy, new growth that’s slightly woody but still flexible. Avoid anything that’s too soft and green, or old and brittle. You’re aiming for pieces about 4-6 inches long.
- Make the Cut: Using your clean shears or knife, make a clean cut just below a leaf node (where a leaf attaches to the stem). This is where the magic of rooting happens!
- Prepare the Cutting: Gently remove the leaves from the bottom half of the cutting. If any leaves are very large, you can even cut them in half horizontally to reduce water loss.
- Apply Rooting Hormone (if using): Dip the cut end of the stem into the rooting hormone powder or gel, tapping off any excess.
- Plant Your Cuttings: Moisten your potting mix. Make a small hole with a pencil or your finger and insert the cuttings, ensuring the leaf nodes you removed are below the soil surface. Gently firm the soil around the stems.
- Water and Cover: Water the soil gently to settle it. Then, tent the pots with a clear plastic bag or place them in a small propagator. This traps moisture and creates that essential humid environment.
The “Secret Sauce” (Pro Tips)
Over the years, I’ve picked up a few tricks that have really boosted my success rates with these beautiful shrubs.
- Don’t Let the Leaves Touch the Water: If you decide to dabble in water propagation (which I find trickier for Ribes nevadense but some folks have success), make sure no leaves are submerged. Rot sets in fast when leaves sit in water.
- Bottom Heat is Your Friend: For stem cuttings, especially if your house is a bit on the cooler side, placing your pots on a gentle seedling heat mat can make a world of difference. It encourages root development from below. You won’t need it blazing hot, just a gentle warmth is perfect.
- Sterilize, Sterilize, Sterilize: I can’t stress this enough! Cleanliness prevents disease. Wipe down your tools, pots, and even your hands before you begin. A diluted bleach solution or rubbing alcohol works wonders.
Aftercare & Troubleshooting
Once your cuttings are planted, be patient! The goal now is to keep them consistently moist but not waterlogged.
- Keep Them Humid: Check the humidity inside the plastic bags regularly. If you see condensation, all is well. If it looks dry, give them a light misting.
- Bright, Indirect Light: Place your cuttings in a location that receives bright, indirect light. Direct sun will scorch those delicate new shoots.
- Signs of Success: You’ll know they’re rooting when you see new leaf growth appearing, or if you gently tug on a stem and feel resistance. This usually takes several weeks, sometimes even a couple of months.
- Troubleshooting Rot: The biggest enemy here is overwatering and poor drainage. If you see stems turning black or mushy, it’s likely rot. Unfortunately, there’s not much you can do once rot sets in, so prevention is key. Ensure your soil mix is airy and your pots drain well.
So there you have it! A little patience, a bit of care, and you’ll be well on your way to multiplying your beautiful Ribes nevadense. Don’t be discouraged if your first few attempts aren’t perfect. Gardening is a continuous learning process, and every plant you propagate brings you closer to mastering the art. Happy propagating!
Resource:
https://identify.plantnet.org/k-world-flora/species/Ribes%20nevadense%20Kellogg/data