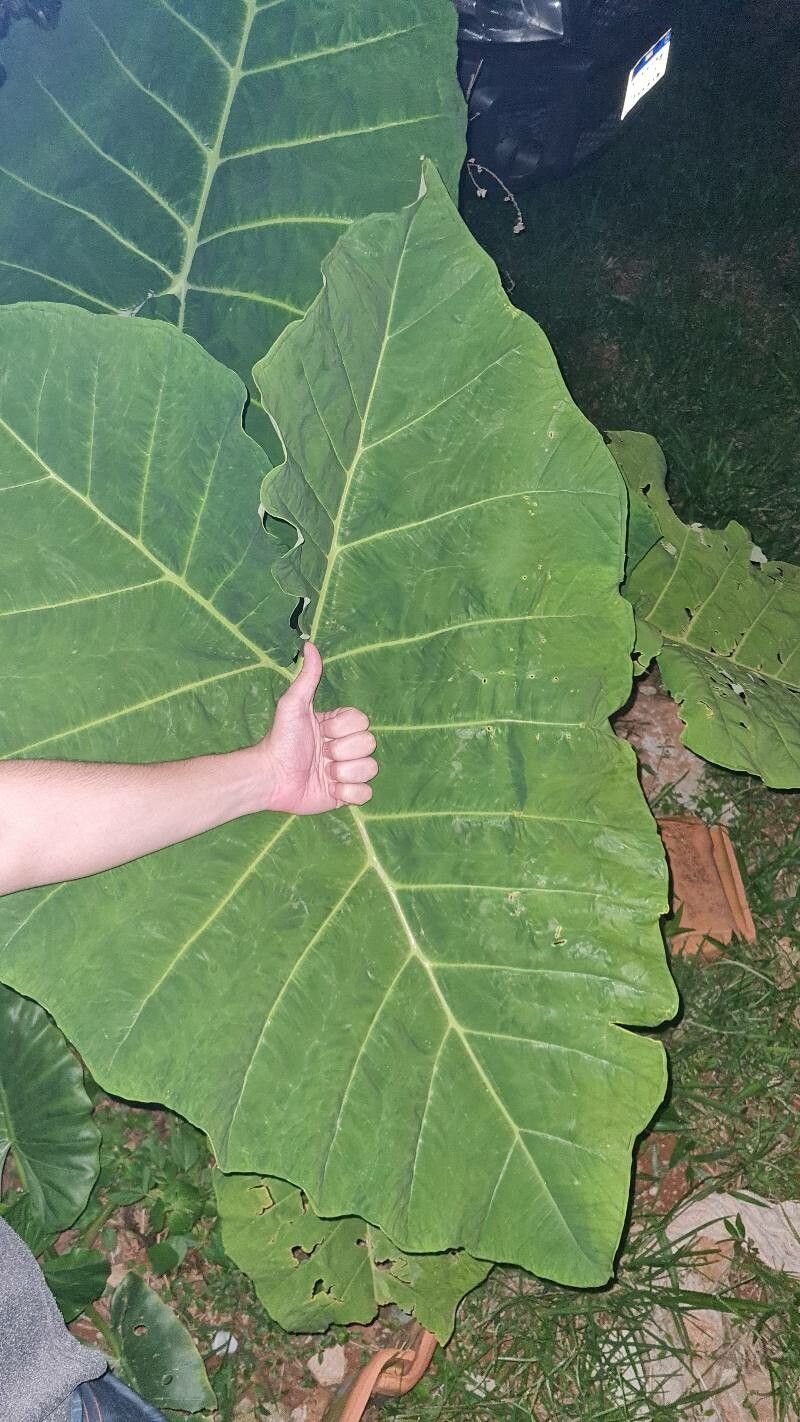
Hey there, fellow plant enthusiasts! Today, let’s dive into the wonderful world of Xanthosoma taioba, also known as the Taioba or Elephant Ear. If you’ve ever admired those lush, arrow-shaped leaves gracing tropical gardens or even gracing your own home, you know the magic this plant brings. Propagating taioba is surprisingly rewarding, and I’m excited to share how you can multiply your own patch of tropical paradise. Honestly, for many of us gardeners, it’s a pretty straightforward and satisfying process, even for those just starting out.
The Best Time to Start
When it comes to getting your taioba babies going, spring is your best friend. This is when the plant is really hitting its stride, pushing out new growth after a period of rest. You’ll find the plant is most vigorous, and your cuttings or divisions will have the best chance of taking off. Look for healthy, actively growing plants – you’ll see plenty of life in those leaves and stems.
Supplies You’ll Need
Gathering your tools beforehand makes the whole process smoother. Here’s what I usually have on hand:
- Sharp Pruning Shears or a Clean Knife: For making nice, clean cuts.
- Well-Draining Potting Mix: A blend of peat moss, perlite, and compost works wonders for taioba. You can also find pre-made aroid mixes.
- Pots or Trays: For your new propagations to root in.
- Rooting Hormone (Optional but Recommended): Especially helpful for speeding things up. A powder or gel will do.
- Watering Can or Spray Bottle: For gentle watering.
- Clear Plastic Bag or Cloche: To create a humid environment if needed.
Propagation Methods
Taioba is a trooper when it comes to making more plants. Here are my go-to methods:
Division (The Easiest Way!)
This is my favorite for taioba because it relies on the plant’s natural tendency to produce offsets.
- Gently Uproot: Carefully lift the entire taioba plant from its pot or from the ground. Try not to disturb the roots too much.
- Inspect the Rhizomes: You’ll see thick, fleshy underground stems called rhizomes. Look for smaller pups or baby plants that have already started to form their own roots.
- Separate: Using your clean hands or a sharp knife if needed, carefully separate a section with at least one healthy leaf and a good portion of roots.
- Pot Up: Plant your new division in a pot filled with your well-draining potting mix. Ensure the top of the rhizome is just at or slightly below the soil surface.
- Water Gently: Give it a light watering to settle the soil.
Stem Cuttings (For the Adventurous)
This method is a bit more involved but can be very rewarding.
- Select a Healthy Stem: Look for a piece of stem that has at least one or two nodes – those are the little bumps where leaves or roots emerge. A stem with a leaf or two attached is ideal.
- Make the Cut: Using your sharp shears, cut a section of stem about 4-6 inches long, making sure to include a node.
- Prepare the Cutting: If your cutting has large leaves, consider cutting them in half to reduce water loss. You can lightly dip the cut end in rooting hormone, tapping off any excess.
- Plant or Water:
- In Soil: Plant the cutting directly into a pot of moist, well-draining potting mix, burying the node.
- In Water: Place the cutting in a jar of water, making sure the node is submerged but the leaves are kept out of the water. Change the water every few days to keep it fresh.
The “Secret Sauce” (Pro Tips)
Over the years, I’ve learned a few little tricks that make a big difference.
- Don’t Overcrowd Your Divisions: When dividing, resist the urge to cram too many mini-plants into one pot. Give each division enough space to thrive and grow its own robust root system.
- Bottom Heat is Your Friend: For stem cuttings, especially if your house is a bit on the cooler side, place your pots on a seedling heat mat. This gentle warmth mimics spring soil temperatures and really encourages root formation. You’ll be amazed at how much faster things happen.
- Patience with Water Cuttings: If you’re water propagating, you might be tempted to wait until you have a really massive root system. My advice? Pot them up once you see about an inch or two of healthy root development. Too long in water can make the roots a bit fragile.
Aftercare & Troubleshooting
Once your taioba has taken root – and you’ll know when new leaves start to unfurl – give it a little TLC.
- Gradual Acclimation: If you’ve been using a humidity dome or plastic bag for cuttings, gradually remove it over a week or so to let your new plant get used to your home’s humidity levels.
- Bright, Indirect Light: Place your new taioba in a spot where it gets plenty of bright, indirect sunlight. Avoid harsh, direct sun, especially for young plants.
- Consistent Moisture: Keep the soil consistently moist but not waterlogged. Overwatering is a common culprit for failure, leading to root rot, which shows up as mushy stems or yellowing leaves. If you see this, it’s time to check your watering habits and ensure good drainage.
You know, the best part of gardening is the journey. Be patient with your new taioba cuttings or divisions. Some will take off faster than others, and that’s perfectly normal. Celebrate every new leaf and every new root – you’re creating something beautiful, and that’s a truly wonderful thing. Happy propagating!
Resource:
https://identify.plantnet.org/k-world-flora/species/Xanthosoma%20taioba%20E.G.Gonç./data