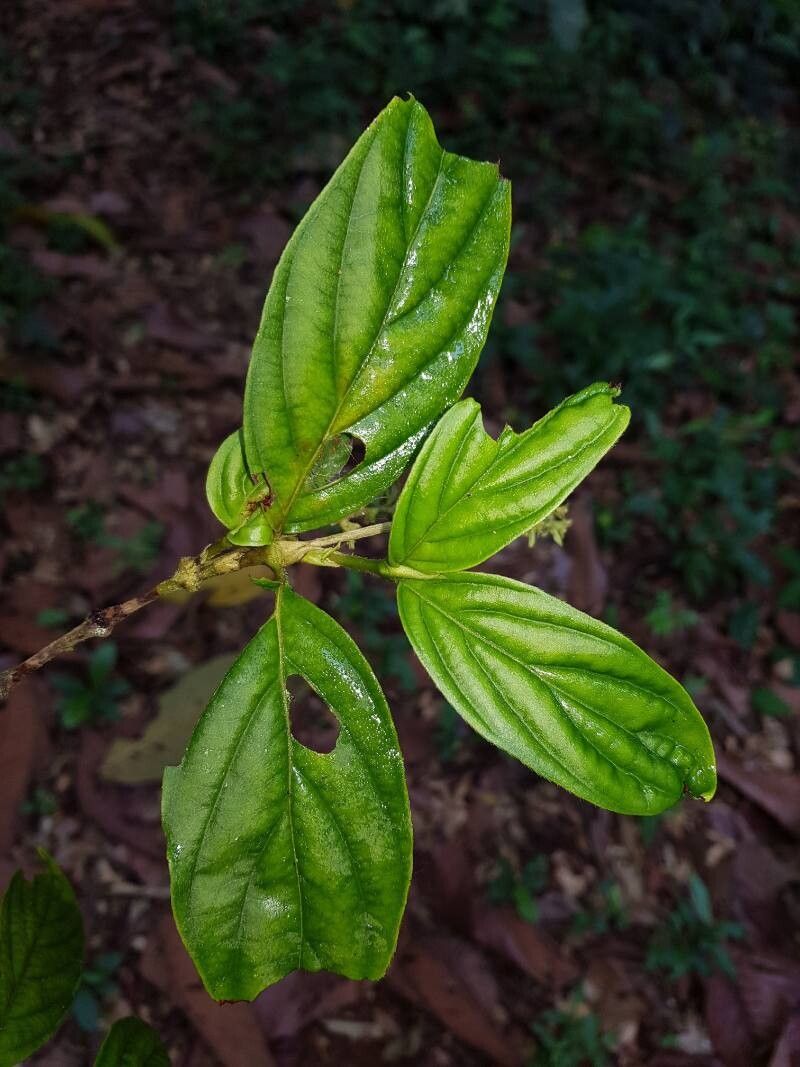
Ah, Bertiera bracteosa! What a delightful choice for propagation. If you’re drawn to its unique charm – those lovely clusters of starry white flowers and its lush, tropical feel – you’re in for a treat. While it might not be the absolute easiest plant for a complete beginner, with a little patience and the right approach, you absolutely can succeed in coaxing new life from your existing beauties. Watching something you’ve nurtured from a snipped piece grow into its own thriving plant is truly one of gardening’s greatest joys.
The Best Time to Start
For Bertiera bracteosa, spring and early summer are your golden windows. This is when the plant is actively growing, so cuttings taken now will have the energy to root more readily. You’re looking for healthy, non-flowering stems. Think of it as catching the plant at its peak vitality.
Supplies You’ll Need
Gathering your tools beforehand makes the whole process much smoother. Here’s what I always have on hand:
- Sharp Pruning Shears or a Clean Knife: For making precise cuts to avoid damaging the plant.
- Potting Mix: A well-draining, lightweight mix is crucial. I often use a blend of peat moss or coco coir with perlite or coarse sand.
- Small Pots or Propagation Trays: Clean pots are a must to prevent disease.
- Rooting Hormone (Optional but Recommended): A powder or gel can give your cuttings a significant boost.
- Plastic Bag or Propagation Dome: To create a humid environment for your cuttings.
- Water: For a quick dip or for water propagation.
- Labels: Trust me, you’ll thank yourself later!
Propagation Methods
Let’s get our hands dirty! I find stem cuttings to be the most reliable method for Bertiera bracteosa.
Stem Cuttings:
- Select Your Cutting: Find a healthy, vigorous stem on your mature plant. Look for one that’s about 4-6 inches long and has at least two sets of leaves. Avoid any stems that are flowering or look weak.
- Make the Cut: Using your clean shears, make a sharp cut just below a leaf node. A leaf node is where a leaf attaches to the stem. This is where the magic happens, where roots are most likely to form.
- Prepare the Cutting: Gently remove the leaves from the bottom half to two-thirds of the cutting. You want to expose those leaf nodes. You can leave the top 1-2 sets of leaves intact; they’ll help the cutting photosynthesize. If the remaining leaves are very large, you can trim them in half horizontally to reduce water loss.
- Apply Rooting Hormone (Optional): If you’re using rooting hormone, dip the cut end of the stem into it, tapping off any excess.
- Plant Your Cutting: Fill your small pots with your prepared, moist potting mix. Make a small hole with your finger or a pencil, large enough for the cutting. Insert the prepared end of the cutting into the hole, ensuring the leaf nodes are below the soil surface. Gently firm the soil around the cutting.
- Create Humidity: Water the soil gently. Then, cover the pot with a clear plastic bag, making sure it doesn’t touch the leaves, or place it under a propagation dome. This creates a mini-greenhouse effect, keeping the humidity high, which is essential for cuttings to root without drying out.
Water Propagation (A good alternative if you’re hesitant about soil):
- Follow steps 1-3 above.
- Instead of potting, place the prepared cutting in a jar or glass filled with clean water. Make sure the leaf nodes are submerged, but do not let the leaves touch the water.
- Place the jar in a bright location but out of direct sunlight.
- Change the water every few days to keep it fresh and prevent bacterial growth.
- You should see small white roots begin to form within a few weeks. Once the roots are at least an inch long, you can carefully transplant them into your potting mix.
The “Secret Sauce” (Pro Tips)
Here are a couple of things I’ve learned over the years that make a real difference:
- Bottom Heat is Your Friend: Bertiera bracteosa loves warmth, and rooting cuttings is no different. If you can, place your potted cuttings or water propagation jars on a heat mat designed for plants. This gentle warmth from below encourages root development much faster than ambient room temperature alone. It’s like giving them a cozy heated bed!
- Don’t Be Afraid of Fresh Air: While humidity is vital, completely sealing the cutting can sometimes lead to fungal issues. I like to “vent” my plastic bag or dome for an hour or so each day, especially if I notice any condensation building up excessively. This allows for a little air exchange and helps prevent rot.
Aftercare & Troubleshooting
Once you see signs of new growth – tiny leaves unfurling or the cutting resisting a gentle tug – you know you have roots!
- Gradual Acclimation: Slowly start to introduce your new plant to lower humidity. Open the plastic bag or dome for longer periods over a week or two.
- Watering: Water the new plant when the top inch of soil feels dry. Avoid overwatering, as this is a common culprit for root rot.
- Light: Gradually move your new Bertiera to a spot with bright, indirect light.
Troubleshooting:
- Wilting: This is often a sign of insufficient humidity or the cutting is simply too stressed. Check your humidity levels.
- Rotting or Black Stems: This is usually caused by overwatering or poor air circulation. Ensure your soil drains well and you’re allowing some air exchange. If a cutting rots, it’s often best to discard it to prevent it from affecting others. Don’t get discouraged; sometimes it just happens!
A Encouraging Closing
Propagating any plant is a journey of learning and observation. Be patient with your Bertiera bracteosa cuttings. Some will flourish, and some might not – that’s simply nature at work. The most important thing is to enjoy the process, celebrate every little success, and keep on growing! Happy propagating!
Resource: