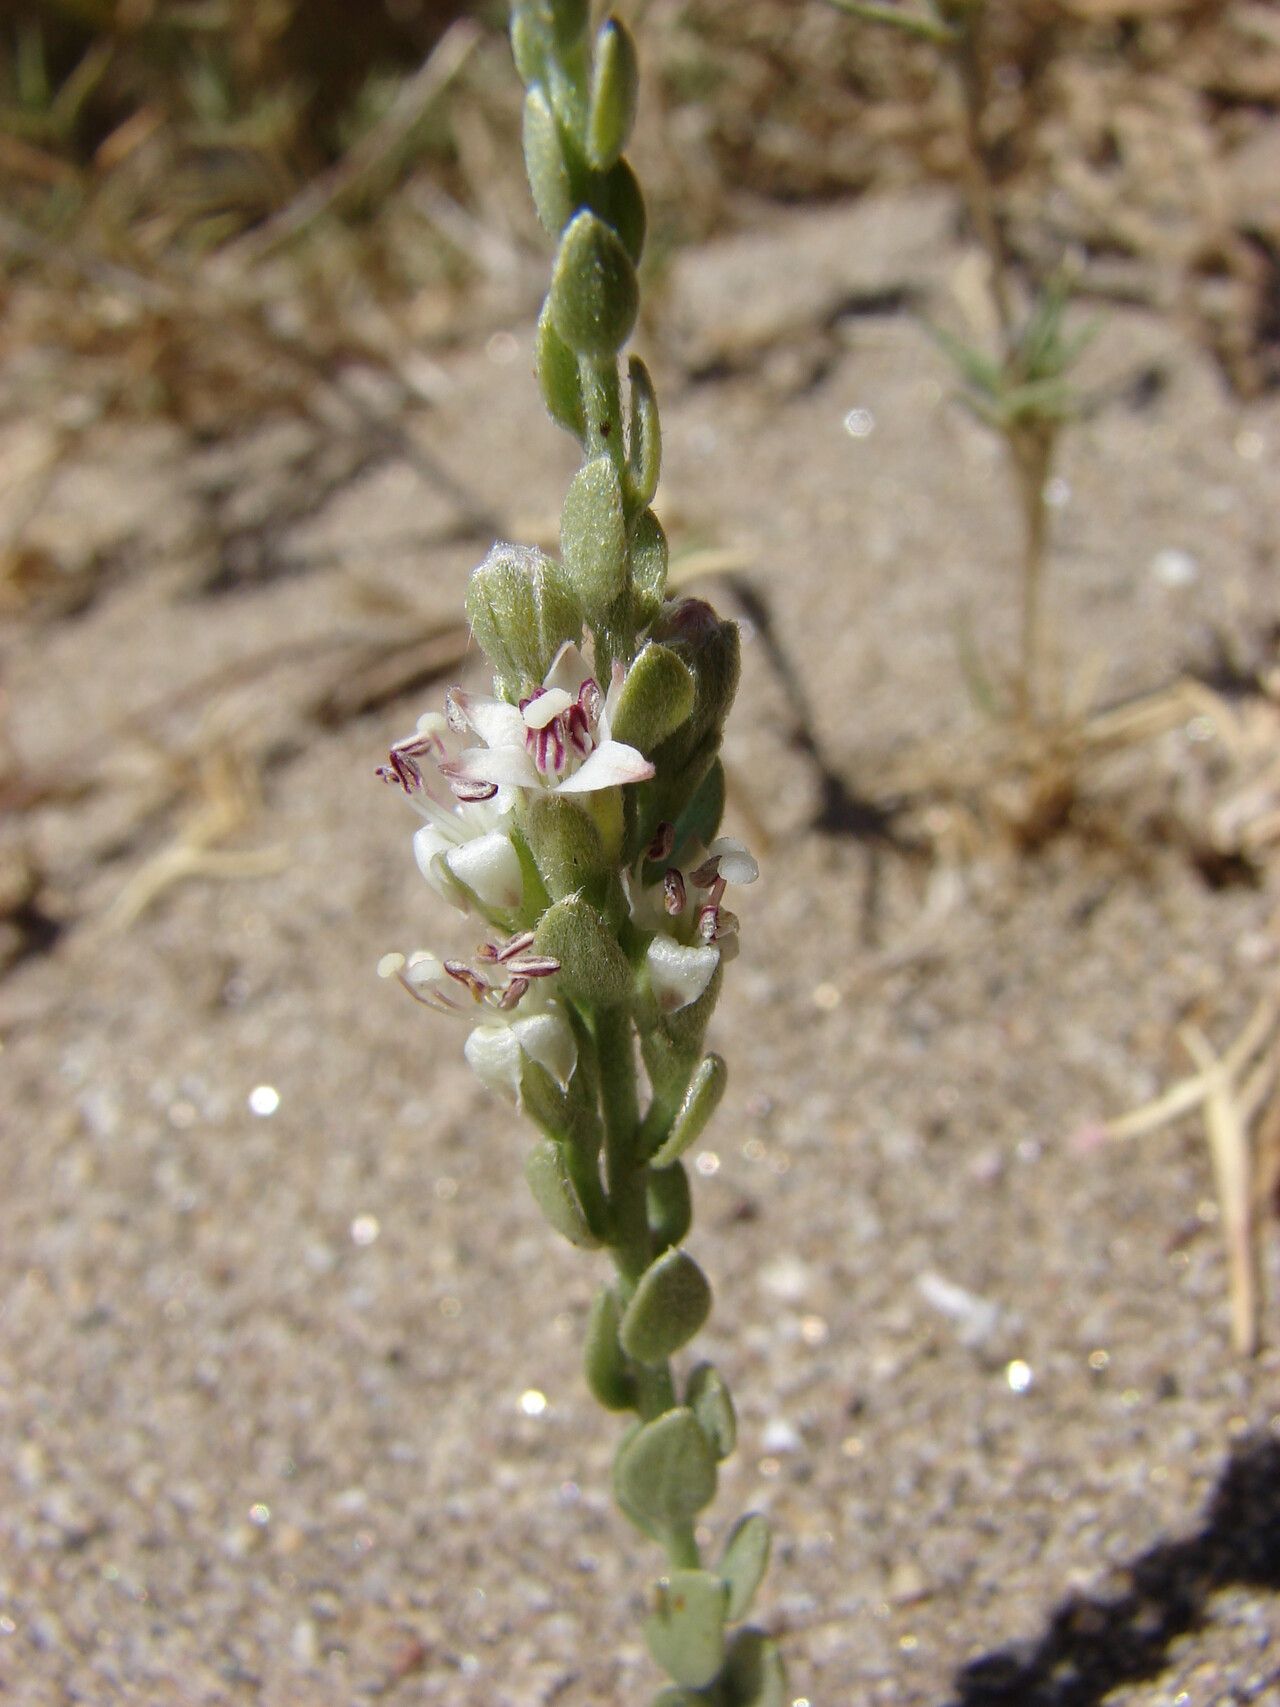
Hello fellow plant lovers! Today, we’re diving into a little gem that’s been brightening my garden for years: Cressa truxillensis, or as I affectionately call it, “Creeping Beauty.” If you’ve ever admired its delicate, silvery-green foliage that carpets the ground like a soft woolly blanket, you’re in for a treat because propagating this beauty is incredibly rewarding. And the best part? It’s an absolute breeze to multiply, even for those just starting their plant-parent journey. Get ready to fill your garden, or maybe some pots for friends, with Creeping Beauty!
The Best Time to Start
For the highest success rate with Cressa truxillensis, aim for late spring or early summer. This is when the plant is really in its growing prime. New, tender stems are readily available, and the warmer temperatures provide that gentle boost needed for rooting. You can certainly try later in the season, but you might find the stems a bit woodier, and rooting can take a little longer.
Supplies You’ll Need
Here’s what you’ll want to have on hand:
- Sharp, clean pruning shears or a sharp knife: For taking nice, clean cuts.
- Rooting hormone (optional but recommended): A little powdery encouragement for those baby roots.
- Small pots or trays: With drainage holes, of course!
- Well-draining potting mix: A mix designed for succulents or cacti works wonderfully. You can also make your own by combining potting soil with perlite or coarse sand.
- Watering can or spray bottle: To keep things moist but not soggy.
- Plastic bags or a propagation dome: To create a humid environment for cuttings.
Propagation Methods
Let’s get our hands dirty! Cressa truxillensis is a master of making new plants, and stem cuttings are your go-to method.
Stem Cuttings
- Select Prosperous Stems: Look for healthy, non-flowering stems that are about 4-6 inches long. They should be firm, not floppy.
- Make the Cut: Using your sharp shears or knife, take a clean cutting just below a leaf node (where a leaf attaches to the stem). This is where the magic happens for root development.
- Prepare the Cutting: Gently remove the lower leaves from about half of the cutting. This prevents them from rotting in the soil or water and encourages the plant to focus its energy on root formation.
- Dip in Rooting Hormone (Optional): If you’re using rooting hormone, dip the cut end of the stem into the powder. Tap off any excess.
- Planting Your Cuttings:
- In Pots: Fill your small pots with the well-draining mix. Make a small hole with your finger or a pencil and insert the prepared cutting, ensuring at least a couple of leaf nodes are buried. Gently firm the soil around it.
- Water Propagation: You can also place your prepared cuttings in a jar or glass of clean water. Make sure none of the leaves are submerged.
- Provide Humidity: This is key! Tent the pots loosely with a plastic bag or place them under a propagation dome. This creates a mini-greenhouse effect. If you’re water propagating, simply place the jar in a bright spot.
The “Secret Sauce” (Pro Tips)
- Don’t drown your cuttings! Whether in soil or water, perpetually soggy conditions are the fast track to rot. Aim for consistently moist, not wet, soil for potted cuttings. For water propagation, change the water every few days to keep it fresh.
- Embrace the gentle warmth. Cressa truxillensis loves a bit of warmth to get those roots going. If your propagation station is in a cooler spot, consider placing the pots on a heat mat designed for plants. It makes a noticeable difference!
- Patience is your best friend. Cuttings don’t root overnight. Give them time. You’ll start to see new growth on top, which is a good sign. For potted cuttings, gently tugging on a stem after a few weeks will tell you if roots have formed – if there’s resistance, you’ve got roots!
Aftercare & Troubleshooting
Once your cuttings have developed a good root system (you’ll see new growth or feel resistance when you gently tug), it’s time for their next step.
- Acclimatize Gradually: If you used a plastic bag, start by peeking it open for a few hours each day, then gradually increase the time until the bag is completely removed. This helps them adjust to drier air.
- Transplant: If your cuttings are in small pots, they’re ready to be moved into slightly larger containers or planted directly into your garden beds once they’re robust.
- Watering: Continue to water them when the top inch of soil feels dry. As they establish, they’ll become more drought-tolerant, just like their parent plant.
Now, what if things don’t go according to plan? The most common issue you might face is rot. This usually happens if the cuttings are kept too wet. If you see stems turning mushy or black, sadly, that cutting is likely lost. Don’t get discouraged! Just toss it out and try again with fresh cuttings using a slightly drier approach.
A Encouraging Closing
Seeing those tiny roots sprout and then a new little plant emerge from a simple stem cutting is one of gardening’s most profound joys. Propagating Cressa truxillensis is a fantastic way to expand your collection or share the beauty with others. Be patient, give them a little TLC, and enjoy the wonderful process of creating life in your own hands. Happy propagating!
Resource:
https://identify.plantnet.org/k-world-flora/species/Cressa%20truxillensis%20Kunth/data