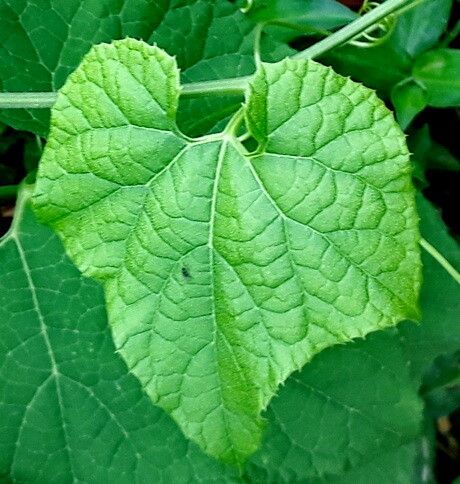
Hello there, fellow plant lovers! I’m so excited to chat with you today about a plant that’s really captured my heart over the years: Wilbrandia ebracteata. If you’ve ever seen this gorgeous specimen, you’ll know why. Its unique, architectural form and lush, tropical vibes can instantly elevate any space. And the best part? Sharing its beauty by propagating it is incredibly rewarding. Now, if you’re new to the plant propagation game, I’d say Wilbrandia ebracteata is a wonderfully accessible plant to get your hands dirty with. It’s not overly fussy, which is always a plus in my book!
The Best Time to Start
When it comes to getting the most bang for our propagation buck, spring is where it’s at for Wilbrandia ebracteata. Think about it – the plant is just waking up from its winter slumber, full of energy and ready to grow. This active growing season means any new cuttings or divisions you take will have the best chance of developing strong roots quickly. Aim for a time after the last frost has passed and your plant is actively producing new shoots.
Supplies You’ll Need
Gathering your supplies before you begin makes the whole process so much smoother. Here’s what I always have on hand:
- Sharp Pruning Shears or a Clean Knife: Essential for making clean cuts.
- Well-Draining Potting Mix: I love a blend of perlite, coco coir, and a bit of standard potting soil. It keeps things airy.
- Rooting Hormone (Optional but Recommended): A little dip in this can give your cuttings a significant boost.
- Small Pots or Seedling Trays: For your new baby plants. Make sure they have drainage holes!
- Clear Plastic Bag or Humidity Dome: To create a mini greenhouse for your cuttings.
- Watering Can with a Fine Rose: For gentle watering.
- Gloves (Optional): If you have sensitive skin.
Propagation Methods
Wilbrandia ebracteata is a joy to propagate, and I find two methods work exceptionally well.
Stem Cuttings
This is my go-to method for this plant. It’s straightforward and yields great results.
- Take Your Cuttings: Using your clean shears or knife, select a healthy stem that’s at least 4-6 inches long. Make a clean cut just below a leaf node (where the leaf attaches to the stem). Remove the lower leaves to expose more of the stem.
- Apply Rooting Hormone: If you’re using rooting hormone, dip the cut end into the powder or gel. Tap off any excess. This step is like giving your cutting a little head start!
- Plant Your Cuttings: Fill your small pots with your well-draining mix. Make a small hole with your finger or a pencil. Gently insert the cutting into the hole, ensuring the leaf nodes are below the soil surface.
- Water Gently: Water the soil thoroughly until it’s evenly moist, but not waterlogged.
- Create a Humid Environment: Cover the pot with a clear plastic bag, securing it with a rubber band, or place it under a humidity dome. This is crucial for preventing the cuttings from drying out. Place the pot in a bright spot that receives indirect sunlight.
Division
If your Wilbrandia ebracteata has become a bit of a clump, dividing it is a fantastic way to get multiple plants.
- Remove from Pot: Gently slide the plant out of its current pot.
- Loosen the Root Ball: Carefully use your fingers or a clean trowel to loosen the soil around the root ball. You’re looking for distinct sections of the plant that already have their own root systems.
- Separate the Divisions: Gently pull or cut apart the divisions. Each section should have healthy roots and at least one or two shoots.
- Pot Up: Pot each division into its own small pot filled with your well-draining mix. Water them in well.
- Provide Initial Care: Just like with cuttings, these divisions benefit from a bit of extra humidity for a week or two.
The “Secret Sauce” (Pro Tips)
Now, for those little tricks that make a difference!
- Dust Off Those Lower Leaves: When taking stem cuttings, don’t be shy about removing all the leaves that would end up buried in the soil. They’ll just rot and invite trouble.
- Bottom Heat is Your Friend: If you find your cuttings are taking their sweet time to root, popping them on a gentle heat mat can really speed things up. It mimics the warmth of spring soil.
- Airflow is Key, Even with Humidity: While humidity is important, make sure your covered cuttings still get a bit of air circulation. I often lift the plastic bag for a few minutes each day to give them a breath.
Aftercare & Troubleshooting
Once you start seeing those tiny roots emerging (you might even see new leaf growth!), your little propagations are well on their way! Continue to keep the soil consistently moist but not soggy. As they establish, you can gradually increase the light.
Now, what if things don’t go as planned? The most common issue is rot. If your cutting looks mushy and black, it’s likely succumbed to rot. This usually happens from overwatering or a lack of airflow. Don’t be discouraged! Just toss the rotted cutting, clean your pot, and try again, paying close attention to watering and humidity levels. Sometimes, a cutting just doesn’t take, and that’s okay. It’s part of the gardening journey.
Keep Growing!
Propagating Wilbrandia ebracteata is such a fulfilling way to expand your plant collection and share the beauty of this incredible plant. Be patient with your new green babies. Some will root quickly, while others might take their time. Each successful propagation is a little victory, and the process itself is a wonderful way to connect with nature. Happy growing!
Resource:
https://identify.plantnet.org/k-world-flora/species/Wilbrandia%20ebracteata%20Cogn./data