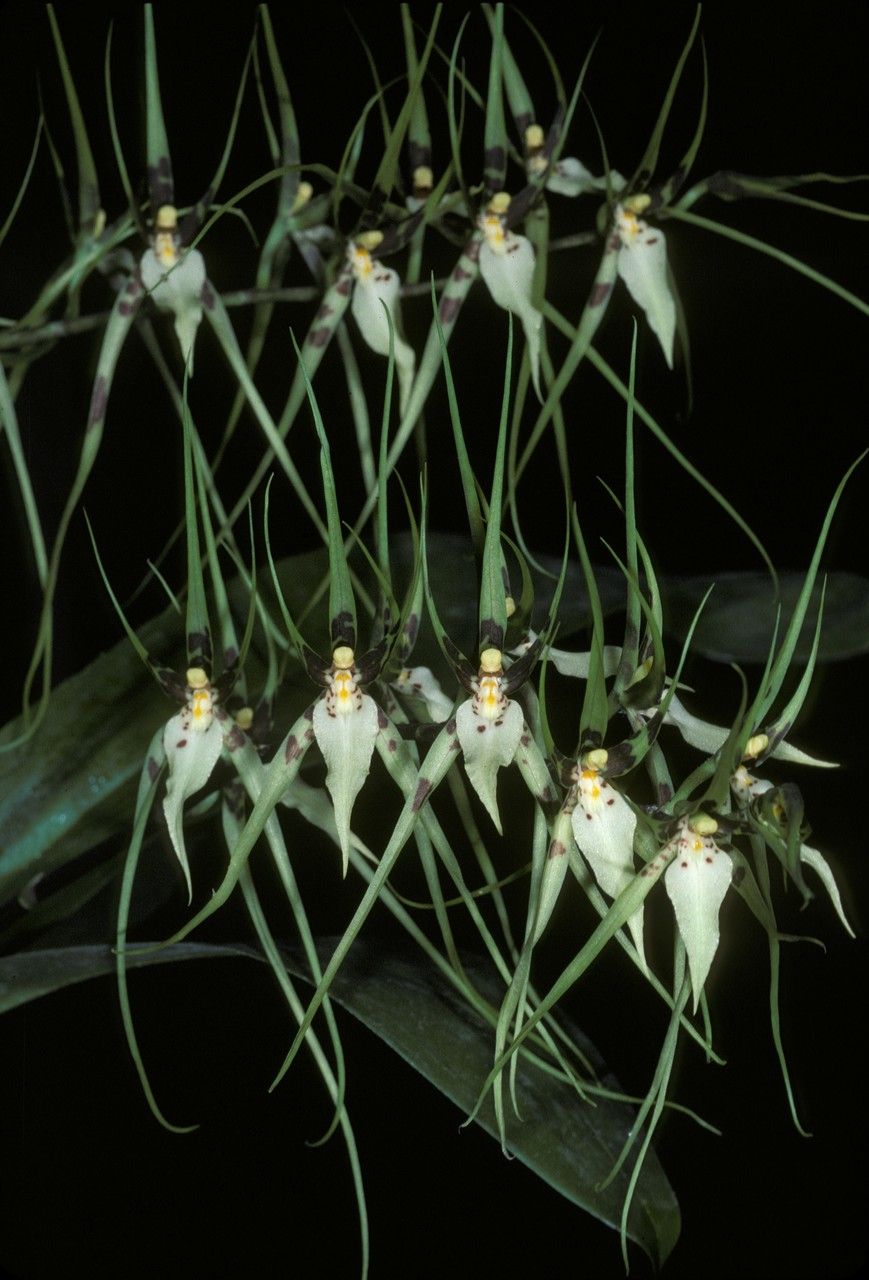
Hello there, fellow plant enthusiasts! Today, we’re diving into the wonderful world of propagating Brassia rhizomatosa. You know, those beauties with the handsome, leathery leaves and the charming way they send up those lovely arching flower spikes? I’ve always found them so rewarding to grow, and honestly, if there’s one plant that makes me feel accomplished, it’s successfully coaxing a new one to life from a piece of an old friend.
Now, about Brassia rhizomatosa for beginners? I’d say it’s moderately easy. It won’t bite, but it does appreciate a little thoughtful attention. With a few key pointers, you’ll be well on your way to multiplying your collection!
The Best Time to Start
The sweet spot for propagating Brassia rhizomatosa is definitely spring or early summer. This is when the plant is in its active growth phase. Everything is waking up, energy levels are high, and your new divisions or cuttings will be much more motivated to root. You can sometimes get away with it in late summer, but I find those earlier months give the best bang for your buck.
Supplies You’ll Need
Before we get our hands dirty, let’s gather our tools. Think of this as packing for a successful gardening adventure!
- Sharp Pruning Shears or a Clean Knife: Essential for making clean cuts. Sterilize them with rubbing alcohol between uses to prevent disease.
- Well-Draining Potting Mix: For rhizomatous plants like Brassia, a mix designed for orchids or cacti and succulents works beautifully. You want it airy and quick to dry out.
- New Pots or Containers: Whatever size suits your new beginnings. Make sure they have drainage holes!
- Rooting Hormone (Optional but Recommended): This is like a little boost of confidence for your cuttings.
- A Watering Can or Mister: Gentle watering is key.
- A Clear Plastic Bag or Humidity Dome (Optional): This can help maintain a humid environment for cuttings.
Propagation Methods
The primary and most successful method for Brassia rhizomatosa is division. These plants naturally grow from fleshy underground stems called rhizomes, and these rhizomes will often produce new shoots or “pups.”
Here’s how we’ll do it:
- Gently Remove the Plant from its Pot: Turn the pot on its side and ease the plant out. If it’s stuck, a few gentle taps around the sides should help.
- Inspect the Rhizomes: You’re looking for where the rhizomes have naturally split or where you see new shoots emerging from a stronger section of the main plant.
- Make the Cut: Using your sterilized shears or knife, carefully separate a section that has at least one healthy leaf (or a bud that looks ready to sprout) and a good portion of the rhizome. Try to get some roots attached to the division if possible. If the rhizome is stubborn, don’t force it too much; a clean cut is always best.
- Let it Callous Over (Important!): This is a crucial step to prevent rot. Place your new divisions in a dry, airy spot for 24-48 hours. You want the cut surface to look dry and a bit scabbed over.
- Pot Up Your New Plant: Fill your new pot about halfway with your well-draining mix. Center your Brassia division, ensuring the rhizome is mostly covered but the base of the leaves is above the soil line. Add more mix around it, firming gently.
- Initial Watering: Water very sparingly at first. You want the soil to be slightly moist, not soggy.
The “Secret Sauce” (Pro Tips)
Now for a couple of things I’ve learned over the years that often make a difference:
- Don’t Overwater, Ever: This is my golden rule, especially for divisions. They are prone to rot if the soil stays too wet. Think of it as giving them just enough to sip, not to swim in. I often wait for the soil to feel almost dry before giving it a very light watering.
- Bottom Heat is Your Friend: If you have a seedling heat mat, placing your potted divisions on it can significantly speed up root development. It mimics the warmth of spring and tells those rhizomes it’s time to get to work. Just make sure the heat isn’t too intense.
Aftercare & Troubleshooting
Once your division is potted, keep it in bright, indirect light. Avoid direct sun, as it can scorch those new leaves.
How do you know it’s rooting? You’ll start to see new leaf growth! It might take a few weeks to a couple of months, so patience is key. You can also very gently tug on the plant; if there’s resistance, it means roots are forming.
The biggest pitfall is rot. If you see yellowing leaves that quickly turn mushy, or if the base of the rhizome starts to look soft and dark, it’s a sign of too much moisture. If caught early, you can try taking the division out, trimming away any rotted parts, letting it callous extremely well, and repotting in very dry mix.
A Encouraging Closing
Propagating plants is a journey, and with Brassia rhizomatosa, it’s a chance to share the beauty of these gorgeous plants with yourself or a friend. Don’t get discouraged if your first attempt isn’t perfect. Each plant is a learning experience, and the joy of seeing a new one thrive is truly special. Happy propagating!
Resource:
https://identify.plantnet.org/k-world-flora/species/Brassia%20rhizomatosa%20Garay%20&%20Dunst./data