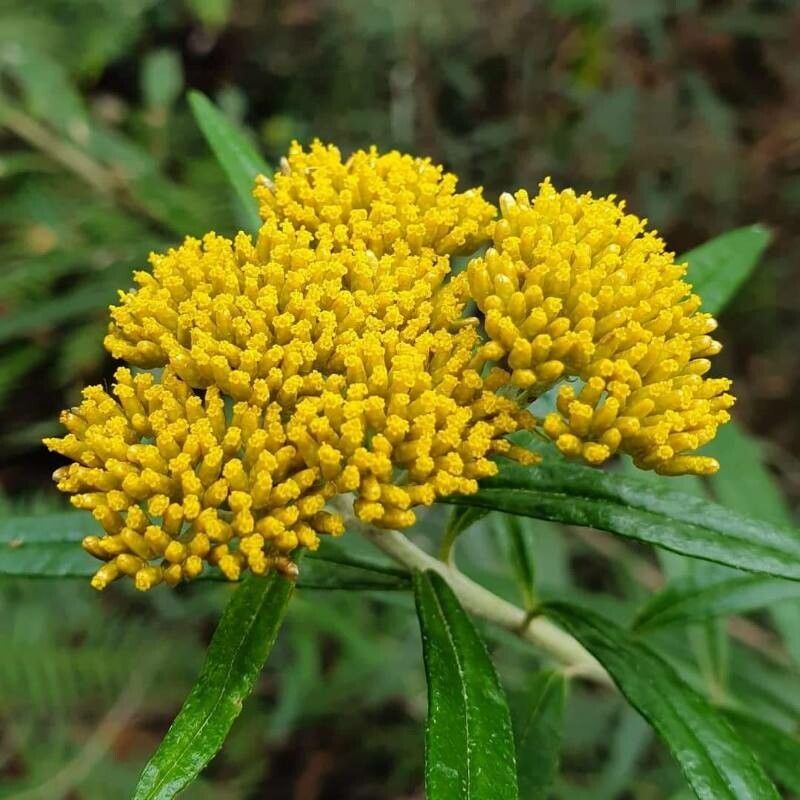
Pull up a chair and let’s talk about Flaveria linearis. If you’re looking for a plant that brings a touch of sunshine to your garden, with its cheerful yellow blooms that seem to capture pure joy, this is it. It’s a real winner, and honestly, propagating it is one of those truly satisfying gardening adventures. I’ve found it to be quite forgiving, making it a lovely plant for those just starting their propagation journey.
The Best Time to Start
For Flaveria linearis, spring is your golden ticket. As the days start to lengthen and the plant begins to stir from its winter rest, it’s full of vigor. This is when it’s most receptive to forming new roots. You can also try late summer, but I’ve found spring gives you the best head start for a robust plant.
Supplies You’ll Need
Here’s what I always have on hand when I’m propagating:
- Sharp pruning shears or a clean knife: For taking clean cuts.
- Rooting hormone (optional but recommended): Helps speed things up.
- A good quality potting mix: I like a blend of peat moss, perlite, and a bit of compost.
- Small pots or propagation trays: With drainage holes, of course!
- A spray bottle: For misting.
- Clear plastic bags or a propagator lid: To create a humid environment.
- Water: For whatever method you choose.
Propagation Methods
I find the easiest and most rewarding way to propagate Flaveria linearis is through stem cuttings. It’s straightforward and often yields great results.
Stem Cuttings:
- Select a healthy stem: Look for a non-flowering stem that’s about 4-6 inches long. Make sure it has plenty of healthy leaves along its length.
- Make a clean cut: Using your sharp shears or knife, make a cut just below a leaf node (where a leaf attaches to the stem). This is where the magic happens for root development.
- Prepare the cutting: Gently remove the lower leaves, leaving just a few at the top. This prevents them from rotting in the soil. If you’re using rooting hormone, dip the cut end into it.
- Pot it up: Fill your small pots with your prepared potting mix. Make a small hole with your finger or a pencil.
- Insert the cutting: Gently place the cut end of the stem into the hole and firm the soil around it.
- Water and cover: Water the soil thoroughly but gently, making sure not to disturb the cutting. Then, cover the pot with a clear plastic bag or a propagator lid. This creates a humid microclimate that helps the cutting stay hydrated.
- Provide bright, indirect light: Place the potted cuttings in a location that gets plenty of bright, indirect light. Avoid direct sun, which can scorch the tender cuttings.
Water Propagation (A Simple Alternative):
- Follow steps 1-3 above for selecting and preparing your stem cuttings.
- Place cuttings in water: Fill a clean jar or glass with water and place the cuttings inside, ensuring the leaf nodes are submerged.
- Change water regularly: Change the water every few days to keep it fresh and prevent bacterial growth.
- Wait for roots: You should start to see tiny roots appearing in a few weeks.
- Pot up once roots are established: Once the roots are about an inch long, you can carefully transplant them into pots with soil, just as you would with cuttings that have rooted in the soil.
The “Secret Sauce” (Pro Tips)
Here are a couple of little tricks that have always served me well:
- My absolute favorite tip? Don’t let any leaves ever touch the water when water propagating. It’s a foolproof way to prevent rot and encourage roots to seek out the medium rather than just sit in stagnant water.
- If you live in a cooler climate or are propagating earlier than ideal, consider a little bottom heat. A heat mat placed under your propagator or pots can make a world of difference. It gently warms the soil, encouraging root development without drying out the leaves. It’s like a cozy little spa day for your cuttings!
Aftercare & Troubleshooting
Once you see new growth emerging from your rooted cuttings, that’s your cue that they’ve officially made it! Gradually remove the plastic bag or propagator lid over a few days to acclimate them to normal humidity. Continue to keep the soil consistently moist but not soggy.
The most common issue you might encounter is rot. This usually happens if the soil is too wet and there isn’t enough air circulation. You might see the stem become mushy or discolored. If you spot rot, it’s best to discard the affected cutting to prevent it from spreading to others. Sometimes, it’s just a matter of finding the right balance of water and air.
A Little Patience Goes a Long Way
Propagating plants is a testament to nature’s resilience, and Flaveria linearis is no exception. Be patient, observe your cuttings closely, and don’t get discouraged if not every single one makes it. The joy of nurturing a new plant from a tiny cutting is truly special. Happy propagating!
Resource:
https://identify.plantnet.org/k-world-flora/species/Flaveria%20linearis%20Lag./data