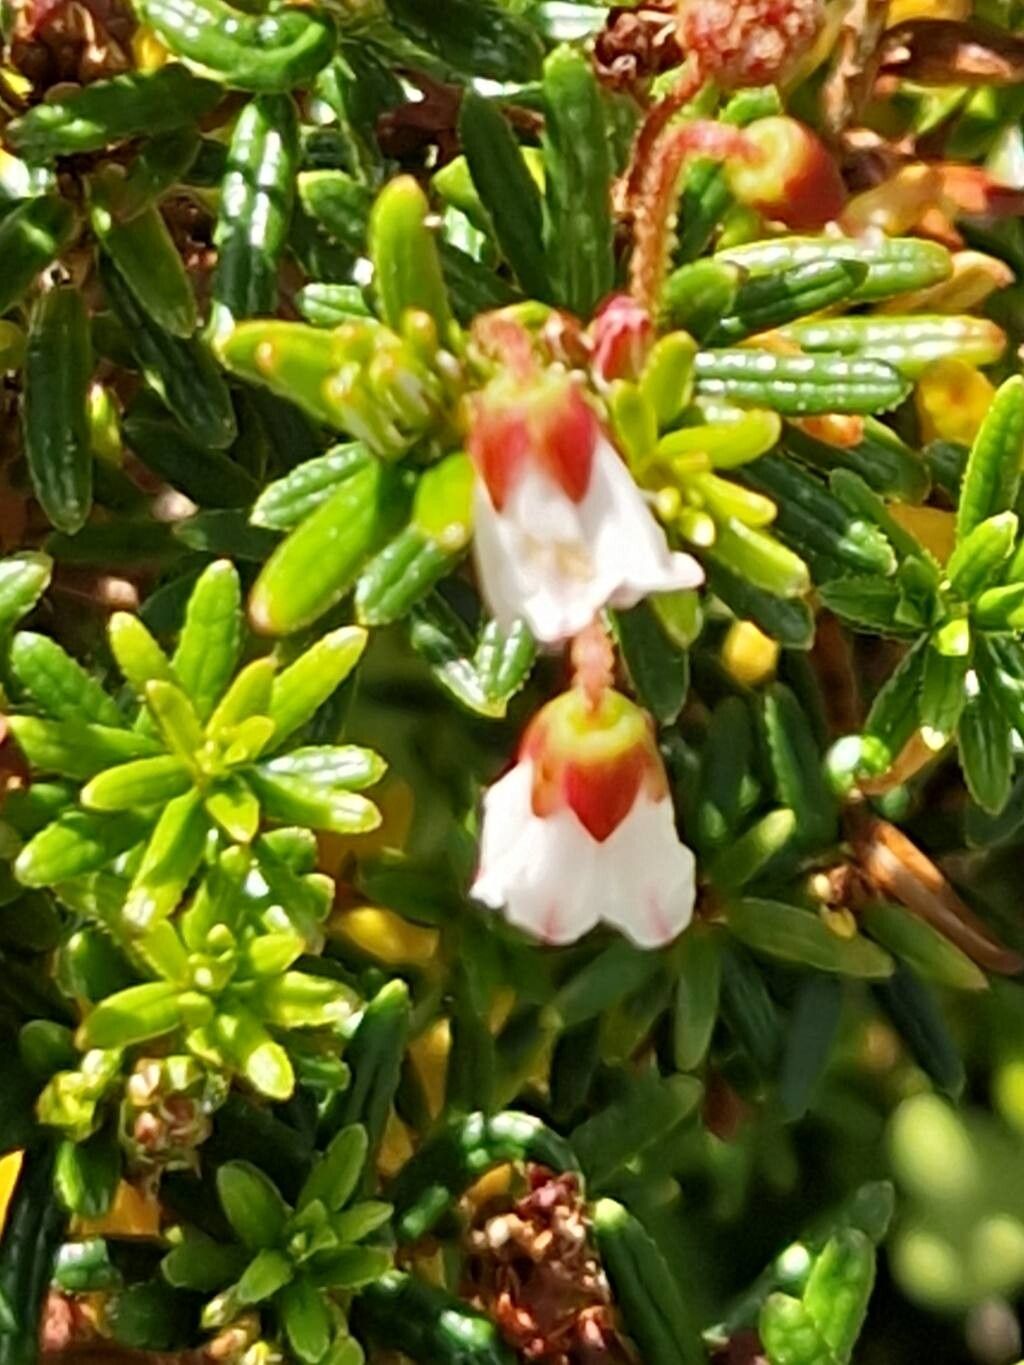
Oh, Phyllodoce nipponica! Isn’t it just a darling? Its delicate, bell-shaped flowers and tidy, evergreen foliage bring a touch of wild beauty to any garden. For years, I’ve loved watching these little gems bloom, and I get so much joy from sharing them with friends. If you’ve fallen in love with Phyllodoce too, you’ll find propagating it a wonderfully rewarding endeavor. Now, just between us, it’s not an absolute beginner’s plant, but with a little patience and the right approach, you’ll be well on your way to success.
The Best Time to Start
My favorite time to begin propagating Phyllodoce nipponica is in late spring or early summer. This is when the plant is actively growing and has plenty of fresh, pliable stems to work with. You’re aiming for what we call “semi-hardwood cuttings.” These are stems that were new growth earlier in the season but have started to firm up. Avoid taking cuttings from old, woody stems or brand new, very soft growth.
Supplies You’ll Need
Gathering your tools beforehand makes the whole process much smoother. Here’s what I always have on hand:
- Sharp pruning shears or a clean, sharp knife: For making clean cuts.
- Rooting hormone powder or gel: This really gives cuttings a boost.
- A good propagation mix: I find a blend of equal parts perlite and peat moss, or horticultural grit and peat moss, works beautifully. The key is excellent drainage.
- Small pots or trays: Clean ones are a must to prevent disease. Small nursery pots (2-3 inches) are perfect.
- Plastic bags or a clear propagation dome: To create a humid environment.
- Labels and a marker: Trust me, you will forget what you planted and when!
- A misting bottle: For keeping things moist.
Propagation Methods
For Phyllodoce nipponica, stem cuttings are generally the most reliable and my go-to method.
Stem Cuttings:
- Select your stems: Look for healthy, upright stems that are about 3-5 inches long. You’re aiming for those semi-hardwood ones I mentioned.
- Make the cut: Using your clean shears or knife, make a cut just below a leaf node (where a leaf attaches to the stem). A clean cut is crucial; it helps prevent disease and encourages better rooting.
- Prepare the cutting: Gently remove the leaves from the bottom half of the cutting. You want to have at least two leaf nodes exposed to the rooting medium. If the remaining leaves are very large, you can snip them in half to reduce water loss.
- Apply rooting hormone: Dip the cut end of the stem into your rooting hormone. Tap off any excess.
- Insert into the medium: Make a small hole in your prepared propagation mix with a pencil or your finger. Gently insert the cutting, ensuring the rooting hormone is covered and the stem is firm. Gently firm the mix around the base of the cutting.
- Water gently: Water the potting mix thoroughly but gently. You want it moist, but not waterlogged.
- Create humidity: Place the pots into a clear plastic bag, sealing it loosely at the top, or cover them with a propagation dome. This creates that vital humid microclimate cuttings need.
- Place in bright, indirect light: Find a spot that gets plenty of light but no direct sun, which can scorch the delicate cuttings. A warm, bright window is often ideal.
The “Secret Sauce” (Pro Tips)
Having experimented with many plants over the years, I’ve picked up a few tricks that seem to make a real difference.
- Bottom Heat is Your Friend: While not strictly necessary, if you can provide gentle bottom heat (using a seedling heat mat set to a low temperature), it significantly speeds up root development. Cuttings love a little warmth at their base.
- Don’t Disturb Too Soon: Resist the urge to tug on your cuttings to check for roots! You’ll know they’re ready when they show new growth or you can feel a slight resistance when gently pulled. This usually takes 6-10 weeks, sometimes longer. Patience is key here.
- Good Air Circulation is Key: Even though we’re creating humidity, it’s important to vent the bag or dome for a few minutes daily to allow for air exchange. This helps prevent fungal issues.
Aftercare & Troubleshooting
Once you see signs of life – new leaf buds or growth – it’s time to start acclimatizing your new Phyllodoce.
Gradually open the plastic bag or dome a little more each day over a week or two. Continue to keep the soil consistently moist but not soggy. Once they’ve adapted to the open air, you can pot them up into slightly larger individual pots with a well-draining potting mix. Keep them in a sheltered spot, out of harsh sun and wind, until they are well-established.
The most common problem you might encounter is rot. This usually happens from overwatering or poor drainage. If you see a cutting turning black and mushy at the base, sadly, it’s probably a goner. Remove it immediately to prevent it from affecting others. Stick with your well-draining mix and the daily venting, and you’ll dramatically reduce this risk.
A Little Encouragement
Propagating plants is a beautiful dance with nature. There will be times when some cuttings don’t make it, and that’s perfectly okay. Each attempt is a learning experience. Celebrate the successes, learn from the challenges, and most importantly, enjoy the process of nurturing new life. Happy propagating!
Resource:
https://identify.plantnet.org/k-world-flora/species/Phyllodoce%20nipponica%20Makino/data