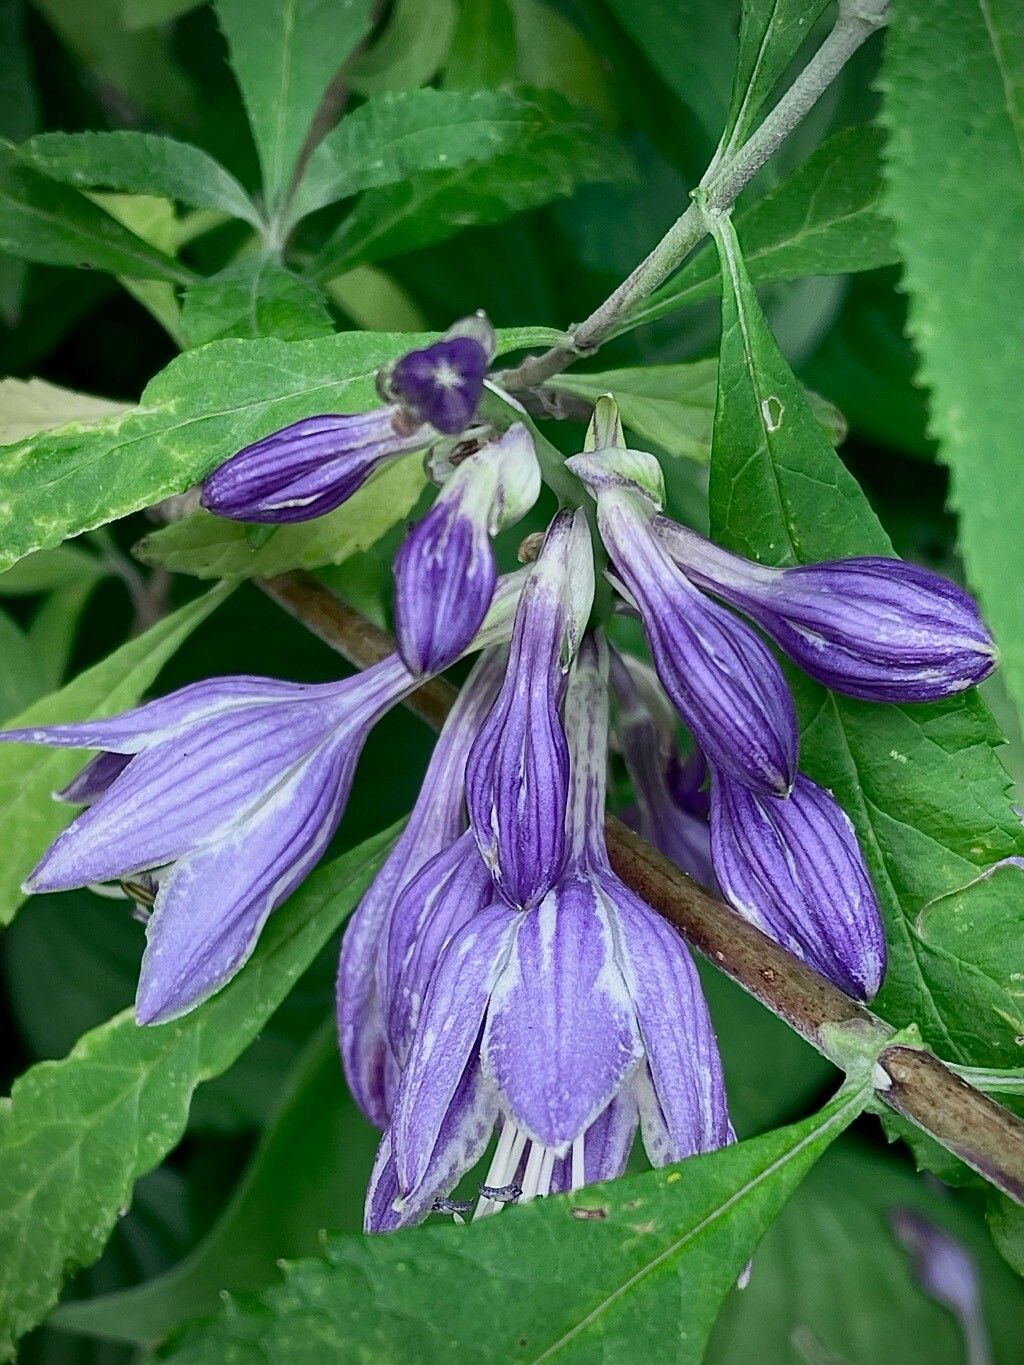
Oh, Hosta ventricosa! What a magnificent plant. I’ve spent many happy hours admiring its elegant, arching leaves and the way it brings such a lush, verdant feel to shady corners. If you’re anything like me, the thought of having more of these beauties gracing your garden is an exciting one. And guess what? Propagating Hosta ventricosa is a wonderfully rewarding endeavor, and happily, it’s quite beginner-friendly! You’ll be surprised at how easy it is to share these garden gems with friends, or just expand your own collection.
The Best Time to Start
For Hosta ventricosa, spring is absolutely your golden ticket. Look for the plant to be actively growing after the last frost. You’ll see new shoots emerging, and the leaves will be unfurling. This is when the plant has plenty of energy stored up, making it more receptive to propagation. Early summer also works well, as long as you have a good few months of growing season ahead.
Supplies You’ll Need
Here’s what you’ll want to gather before we dive in:
- Sharp pruning shears or a clean, sharp knife: For making clean cuts.
- Rooting hormone (optional but recommended): Helps encourage faster root development.
- Well-draining potting mix: A blend of peat moss, perlite, and compost is ideal.
- Small pots or trays: For your new cuttings. Make sure they have drainage holes!
- A watering can with a fine rose: To water gently.
- Plastic bags or a humidity dome: To maintain moisture around your cuttings.
- Labels: So you don’t forget what you’ve planted!
Propagation Methods
Hosta ventricosa is a champion at division. It’s hands-down the easiest and most successful method I’ve found for this particular hosta.
Division
This is how we do it:
- Dig it up carefully. When your Hosta ventricosa is at its most robust, usually in spring or early fall when the soil is moist, gently dig around the base of the plant. You want to loosen the soil and lift the entire clump out, trying your best not to damage the roots.
- Clean off excess soil. Gently shake or rinse away some of the soil from the root ball. This helps you see the natural divisions.
- Find your divisions. Look for natural separation points where new shoots are emerging from the main root system. You should be able to see where one “eye” (the growth point) and its associated roots can be separated from another.
- Split the clump. You can do this by carefully pulling sections apart with your hands. If it’s a bit stubborn, use your clean pruning shears or knife to cut through the root ball and rhizomes. Aim for divisions that have at least one or two healthy shoots and a good portion of roots.
- Plant your new babies. Pot up each division in its own container filled with your well-draining potting mix, or plant them directly into their new garden spot. Ensure the crown (where the leaves emerge from the roots) is at or just slightly above soil level.
- Water well. Give them a good soak right after planting to help settle the soil and reduce transplant shock.
The “Secret Sauce” (Pro Tips)
Here are a couple of things I’ve learned over the years that really make a difference:
- When you’re dividing, don’t be afraid to get your hands dirty and really inspect the root system. Sometimes, a division that looks small at the top is surprisingly well-rooted underneath. Healthy roots are the key to success!
- For divisions, giving them a bit of shade initially is crucial. While hostas love shade, newly divided plants are still a bit sensitive. A spot that gets dappled morning sun and afternoon shade is perfect. This prevents the leaves from getting scorched while they establish.
Aftercare & Troubleshooting
Once your new Hosta ventricosa divisions are planted, keep them consistently moist but not waterlogged. This is especially important in the first few weeks as they settle in. You’ll know they’re happy when you see new leaf growth emerging.
The main thing to watch out for is rot. This usually happens if the soil stays too wet for too long, or if the crown is buried too deeply. You might see leaves wilting, turning yellow, or developing mushy spots. If you suspect rot, gently dig up the division and remove any rotted sections with a clean knife. Replant in fresh, drier soil and be more careful with watering.
A Encouraging Closing
Don’t get discouraged if your first attempt isn’t perfect. Gardening is all about learning and experimenting. With Hosta ventricosa, division is a forgiving method, and soon you’ll have a small army of these gorgeous plants. Be patient, enjoy the process of nurturing something new, and before you know it, your garden will be filled with even more of these beloved hostas!
Resource:
https://identify.plantnet.org/k-world-flora/species/Hosta%20ventricosa%20Stearn/data