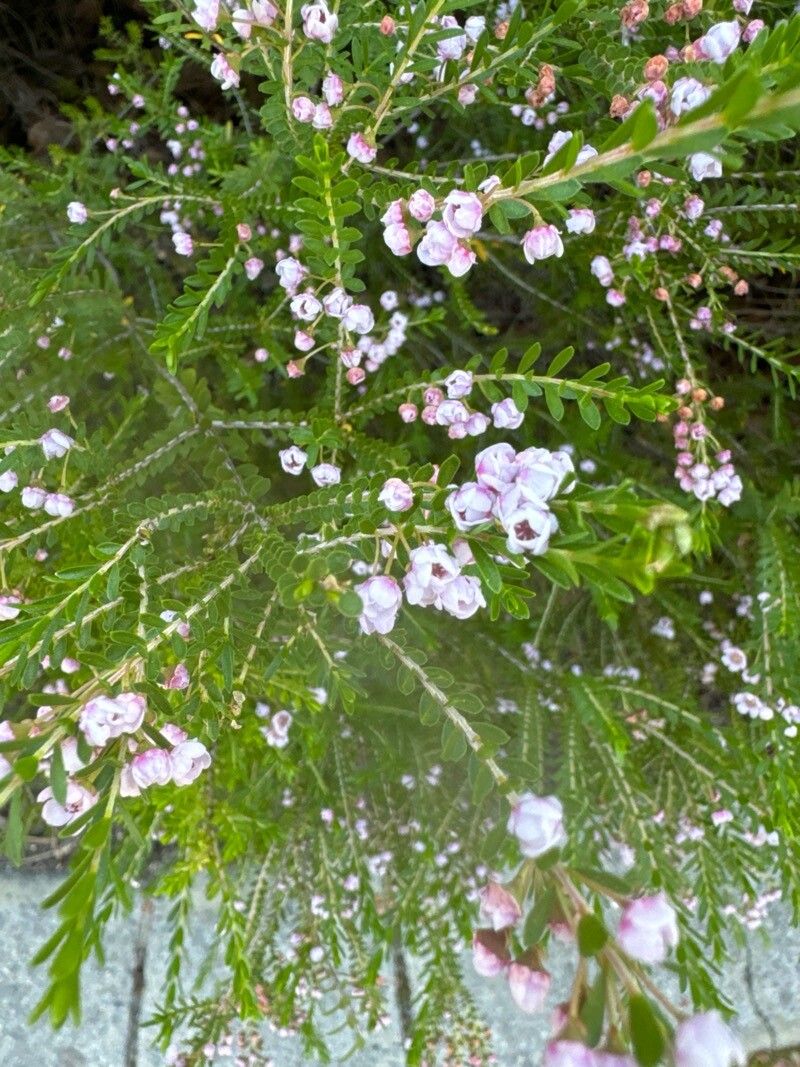
Oh, hello there! Come on in, grab a mug. Today, we’re diving into the delightful world of Thryptomene baeckeacea, a truly charming little Australian native. If you love those delicate, daisy-like flowers that seem to go on forever, you’re in for a treat. Propagating these beauties is such a rewarding experience, almost like getting a little gift from yourself down the line. And I’m happy to say, while it takes a bit of care, it’s not an impossible task, even for those just starting their green-thumb journey.
The Best Time to Start
My favorite time to get stuck into propagating Thryptomene baeckeacea is during the active growing season. Think late spring through to mid-summer. This is when the plant is full of vim and vigor, producing new stems that are perfect for taking cuttings. You’ll want to select wood that’s semi-hardened, meaning it’s not brand new and floppy, but also not old and woody. It should snap cleanly when bent.
Supplies You’ll Need
Here’s what I usually have on hand when I’m getting ready to propagate:
- Sharp pruning shears or a clean knife: For taking nice, clean cuts.
- Rooting hormone powder or gel: This really gives cuttings a boost.
- A well-draining potting mix: A blend of potting soil, perlite, and a bit of coarse sand works wonderfully. You want good aeration!
- Small pots or seedling trays: Clean ones, of course!
- A clear plastic bag or a propagator: To create a mini-greenhouse effect.
- Watering can with a fine rose: For gentle watering.
- Labels and a marker: So you remember what you’ve planted!
Propagation Methods: Stem Cuttings Are King!
For Thryptomene baeckeacea, stem cuttings are by far the most reliable method I’ve found. Here’s how I do it:
- Select your cuttings: As mentioned, choose those vibrant, semi-hardened stems. Look for pieces that are about 10-15 cm (4-6 inches) long.
- Make your cut: Using your sharp shears, make a clean cut just below a leaf node (where a leaf attaches to the stem). This is where roots are most likely to form.
- Prepare the cutting: Gently remove the leaves from the bottom half of the cutting. You want to expose a section of the stem. If the remaining leaves are very large, you can trim them in half to reduce water loss.
- Dip in rooting hormone: Lightly moisten the cut end of the stem and dip it into your rooting hormone. Tap off any excess.
- Pot them up: Fill your pots or trays with your well-draining mix. Make a small hole with a pencil or your finger and gently insert the cutting, ensuring the nodes where you removed the leaves are buried. Firm the soil around the base.
- Water gently: Give the pots a good but gentle watering with your fine-rose watering can. You want the soil to be moist, not waterlogged.
- Create a humid environment: Cover the pots with a clear plastic bag, propping it up with a few stakes so it doesn’t touch the leaves, or place them inside a propagator. This traps humidity, which is crucial for cuttings.
The “Secret Sauce” (Pro Tips)
Now, for a couple of little tricks up my sleeve:
- You know how those leaves can droop down and touch the soil? Avoid letting any leaves touch the soil. If they do, they’re prone to rotting, and that’s a sure way to lose your cutting before it even has a chance.
- If you have them, using bottom heat can really speed things up and increase your success rate. A heated propagator mat or tent will keep the soil temperature consistently around 20-24°C (68-75°F), which cuttings absolutely love.
Aftercare & Troubleshooting
Once your cuttings are potted up, place them in a bright spot that gets indirect light. Avoid direct sun, as it can scorch those tender young cuttings. Keep the soil consistently moist but never soggy. You’ll know they’re rooting when you see new growth appearing, or if you give them a very gentle tug and feel resistance. This usually takes anywhere from 4 to 8 weeks, sometimes longer.
The most common problem you’ll face is rot. If a cutting turns black and mushy, it’s usually a sign of too much moisture and not enough airflow. If you notice this, remove the affected cutting immediately to prevent it from spreading. Sometimes, cuttings just don’t take, and that’s okay! Don’t get discouraged.
A Warm Encouragement
Propagating Thryptomene baeckeacea, like any gardening endeavor, is a journey. Be patient, celebrate the small wins, and learn from any setbacks. The joy of nurturing a tiny cutting into a thriving plant is truly unparalleled. Happy propagating, and may your garden be ever-blooming!
Resource:
https://identify.plantnet.org/k-world-flora/species/Thryptomene%20baeckeacea%20F.Muell./data