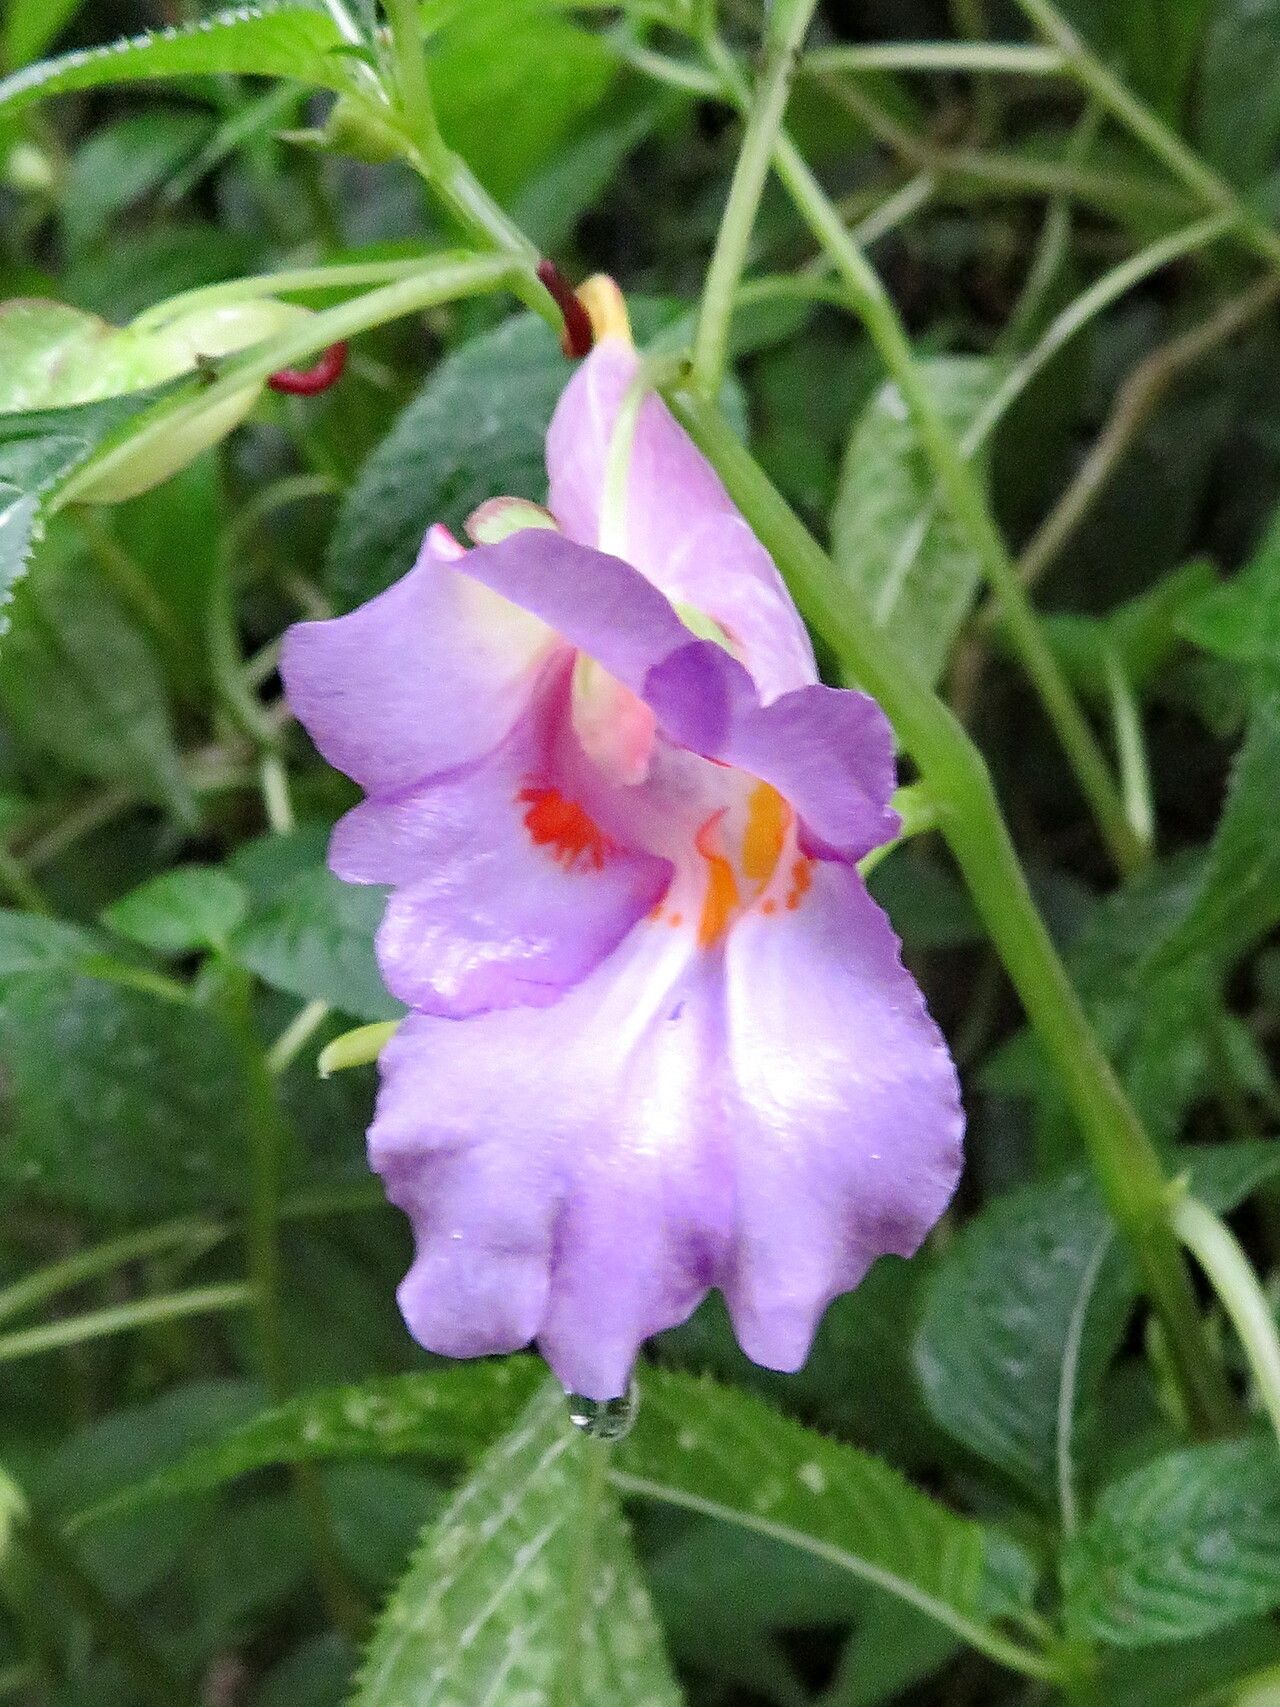
Oh, hello there! Pull up a chair and let’s chat about something truly delightful: Impatiens arguta. If you’re looking for a plant that just oozes charm, with its delicate, starry flowers and lush foliage, then this is your gal. Propagating her is such a joy, and honestly, it’s a fantastic way to expand your collection without breaking the bank. For beginners? I’d say she’s moderately easy, a wonderful step up from the absolute basics, but with a little care, you’ll be a pro in no time.
The Best Time to Start
My favorite time to get started with Impatiens arguta propagation is during the late spring or early summer. This is when the plant is in its most vigorous growth phase. You’ll find the stems are strong and supple, perfect for taking cuttings that are bursting with life and ready to root. Waiting until after the main flush of spring growth has started really gives you the best odds.
Supplies You’ll Need
Here’s what you’ll want to have on hand for a smooth propagation session:
- Sharp, clean pruning shears or a sharp knife: A clean cut is a happy cut!
- Small pots or trays: Cleaned thoroughly, of course.
- A good quality potting mix: I like a well-draining mix, something light. A blend of seed starting mix and perlite works wonders for encouraging root development and preventing sogginess.
- Rooting hormone (optional but helpful): Especially for stem cuttings, this can give your little ones a significant boost.
- A plastic bag or humidity dome: To keep things cozy and moist.
- Watering can or spray bottle: For gentle hydration.
Propagation Methods
Let’s get our hands dirty! My go-to methods for Impatiens arguta are stem cuttings and, surprisingly, water propagation can work too, with a little trick.
Stem Cuttings: My Personal Favorite
- Select your parent plant: Find a healthy, vigorous Impatiens arguta that’s not flowering heavily.
- Take cuttings: Using your clean shears, cut stems about 4-6 inches long. Make sure each cutting has at least two sets of leaves. Take these cuts just below a leaf node (where a leaf grows from the stem).
- Prepare the cuttings: Gently remove the lower leaves from each cutting, leaving just the top couple of sets. This prevents them from rotting in the soil.
- Apply rooting hormone (if using): Dip the cut end of each stem into your rooting hormone, tapping off any excess.
- Pot them up: Fill your clean pots with your prepared potting mix. Make a small hole in the center of the soil with your finger or a pencil.
- Insert the cuttings: Gently place the cut end of each Impatiens arguta cutting into the hole, making sure the leaf nodes where you removed leaves are covered by soil. Firm the soil gently around the stem.
- Water gently: Water the soil lightly to settle it around the cuttings.
- Create a humid environment: Cover the pots with a plastic bag or a humidity dome. Prop the bag up with a few stakes so it doesn’t touch the leaves. Place them in a bright spot, but out of direct sunlight.
Water Propagation: A Bit Tricky, But Doable!
While I lean towards soil, you can try water.
- Prepare your cuttings: Follow steps 1-3 above for taking and preparing stem cuttings.
- Place in water: Put your cuttings in a small vase or jar of clean water. Make sure the leaf nodes are submerged, but crucially, don’t let the leaves themselves touch the water. This is where rot can easily set in.
- Change the water regularly: Every couple of days, refresh the water to keep it clean and oxygenated.
- Wait for roots: You should see tiny white roots begin to form from the submerged leaf nodes. This can take a few weeks.
- Pot them up: Once the roots are about an inch long, you can carefully transplant them into your prepared potting mix, following steps 5-8 from the stem cutting method.
The “Secret Sauce” (Pro Tips)
Here are a couple of things I’ve learned over the years that make a real difference:
- Bottom Heat is Your Friend: If you have a seedling heat mat, use it! Placing your pots on a gently warmed surface (around 70-75°F or 21-24°C) can significantly speed up root formation. It mimics a nice, warm spring soil.
- Don’t Over-Love Them (Watering-wise): This is a big one for new propagations. They don’t need a flood. Water them when the top inch of soil feels dry to the touch. Overwatering is the fastest way to a sad, rotting cutting. Think “moist, not soggy.”
Aftercare & Troubleshooting
Once you start to see new growth on your cuttings, that’s a great sign! It means roots are forming underground. You can gently tug on a stem – if there’s resistance, you’ve got roots!
- Gradual Acclimation: Once roots are established, start to gradually acclimatize them to drier air. Open the plastic bag or humidity dome for a few hours each day, slowly increasing the time over a week or so.
- Watering: Continue to water when the topsoil feels dry, but allow them to experience slightly drier conditions as they mature.
- Signs of Failure: The most common issue is rot. If your cuttings turn black and mushy, or if the leaves start to yellow and drop rapidly without any visible new growth, it’s often a sign of too much moisture or a bit too much heat without enough airflow. Don’t be discouraged; just try again! Sometimes, a cutting just doesn’t take, and that’s part of the gardening journey.
A Encouraging Closing
So there you have it! Propagating Impatiens arguta is a wonderfully rewarding experience. Be patient with your new little plants, give them a little warmth and consistent moisture, and you’ll soon be rewarded with a whole garden full of these enchanting blooms. Happy propagating, and enjoy the magic!
Resource:
https://identify.plantnet.org/k-world-flora/species/Impatiens%20arguta%20Hook.f.%20&%20Thomson/data