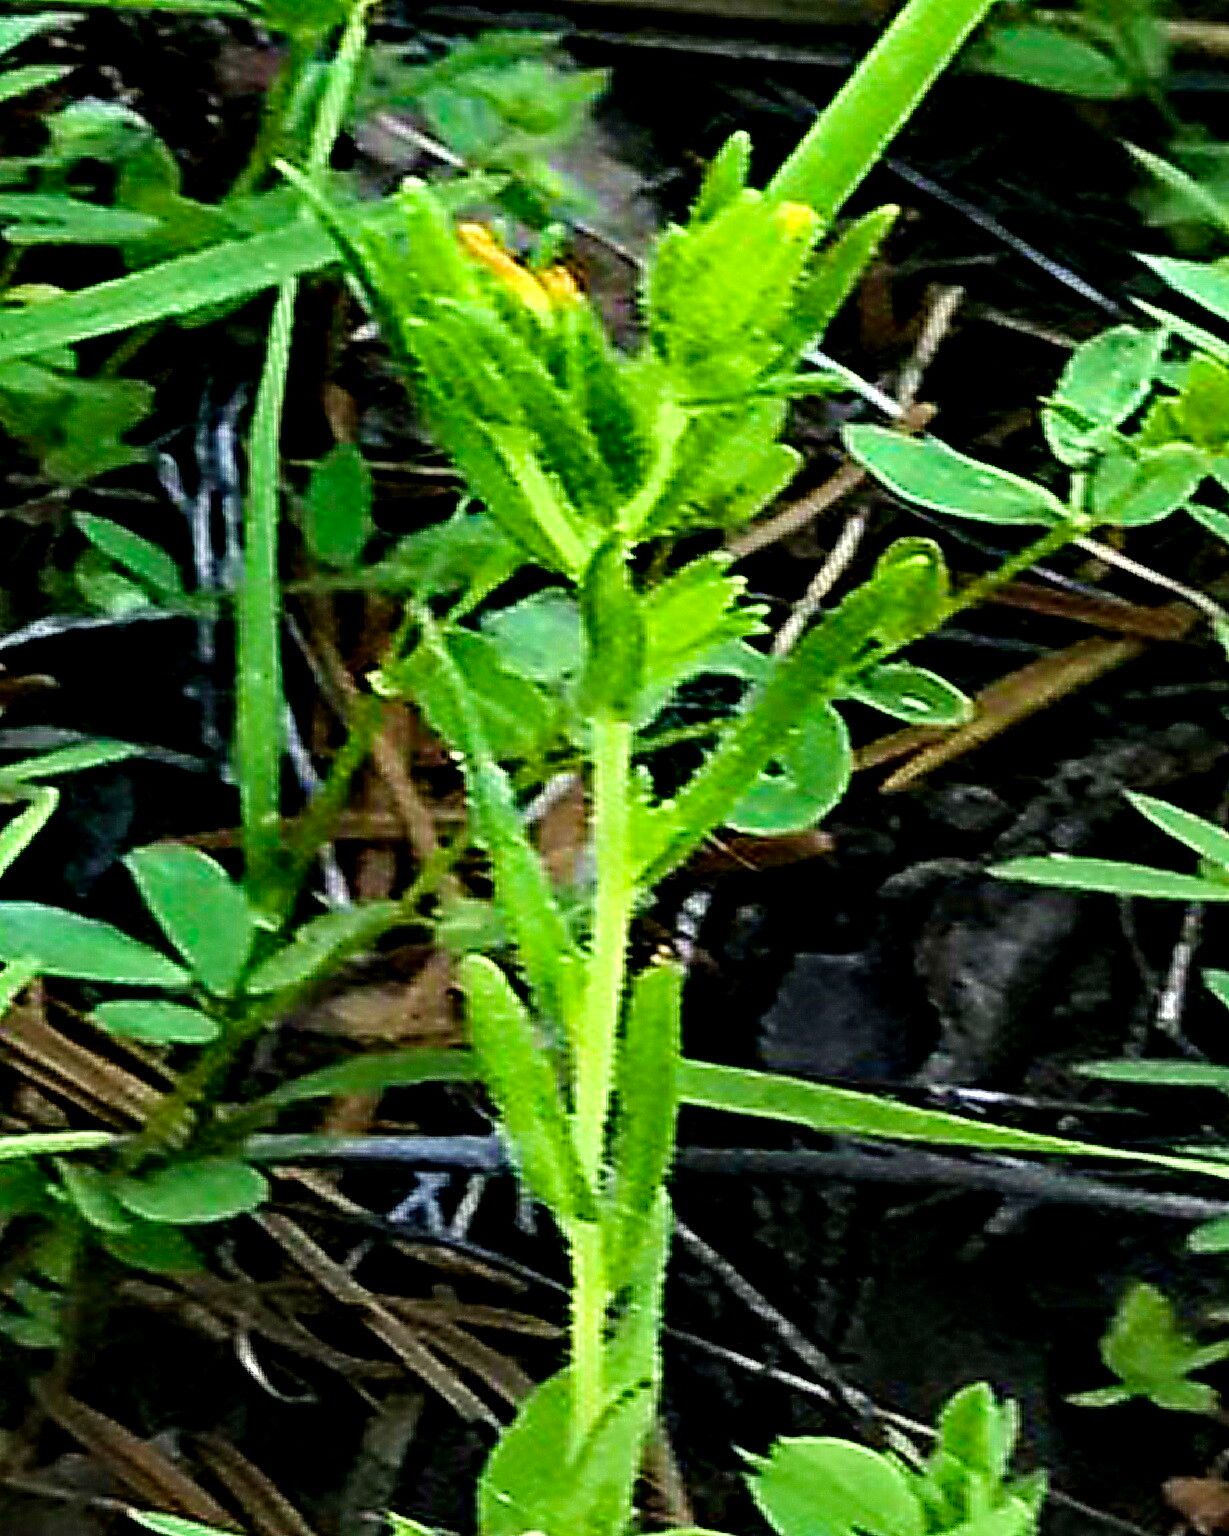
Oh, Madia glomerata! If you haven’t met this sunny little beauty yet, get ready. Also known as Tarweed, it’s one of those utterly charming native wildflowers that just glows in a garden. Its bright yellow, daisy-like flowers bring such cheerful color, especially when they blanket a hillside or meadow. And the scent! It’s got this unique, slightly spicy aroma that’s just lovely.
Now, I know some plants can feel a bit intimidating to propagate. But Madia glomerata? This one is a friendly face. I’d say it’s quite forgiving and generally easy, even for those who are just starting out on their propagation journey. Doubling your sunshine for free? That’s a win-win, if you ask me.
The Best Time to Start
For Madia glomerata, spring is your golden ticket. Once the last frost has passed and the soil is warming up, that’s the sweet spot. You can also try starting just as the plant is finishing its blooming cycle in late summer or early fall, but spring generally gives you the most vigorous growth and best chance of success. We want those new cuttings to have plenty of warm days ahead to establish themselves.
Supplies You’ll Need
Gathering your supplies beforehand makes the whole process smooth and enjoyable. Here’s what I usually have on hand:
- Clean Pots or Trays: Small ones are perfect for starting. Make sure they have drainage holes!
- Seed Starting Mix or a Light Potting Mix: Something that drains well is key. I often mix in a bit of perlite for extra aeration.
- Sharp Pruning Shears or a Clean Knife: For making clean cuts and preventing disease.
- Watering Can or Spray Bottle: For gentle watering.
- Rooting Hormone (Optional, but Recommended for Cuttings): A little boost can make a big difference. Look for a powder or gel.
- Small Pebbles or Gravel (for Water Propagation): To help hold cuttings upright.
- Labels: Trust me, you’ll thank yourself later.
Propagation Methods
Madia glomerata is pretty versatile, but my favorite ways to get more of it are through cuttings and seed division.
Stem Cuttings
This is my go-to method for Madia. It’s quick, and you can get a good number of new plants from a single mother plant.
- Select a Healthy Parent Plant: Choose a mature plant that looks strong and vibrant.
- Take Your Cuttings: In spring, look for softwood or semi-hardwood stems. These are stems that have started to firm up but are still somewhat flexible. Aim for cuttings that are about 4-6 inches long. Make your cut just below a leaf node (where a leaf attaches to the stem).
- Prepare the Cuttings: Gently remove any lower leaves, leaving just 2-3 at the top. This prevents them from rotting in the soil.
- Apply Rooting Hormone (Optional): Dip the cut end of each stem into your rooting hormone, tapping off any excess.
- Plant Your Cuttings: Fill your clean pots with your well-draining mix. Make a small hole with a pencil or your finger. Insert the cut end of the stem, firming the soil gently around it.
- Water Gently: Water the soil thoroughly but gently. You want it moist, not soggy. I like to use a spray bottle at this stage to avoid disturbing the cuttings.
- Provide a Humid Environment: Cover the pot with a clear plastic bag or place it in a propagator. This keeps the humidity high, which is crucial for cuttings to root.
- Place in Bright, Indirect Light: Avoid direct sun, which can scorch new cuttings.
Division
If you have a well-established clump of Madia glomerata, division is a simple and effective way to multiply your plants.
- Dig Up the Clump: In early spring, before new growth really takes off, carefully dig up the entire clump.
- Gently Separate: Use your hands or a trowel to gently pull the clump apart into smaller sections. Each section should have roots and some healthy shoots. If it’s a bit tough, don’t be afraid to use your clean knife to make divisions.
- Replant Immediately: Get these divisions into their new homes right away. Dig a hole large enough for the root ball, place the division in, backfill with soil, and water well.
The “Secret Sauce” (Pro Tips)
Here are a couple of things I’ve learned over the years that really help boost success with Madia.
- Don’t Drown Your Cuttings: Even though they need moisture, standing water is the enemy. If you’re using water propagation (which is also possible with Madia – just pop a few cuttings into a jar of water with pebbles), make sure no leaves are touching the water. They’ll rot right off. For soil propagation, aim for consistently moist, not waterlogged, soil.
- A Little Warmth Goes a Long Way: Madia loves warmth. If you’re taking cuttings in early spring when it’s still a bit cool, consider using a heat mat under your propagator or pots. This encourages root development from the bottom up. It makes a noticeable difference!
Aftercare & Troubleshooting
Once you start seeing new leaves popping out on your cuttings, it’s a good sign that roots are forming!
- Gradual Acclimation: If you’ve covered your cuttings, gradually remove the plastic cover over a few days to help them adjust to lower humidity.
- Consistent Moisture: Continue to water regularly, keeping the soil consistently moist, especially as the young plants establish.
- Move to Larger Pots: Once the roots have filled their initial pots (you might see them peeking out the drainage holes), it’s time to pot them up into slightly larger containers.
- Watch for Rot: The most common issue you’ll encounter is rot, which looks like mushy, discolored stems. This is usually due to overwatering or poor drainage. If you see it, try to remove the affected parts immediately and allow the remaining parts to dry out a bit more. Good airflow is also your friend in preventing rot.
A Encouraging Closing
Propagating Madia glomerata is such a rewarding experience. It’s a chance to connect with nature, learn about plant life cycles, and, of course, get more of that wonderful golden sunshine for your garden! Be patient with your new babies. Sometimes it takes a little while for roots to form, but the satisfaction of seeing them thrive is absolutely worth the wait. Happy planting!
Resource:
https://identify.plantnet.org/k-world-flora/species/Madia%20glomerata%20Hook./data