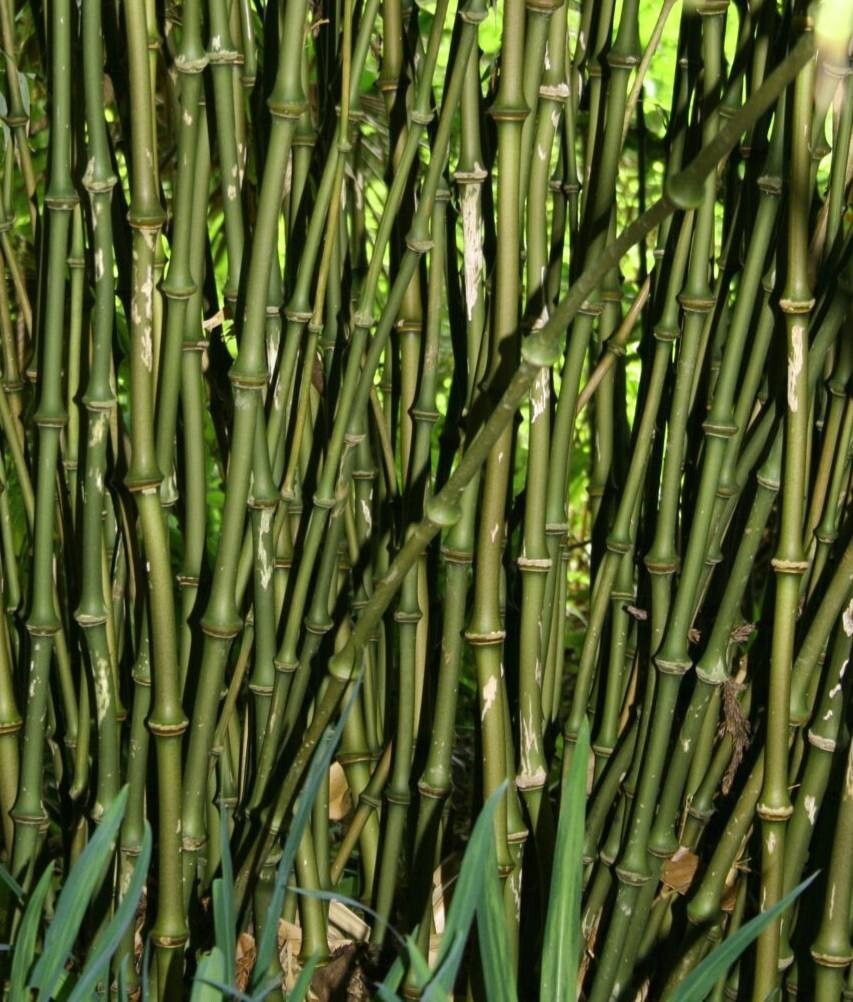
Oh, you’ve got your eye on Chimonobambusa tumidissinoda! What a fantastic choice. I’ve been growing these beauties for years, and honestly, their arching, knotty culms are just mesmerizing. They bring such a wonderful architectural element to any garden, and watching a new life spring from a small piece of one is one of gardening’s greatest joys. If you’re a complete beginner, it might feel a tad daunting at first, but stick with me, and you’ll be surprised at how achievable it is.
The Best Time to Start
Timing is everything, as they say, and with Chimonobambusa tumidissinoda, spring is your golden ticket. Once the plant is actively putting on new growth, usually after the last frost, it’s brimming with energy. This is when cuttings are most vigorous and have the best chance of taking off. You’re essentially tapping into its natural growth spurt.
Supplies You’ll Need
Let’s get our toolkit ready. Here’s what I always have on hand:
- Sharp pruning shears or a clean, sharp knife: You want a clean cut to minimize damage and disease.
- Potting mix: A well-draining mix is essential. I often use a blend of peat moss, perlite, and a bit of compost. Some folks swear by a coco coir base as well.
- Rooting hormone (optional but recommended): This little helper can give your cuttings a significant boost. Look for one formulated for woody cuttings.
- Small pots or containers: Terracotta pots are great because they breathe, helping to prevent soggy soil.
- Plastic bags or a propagator: To create a humid environment for your cuttings.
- Watering can with a fine rose attachment: For gentle watering.
- Labels and a marker: Trust me, you’ll thank yourself later for labeling what you’ve planted and when!
Propagation Methods
While you can divide Bambusa species, for Chimonobambusa tumidissinoda, stem cuttings are really where the magic happens and my preferred method.
Stem Cuttings:
- Select your culm: Look for healthy, 1-year-old culms. These are usually a bit more mature than brand new shoots but not woody and old. You’ll be looking for sections with at least two visible nodes (those rings on the bamboo). Avoid any that look yellowed or diseased.
- Make the cut: Using your sharp shears or knife, cut a section of the culm about 6-8 inches long. Make your cut just below a node. Then, make another cut about 6-8 inches above that, also just below a node. You’ll end up with a piece that has at least two nodes, hopefully three.
- Prepare the cutting: Remove all but the top 1-2 leaves. If the remaining leaves are large, I often cut them in half lengthwise to reduce water loss. Strip away any small branches or side shoots.
- Apply rooting hormone (optional): If you’re using rooting hormone, dip the cut end of the cutting into it, tapping off any excess.
- Plant your cutting: Fill your small pots with your moistened, well-draining potting mix. Make a hole in the mix with your finger or a pencil, and insert the cutting with the cut end down, ensuring at least one node is buried in the soil.
- Mist and cover: Gently water the soil. Then, cover the pot with a clear plastic bag or place it inside a propagator. You want to create a mini-greenhouse effect to maintain high humidity. You can use stakes to keep the bag from touching the leaves.
- Find a spot: Place the pots in a bright location but out of direct, scorching sunlight. A windowsill that gets bright indirect light is usually perfect. If you have a heated propagator, that’s even better for encouraging root growth.
The “Secret Sauce” (Pro Tips)
Here are a couple of things I’ve learned that really make a difference:
- The Water Level is Key (Even in Soil): When you water your cuttings after planting, you want the soil to be moist, not soggy. If the soil becomes waterlogged, the cutting is much more likely to rot at the node. It’s about creating that humid environment without drowning your baby plant.
- Bottom Heat is Your Friend: If you can provide a little warmth from below, it’s a game-changer. A seedling heat mat placed under your propagator or pots can significantly speed up root formation. Bamboo really likes to feel the warmth when it’s getting started.
- Patience with the Nodes: Remember, those nodes are where the magic happens. They are essentially dormant growth points. When selecting your cutting, ensure you have at least one, ideally two, nodes buried in the soil. That’s where the roots will emerge and new shoots will begin.
Aftercare & Troubleshooting
Once your cutting shows signs of life, it’s time for a little extra attention.
- Rooting: You’ll know your cutting has rooted when you see new leaf growth or feel a gentle resistance when you tug lightly on the cutting. This can take anywhere from 4 weeks to a few months, so don’t despair if it’s not immediate!
- Acclimation: When new growth appears, you’ll need to gradually acclimate your new plant to drier air. Start by opening the plastic bag or propagator for a few hours each day, slowly increasing the time over a week or two.
- Repotting: Once your new plant has developed a good root system and is growing confidently, you can pot it up into a slightly larger container with fresh potting mix.
- Troubleshooting: Rot is the biggest culprit. If your cutting turns black and mushy, it’s likely succumbed to rot. This is usually due to too much moisture and poor drainage. If you see this happen, unfortunately, it’s best to discard it and try again, focusing on that crucial well-draining soil and less waterlogged conditions. Yellowing leaves before new growth can sometimes just be the plant shedding its old foliage, but if the entire cutting looks sickly and limp, it might not be taking.
So there you have it! Growing Chimonobambusa tumidissinoda from cuttings is a deeply satisfying process. Be patient, pay attention to the details, and enjoy the journey. Soon enough, you’ll have new clumps of this gorgeous bamboo to share with friends, or to plant out and create your own little bamboo wonderland. Happy growing!
Resource:
https://identify.plantnet.org/k-world-flora/species/Chimonobambusa%20tumidissinoda%20Ohrnb./data