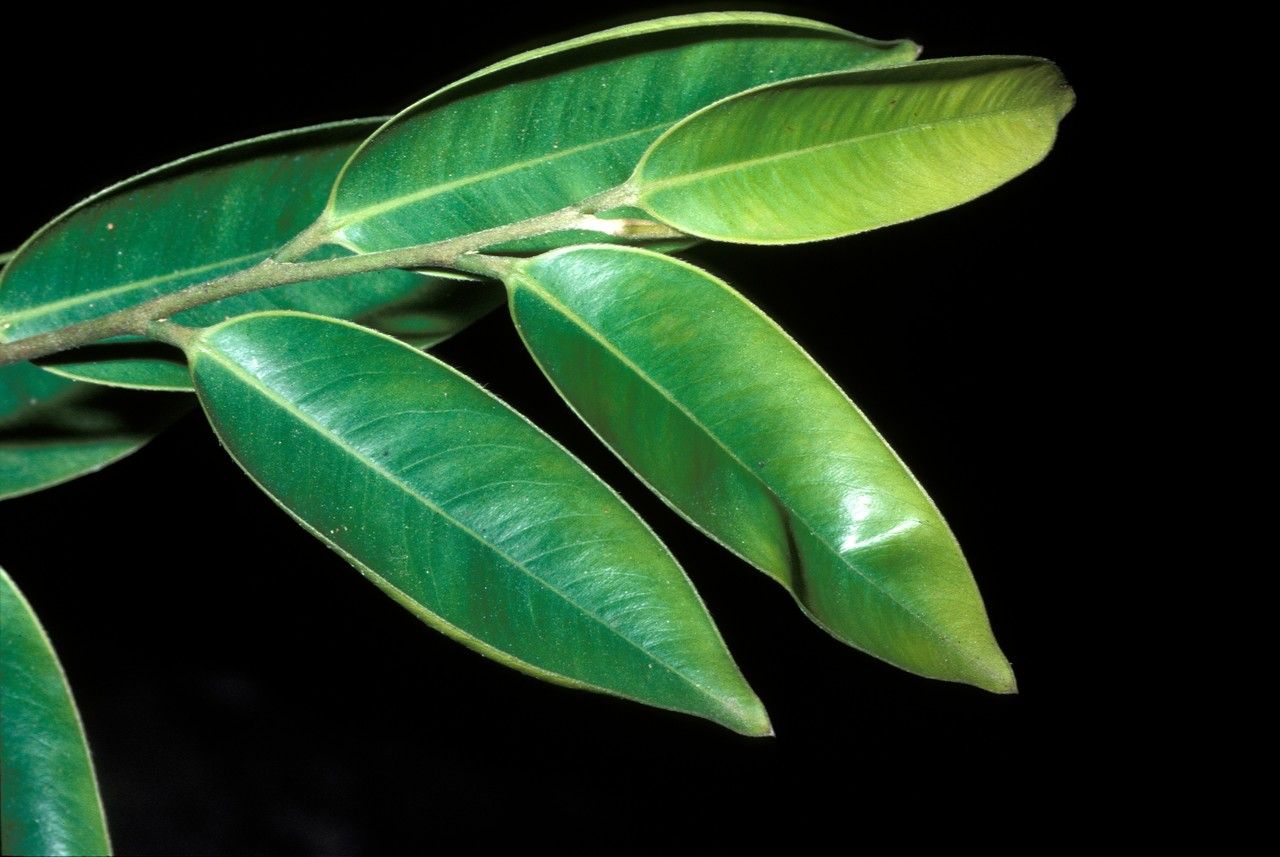
Hey there, fellow plant enthusiasts! I’m thrilled to dive into the fascinating world of Aquilaria sinensis with you today. If you’re drawn to the allure of unique and fragrant plants – and let’s be honest, who isn’t? – then propagating Aquilaria sinensis might just be your next rewarding garden adventure.
Now, I won’t sugarcoat it. Aquilaria sinensis isn’t exactly a beginner’s walk in the park when it comes to propagation. It prefers specific conditions and can be a bit fussy. But with a little patience and the right approach, you can absolutely achieve success and bring more of this remarkable plant into your life. The feeling of nurturing a new life from a simple cutting is just pure magic, wouldn’t you agree?
The Best Time to Start
For the highest chance of success, I’ve found that late spring to early summer is your golden window. Think of it as when the plant is really waking up and putting on some vigorous growth after winter. You’ll want to take cuttings from healthy, semi-hardwood stems – these are the ones that have started to firm up but aren’t completely woody yet. They’re pliable enough to root but have enough stored energy to get them going.
Supplies You’ll Need
Gathering your tools beforehand makes the whole process much smoother. Here’s what I always have on hand:
- Sharp Pruning Shears or a Craft Knife: Clean, sterilized tools are non-negotiable to prevent disease transmission.
- Rooting Hormone: A powder or liquid rooting hormone significantly increases your success rate by encouraging root development.
- Well-Draining Potting Mix: I usually opt for a blend of peat moss or coco coir and perlite or coarse sand (a 50/50 mix is a good starting point). You want it light and airy.
- Small Pots or Trays: Clean pots with drainage holes are essential.
- Clear Plastic Bag or Humidity Dome: This creates that crucial humid environment new cuttings crave.
- Watering Can with a Fine Rose: Gentle watering is key.
- Optional: Bottom Heat Mat: If your space is on the cooler side, this can make a world of difference.
Propagation Methods
While there are a few ways to go, my go-to for Aquilaria sinensis is stem cuttings. It’s reliable and has given me the best results.
Stem Cuttings
- Select Your Cuttings: Look for healthy, vigorous stems that are about 4-6 inches long. Make your cuts just below a leaf node. The “node” is where the leaf attaches to the stem – that’s where the magic happens for rooting.
- Prepare the Cutting: Gently remove the leaves from the bottom half of the cutting. You don’t want any leaves below the soil line, as this can lead to rot. If your leaves are very large, you can even cut them in half horizontally to reduce water loss.
- Apply Rooting Hormone: Dip the cut end of the stem into your rooting hormone. Tap off any excess.
- Plant the Cutting: Make a hole in your prepared potting mix with a pencil or your finger. Gently insert the cutting into the hole, making sure the hormone-coated end is deep enough to be secure. Firm the soil gently around the base of the cutting.
- Mist and Cover: Lightly mist the leaves of the cutting and the surface of the soil. Then, cover the pot loosely with a clear plastic bag or place it under a humidity dome. This traps moisture and creates a microclimate.
- Placement: Place the pot in a warm, bright location, but out of direct sunlight. Direct sun will cook your delicate cuttings. If you have a bottom heat mat, now’s the time to use it!
The “Secret Sauce” (Pro Tips)
Every gardener has their little tricks, right? Here are a few that have really helped me with trickier propagations like Aquilaria sinensis:
- Don’t Let Leaves Touch the Water: If you’re misting your cuttings for humidity, be extra careful. Excess moisture sitting on leaves in stagnant air is an invitation for fungal diseases. A gentle mist is what they need, not a constant soak.
- Bottom Heat is Your Friend: I cannot stress this enough! Providing gentle warmth from beneath – about 70-75°F (21-24°C) – significantly speeds up root formation. It mimics that cozy, spring-like soil temperature the plant craves.
- Patience is a Virtue, But Monitoring is Key: While you absolutely need to be patient, check on your cuttings regularly. Gently tugging on a cutting after a few weeks is a good indicator. If there’s resistance, you’re likely developing roots!
Aftercare & Troubleshooting
Once you see signs of new growth – tiny leaves unfurling or a gentle tug indicating resistance – you know you’re on the right track!
- Gradual Acclimation: Slowly reduce the humidity over a week or two. This means gradually opening the plastic bag or lifting the humidity dome for longer periods.
- Continue Gentle Watering: Keep the soil consistently moist but not waterlogged. Overwatering is the most common way to lose a promising cutting.
- Watch for Rot: The biggest culprit here is fungal rot, which often shows up as a black, mushy stem base. If you see this, it’s often too late, but it’s a stark reminder to ensure excellent drainage and avoid overwatering. Another sign of stress can be yellowing leaves that aren’t related to new growth; this might mean too much direct sun or inconsistent moisture.
A Little Patience Goes a Long Way
Propagating Aquilaria sinensis might require a bit more finesse than some of your more common houseplants. But trust me, the joy of watching those first tiny roots emerge, and then seeing that cutting grow into its own little plant, is an incredibly rewarding experience. So don’t be discouraged if your first attempt isn’t perfect. Each plant you nurture is a lesson learned, and soon you’ll be a quilaria sinensis propagation pro! Happy gardening!
Resource:
https://identify.plantnet.org/k-world-flora/species/Aquilaria%20sinensis%20(Lour.)%20Spreng./data