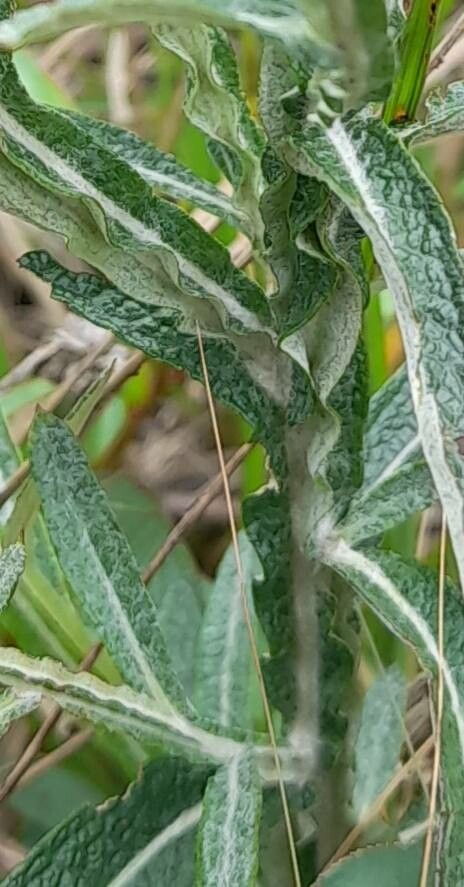
Oh, hello there! If you’re anything like me, you’ve fallen in love with the unique charm of Pterocaulon angustifolium. Its delicate, feathery foliage and airy blooms are truly something special, aren’t they? There’s a particular joy in coaxing new life from an existing plant, and propagating this beauty is a rewarding endeavor indeed. Now, I wouldn’t say it’s a walk in the park for your very first houseplant project, but with a little patience and the right approach, it’s absolutely doable. I’m thrilled to share my tips with you!
The Best Time to Start
For the highest success rate with Pterocaulon angustifolium, I find that spring and early summer are your best bets. Think of it as tapping into the plant’s natural energy surge. When the days are getting longer and warmer, the plant is actively growing, meaning our cuttings will be more eager to root. Wait until new growth has emerged and is firm, but not yet woody.
Supplies You’ll Need
- Sharp Pruning Shears or a Craft Knife: Clean cuts are crucial.
- Rooting Hormone Powder or Gel (Optional but Recommended): This can give your cuttings a helpful boost.
- Well-Draining Potting Mix: I like a blend of equal parts peat moss or coco coir, perlite, and a bit of coarse sand.
- Small Pots or Seed Trays: Clean ones, of course!
- Clear Plastic Bag or Humidity Dome: To keep things humid.
- Watering Can with a Fine Rose: Gentle watering is key.
- Labels: So you know what you’ve planted!
Propagation Methods
Let’s get our hands dirty! I’ve had the most success with stem cuttings for Pterocaulon angustifolium.
- Take Your Cuttings: On a healthy, established plant, locate a stem with new growth. Using your sharp shears or knife, take a cutting that is about 4-6 inches long. Make the cut just below a leaf node (where a leaf attaches to the stem). Remove the lower leaves, leaving just a few at the top.
- Apply Rooting Hormone (Optional): If you’re using rooting hormone, dip the cut end of the stem into the powder or gel. Tap off any excess.
- Plant Your Cuttings: Fill your small pots or trays with your prepared potting mix. Gently make a hole in the soil with your finger or a pencil and insert the cut end of the stem. Firm the soil gently around it.
- Water and Cover: Water the soil thoroughly but gently. You want it moist, not waterlogged. Place your potted cuttings in a clear plastic bag, sealing it loosely, or cover them with a humidity dome. This creates a mini-greenhouse effect.
- Provide Light and Warmth: Place your cuttings in a bright spot that receives indirect sunlight. Avoid direct sun, which can scorch tender new growth. A bit of gentle bottom heat, like from a seedling mat, can speed up rooting, but it’s not strictly necessary.
The “Secret Sauce”
Here are a few tricks I’ve learned over the years:
- Don’t Be Afraid to Prune: Sometimes, a cutting can be a bit too “leggy.” I’ll often pinch back the tip of the cutting before planting it. This encourages the plant to branch out and produce more potential rooting points.
- Watch for Drooping Leaves: If the leaves on your cutting start to droop dramatically, it’s a sign that it’s struggling to take up moisture. This is where that humidity dome or plastic bag really shines. Keep it on!
- Patience is Your Greatest Tool: This plant can be a bit of a slow bloomer when it comes to rooting. Don’t be discouraged if you don’t see signs of life immediately. Some cuttings can take several weeks to get going.
Aftercare & Troubleshooting
Once you start to see new leaf growth on your cuttings, that’s a fantastic sign that roots have formed! Gradually acclimatize your new plants to your home’s normal humidity by opening the plastic bag a little each day over a week. You can test for root development by gently tugging on the cutting; if there’s resistance, you have roots!
The most common issue you’ll encounter is rot. If your cuttings look mushy or discolored, sadly, it’s usually a goner. This often happens with overwatering or poor drainage. Ensure your soil mix is light and airy, and only water when the top inch of soil feels dry to the touch. If you see mold on the soil surface, you can gently scrape it off and maybe increase air circulation slightly.
A Little Encouragement
See? It’s all about mimicking a supportive environment and giving your little cuttings a good start. Don’t worry if not every attempt is a success – that’s part of the gardening journey! Enjoy the process of nurturing new life, and soon you’ll have a whole new collection of these lovely Pterocaulon angustifolium to share. Happy propagating!
Resource:
https://identify.plantnet.org/k-world-flora/species/Pterocaulon%20angustifolium%20DC./data