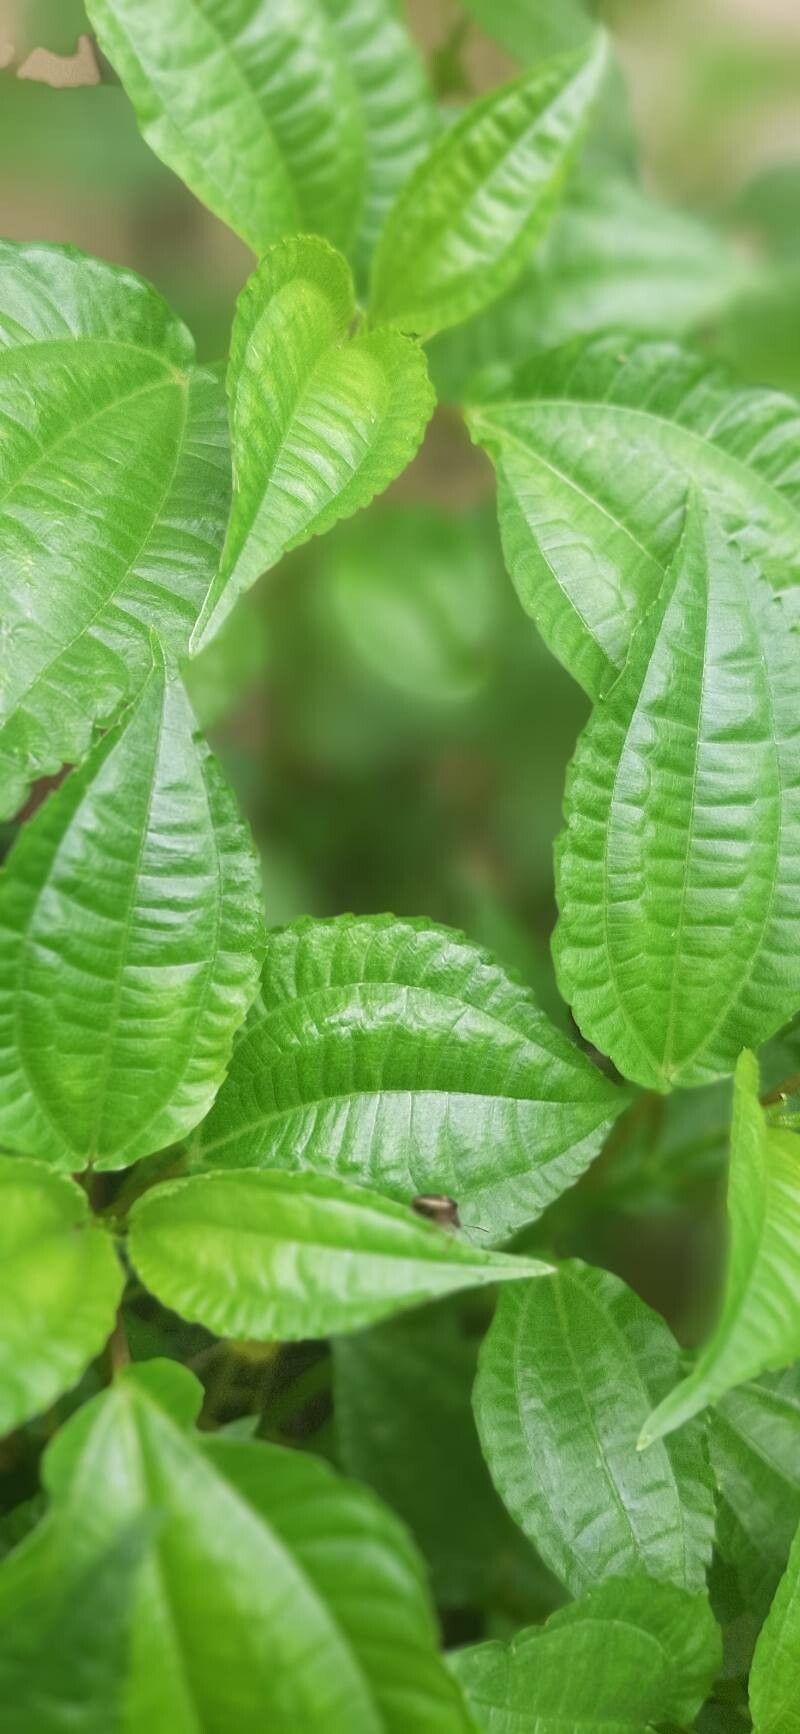
Hello, fellow plant lovers! Today, we’re diving into the wonderful world of Pilea melastomoides. If you’ve seen this beauty with its delicate, patterned leaves, you know why it’s become such a sought-after houseplant. It adds such a lovely touch of texture and intrigue to any space. And guess what? Propagating it is not only possible but incredibly rewarding! It’s a fantastic way to share these gems with friends or simply expand your own collection without breaking the bank. For those of you just starting out with houseplants, I’d say Pilea melastomoides is moderately easy to propagate. With a little attention, you’ll be well on your way.
The Best Time to Start
The absolute sweet spot for propagating Pilea melastomoides is during its active growing season. Think spring and early summer. This is when the plant is energized and ready to put out new growth, making it more receptive to taking root. You can often get away with propagating in late summer too, but spring is really where you’ll see the fastest and most reliable results. Look for healthy, non-flowering stems when you’re ready to snip.
Supplies You’ll Need
Gathering your supplies ahead of time makes the whole process so much smoother. Here’s what I like to have on hand:
- Sharp Pruning Shears or Scissors: Cleanliness is key here. I always give mine a quick wipe down with rubbing alcohol.
- Potting Mix: A well-draining potting mix is essential. I often use a blend of regular potting soil mixed with perlite or orchid bark for excellent aeration. Some growers even swear by a mix of peat moss and perlite.
- Small Pots or Propagation Trays: Whatever you have that can hold your cuttings and allow for drainage. Yogurt cups with poked holes work in a pinch!
- Rooting Hormone (Optional but Recommended): This can give your cuttings a helpful boost, though Pilea melastomoides is often quite happy without it.
- Water: For water propagation, of course!
- Clear Glass Jars or Vases: If you’re going the water route.
Propagation Methods
Pilea melastomoides offers a couple of delightful ways to propagate. Let’s explore them!
Stem Cuttings: My Go-To Method
This is my favorite and usually the most successful method.
- Take Your Cuttings: Using your clean shears, select a healthy stem that’s at least 4-6 inches long. Make a clean cut just below a leaf node (the little bump where a leaf attaches to the stem). You want at least 2-3 leaf nodes on your cutting.
- Remove Lower Leaves: Gently strip off the leaves from the bottom half of your cutting. This prevents them from rotting once in the soil or water.
- Apply Rooting Hormone (Optional): If you’re using rooting hormone, dip the cut end into it. A little goes a long way.
- Plant Your Cuttings: Fill your small pots with your well-draining potting mix. Make a small hole with your finger or a chopstick. Gently insert the cut end of the stem into the hole, ensuring the nodes are buried. Firm the soil gently around the stem.
- Water Thoroughly: Give your newly planted cuttings a good, gentle watering. You want the soil to be moist but not waterlogged.
Water Propagation: A Simple Start
This is a visually satisfying way to propagate, and sometimes it’s just easier to pop a cutting in water!
- Prepare Your Cuttings: Follow steps 1 and 2 from the Stem Cuttings method above.
- Place in Water: Put your cuttings into a clear glass jar or vase filled with clean water. Make sure the leaf nodes are submerged, but the remaining leaves are above the waterline.
- Find a Bright Spot: Place the jar in a location that receives bright, indirect light.
- Change Water Regularly: This is crucial! Change the water every 3-5 days to keep it fresh and prevent bacterial growth.
The “Secret Sauce” (Pro Tips)
After years of nurturing plants, you pick up a few tricks!
- My number one tip for stem cuttings is humidity. Once potted, I’ll often cover the pot with a clear plastic bag (making sure the leaves don’t touch the plastic!). This creates a mini-greenhouse effect, keeping the humidity high and encouraging roots to form faster. Prop the bag up with a few stakes if needed.
- For water propagation, don’t overcrowd your jar. Give each cutting a bit of space so they don’t hinder each other’s growth. Also, if you notice any tiny roots starting to emerge while the cutting is still in water, try not to disturb them too much when you eventually pot them up.
- A little gentle bottom heat can really speed things up, especially if your home tends to be a bit cool. Placing your pots on a propagation mat or even on top of a warm (but not hot!) appliance can make a significant difference in how quickly roots develop.
Aftercare & Troubleshooting
Once you see signs of life – tiny white roots emerging from the soil or growing longer in the water – it’s time for a little extra TLC.
- For Water Propagated Cuttings: Once your roots are about an inch or two long, it’s time to carefully transplant them into potting mix. Treat them like any other young seedling, keeping the soil consistently moist but not soggy for the first few weeks.
- For Soil Propagated Cuttings: Continue to keep the soil consistently moist. You’ll know they’ve rooted when you see new leaf growth appearing. You can give them a gentle tug – if there’s resistance, roots have formed!
- Troubleshooting: The most common issue you might encounter is rot. This usually happens from too much moisture and poor air circulation. If a cutting turns black and mushy, unfortunately, it’s often beyond saving. Prevention is key: ensure excellent drainage and avoid overwatering. If you notice yellowing leaves on a cutting that hasn’t rooted yet, it could be a sign it’s not getting enough light.
A Heartfelt Encouragement
Propagating plants is such a joyous journey. It requires a bit of patience, a dash of observation, and a whole lot of hope. Don’t be discouraged if your first few attempts aren’t perfect. Each plant and each trimming is a learning experience. Enjoy the process of nurturing these new little lives, and celebrate every tiny root that appears. Happy propagating!
Resource:
https://identify.plantnet.org/k-world-flora/species/Pilea%20melastomoides%20(Poir.)%20Wedd./data