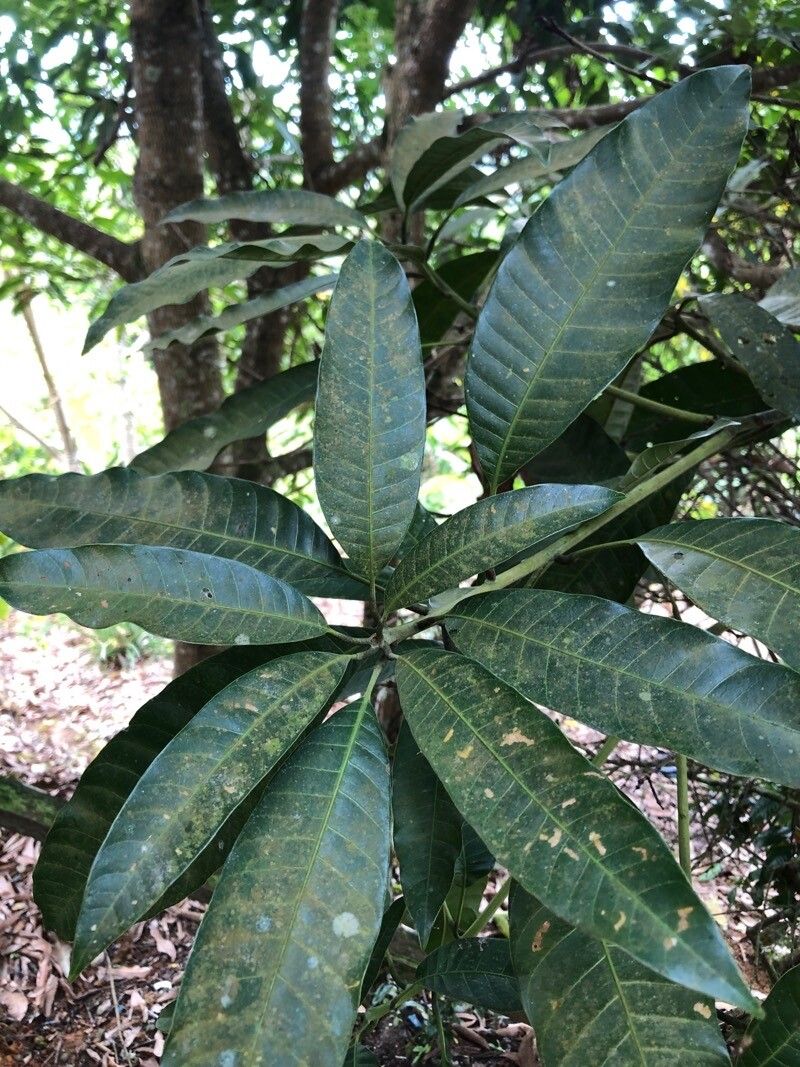
Oh, Tabernaemontana elegans! If you’ve ever seen this beauty in bloom, you know exactly why us plant lovers get so excited. That explosion of fragrant, star-shaped white flowers is simply breathtaking. And the glossy, dark green leaves? Just gorgeous. The best part? You can easily bring that tropical elegance into your own home, or even share it with friends, by propagating it yourself. It’s a really rewarding process that gives you so much more than just a new plant. Honestly, don’t let the fancy name scare you. Tabernaemontana elegans, also known as the “Crape Jasmine” or “East Indian Rosebay,” is quite forgiving, even for those of you just dipping your toes into the wonderful world of plant propagation.
The Best Time to Start
When it comes to getting the most bang for your buck, I find that late spring or early summer is your golden window. This is when the plant is really in its growth spurt, meaning those new stems are full of life and energy, ready to put down roots. You can also have success with cuttings taken during the warmer months, but those spring babies just seem to have that extra oomph. Look for stems that are firm but not woody – the current season’s growth is usually perfect.
Supplies You’ll Need
Gathering your tools beforehand makes the whole process so much smoother. Here’s what I always have on hand:
- Sharp Pruning Shears or a Clean Knife: For clean cuts that heal well.
- Rooting Hormone Powder or Gel: This is a game-changer, trust me. It significantly boosts your chances of success.
- Well-Draining Potting Mix: I like a mix of peat moss, perlite, and a bit of compost. Or, use a seed-starting mix; it’s sterilized and light.
- Small Pots or Seedling Trays: About 4-inch pots are usually a good size to start. Make sure they have drainage holes!
- Plastic Bags or a Propagation Dome: To keep humidity high around your cuttings.
- Watering Can with a Fine Rose: For gentle watering.
- Labels and a Marker: So you don’t forget what you’ve planted!
Propagation Methods
For Tabernaemontana elegans, my go-to method is stem cuttings. It’s straightforward and yields excellent results.
- Take Your Cuttings: First, locate a healthy, non-flowering stem on your established plant. Using your clean pruning shears or knife, make a cut just below a leaf node (where a leaf attaches to the stem). You want to aim for cuttings that are about 4 to 6 inches long. Remove any lower leaves, as these will rot if they’re buried in the soil or touching the water. Leave about two to four leaves at the top of each cutting.
- Apply Rooting Hormone: Dip the cut end of each stem into your rooting hormone. Tap off any excess. This step is really important for encouraging root development.
- Plant Your Cuttings: Fill your small pots with your chosen potting mix. Make a small hole in the center of each pot with your finger or a pencil. Carefully insert the base of your cutting into the hole, making sure the rooting hormone stays on the cut part. Gently firm the soil around the stem.
- Water Gently: Water each pot thoroughly but gently. You want the soil to be moist, not waterlogged.
- Create a Humid Environment: Cover each pot with a clear plastic bag, making sure the bag doesn’t touch the leaves of the cutting too much. You can use stakes to keep the bag propped up. Alternatively, place the pots inside a propagation dome. Place the pots in a warm location that receives bright, indirect light.
The “Secret Sauce” (Pro Tips)
Here are a few things I’ve learned over the years that really make a difference:
- Bottom Heat is Your Friend: Tabernaemontana elegans absolutely loves a little warmth from below. Placing your pots on a heat mat designed for seedlings can drastically speed up rooting. It mimics the warmth of the soil in its natural environment and encourages those roots to unfurl.
- Don’t Oversaturate: This is a big one. While humidity is crucial, soggy soil is the fast track to rot. I always check the soil moisture by sticking my finger about an inch down. If it feels dry there, it’s time to water.
- Patience with the Leaves: If you’re doing water propagation (which I’ll touch on briefly), make sure absolutely no leaves are submerged. Even just one leaf sitting in water can cause rot and ruin your cutting before roots even form.
Aftercare & Troubleshooting
Once your cuttings have been planted, the real waiting game begins. You should start to see signs of new growth, like tiny leaves unfurling or a slight resistance when you gently tug on the cutting, within 4 to 8 weeks. This usually indicates that roots have formed.
At this point, you can gradually acclimate your new baby plants to normal room humidity. Start by opening the plastic bag a little each day. Once they seem stable, you can remove the bag completely. Continue to water them as needed, keeping the soil consistently moist but not soggy. They’re ready to be repotted into slightly larger containers when their root systems are well-established and they’re actively growing.
The most common issue you’ll encounter is rot. If your cutting turns black and mushy, it’s usually a sign of too much moisture and not enough air circulation. If you see signs of wilting or yellowing leaves that aren’t related to transplant shock, check your watering habits. Sometimes, a cutting just won’t take, and that’s okay! Don’t get discouraged.
A Encouraging Closing
Watching a new plant emerge from a simple stem cutting is pure magic. Be patient with your Tabernaemontana elegans cuttings. Some take longer than others, and it’s all part of the learning journey. Enjoy the process, celebrate every tiny leaf that unfurls, and soon you’ll have a whole new collection of these gorgeous bloomin’ beauties. Happy propagating!
Resource:
https://identify.plantnet.org/k-world-flora/species/Tabernaemontana%20elegans%20Stapf/data