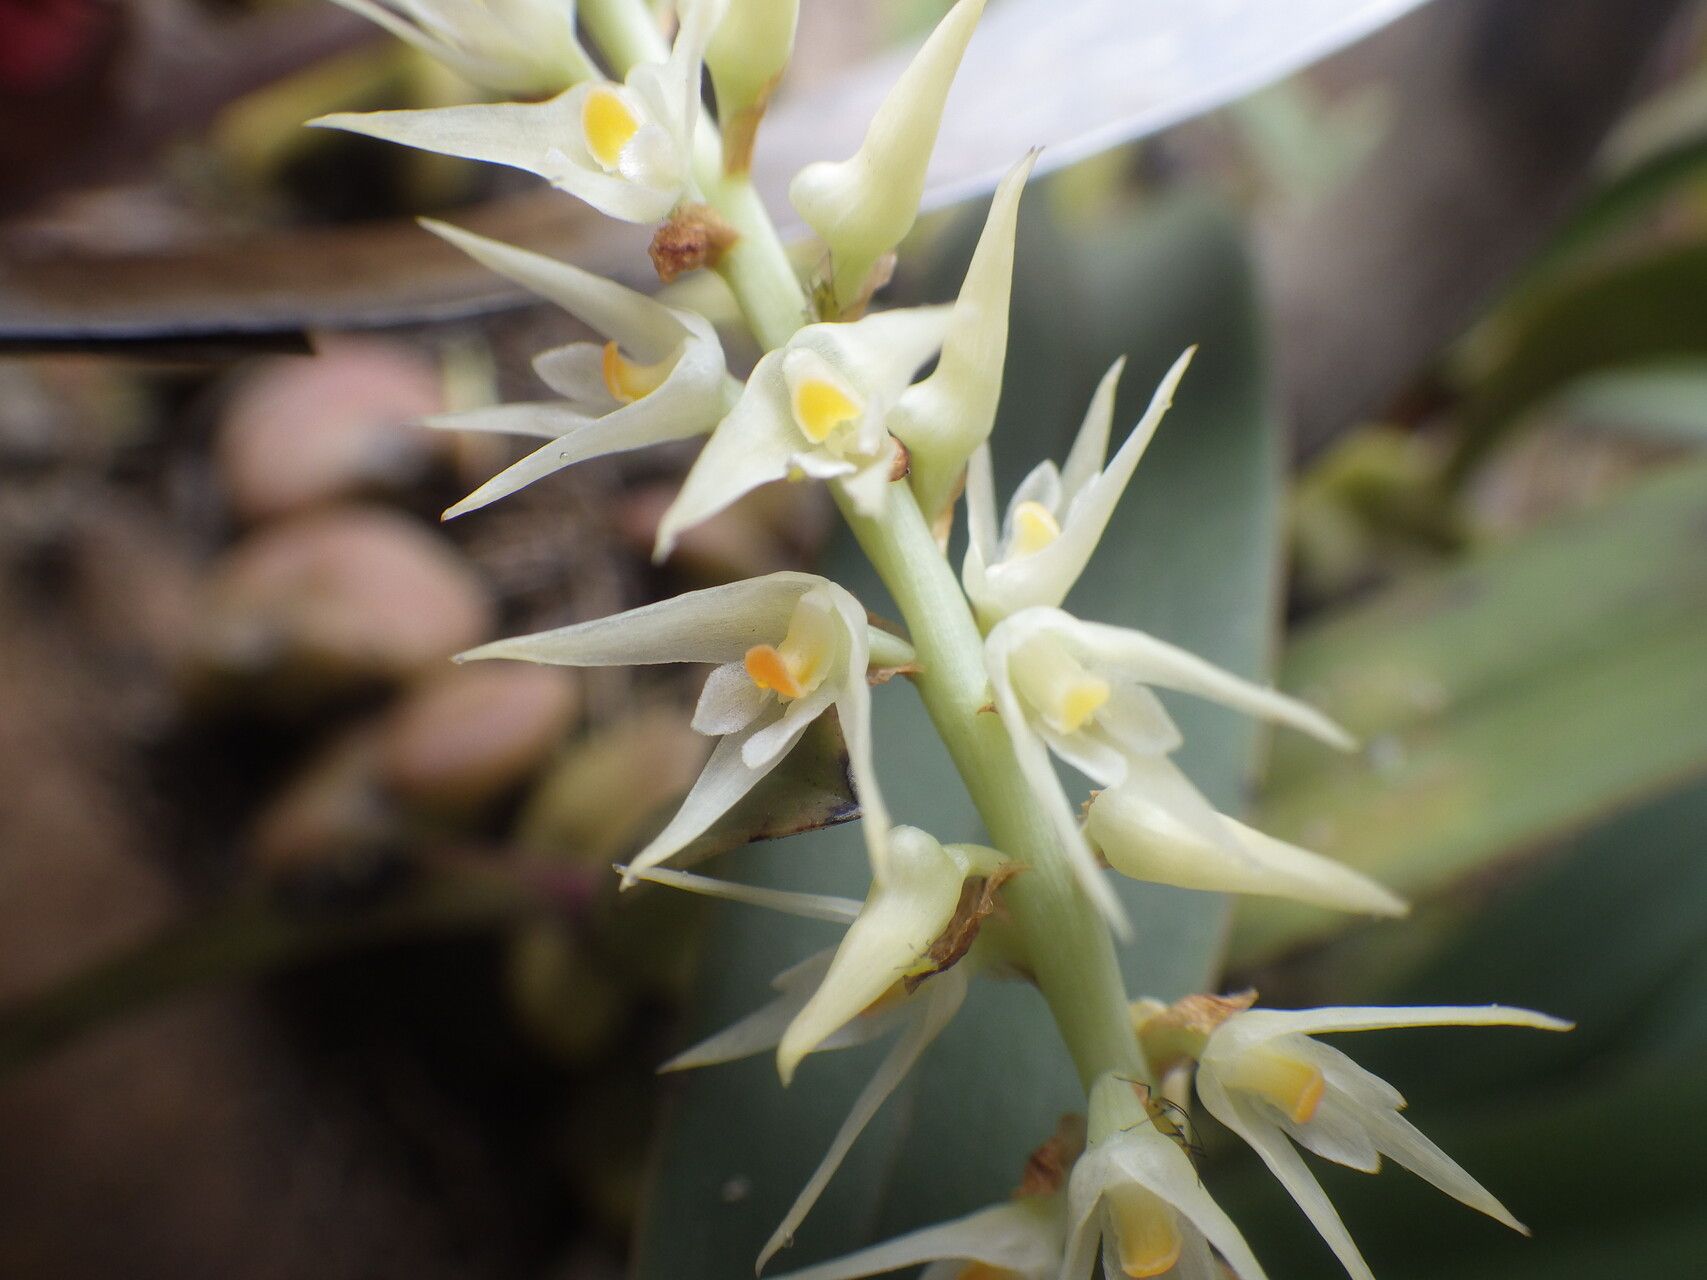
Oh, hello there, fellow plant enthusiast! I’m so glad you’ve stopped by. Today, we’re diving into something truly special: propagating Bulbophyllum calvum. If you’ve ever seen this little gem, you know its charm. Its delicate, often nodding flowers are just captivating, and there’s a unique thrill in nurturing a new life from an existing one. For those of you just starting your orchid journey, Bulbophyllum calvum can be a touch on the trickier side, but don’t let that deter you! With a little patience and this guide, I promise you’ll be well on your way. It’s a rewarding challenge, for sure.
The Best Time to Start
When it comes to coaxing new life from your Bulbophyllum calvum, timing is everything. I find the absolute best time to start propagating is late spring or early summer. This is when the plant is actively growing, bursting with energy, and generally more resilient. You want to catch it in its vigorous phase, not when it’s resting or stressed. Look for signs of new pseudobulb growth – that’s your cue!
Supplies You’ll Need
Gathering your tools is half the battle. Here’s what I always have on hand for successful orchid propagation:
- Clean, sharp pruning shears or a sterile knife: Essential for making clean cuts without damaging the plant.
- A good orchid bark mix: I prefer a fine to medium grade for young plants, often with a bit of perlite mixed in for drainage.
- Sphagnum moss: For adding moisture retention where needed, especially for covering cuttings.
- Small pots or community trays: Choose something with good drainage holes.
- Rooting hormone (optional, but helpful): A light dusting can give those new roots a good start.
- A spray bottle filled with clean water: For gentle misting.
- Clear plastic bags or a propagation dome: To create a humid environment.
- Thermal mat (optional): For providing gentle bottom heat.
Propagation Methods
While Bulbophyllum calvum can be a bit fussy, the division method is generally the most reliable and successful for this orchid. Stem cuttings are usually not an option for this particular species.
Division: Creating More of a Good Thing
This is my go-to method for Bulbophyllum calvum. It’s all about gently separating established clumps into smaller, viable divisions.
- Prepare Your Plant: Gently unpot your Bulbophyllum calvum. It’s helpful if the potting medium is slightly damp but not waterlogged. You want to be able to see the roots clearly.
- Inspect and Visualize: Carefully examine the plant. Look for natural growing points or rhizome sections that have at least two or three healthy pseudobulbs and a good root system attached. Gently tease apart the roots with your fingers or a small dowel to help you see where to make your cut.
- Make the Cut: Using your sterile pruning shears or knife, carefully cut through the rhizome between the divisions. Make sure each new division has adequate roots. It’s better to have a slightly larger division with good roots than a tiny one struggling to establish.
- Pot Up Your Divisions: Prepare your new pots with fresh orchid mix. Place each division into its pot, gently spreading the roots. Position the pseudobulbs so they are just at the surface of the mix, not buried too deeply.
- Water Gently: Water the newly potted divisions sparingly. You want the potting medium to be moist, but not soggy. Overwatering at this stage is a big no-no.
- Create a Humid Environment: This is crucial! Place each potted division into a clear plastic bag, sealing it loosely, or cover them with a propagation dome. This will trap humidity, which will help the new divisions establish without drying out.
The “Secret Sauce” (Pro Tips)
After years of tinkering, I’ve learned a few tricks that make a real difference:
- Don’t Drown Your Roots: When you first pot up your divisions, avoid the temptation to water heavily. Think of it as more of a “dampening” rather than a soaking. The goal is to keep the roots from drying out completely while the plant conserves energy to grow new ones.
- Bottom Heat is Your Friend: Bulbophyllum calvum absolutely loves a little warmth from below. If you have a thermal mat, place your potted divisions on it. This gentle warmth encourages root development and speeds up the whole process. Just make sure it’s not too hot – think lukewarm bathwater, not a sauna!
- Patience and Observation: Orchids, especially these, don’t rush. Resist the urge to peek too often. Trust the process. Regularly check the humidity within the bag or dome and mist lightly if it starts to dry out.
Aftercare & Troubleshooting
Once you start seeing new root growth – that’s my favorite part! – it’s time to gradually acclimate your little ones to the outside world. Slowly open the plastic bags or propagation dome over a week or two, allowing them to get used to lower humidity levels. Continue to water sparingly, allowing the potting medium to dry out slightly between waterings.
The biggest culprit for failure with young orchids is rot. If you see mushy, black roots or leaves turning yellow and falling off quickly, it’s usually a sign of too much moisture and poor air circulation. If you suspect rot, you might need to gently unpot, trim away the affected parts with your sterile tool, and repot into fresh, drier medium. Don’t be discouraged if it happens. It’s a learning curve for all of us!
A Encouraging Closing
See? It’s not as daunting as it might seem. Propagating Bulbophyllum calvum is a journey of patience and observation, and the reward of nurturing a new plant from an existing one is truly immense. So gather your supplies, find that perfect spot, and get ready to witness a little botanical magic unfold. Enjoy every step, and don’t be afraid to get your hands a little dirty! Happy growing!
Resource:
https://identify.plantnet.org/k-world-flora/species/Bulbophyllum%20calvum%20Summerh./data