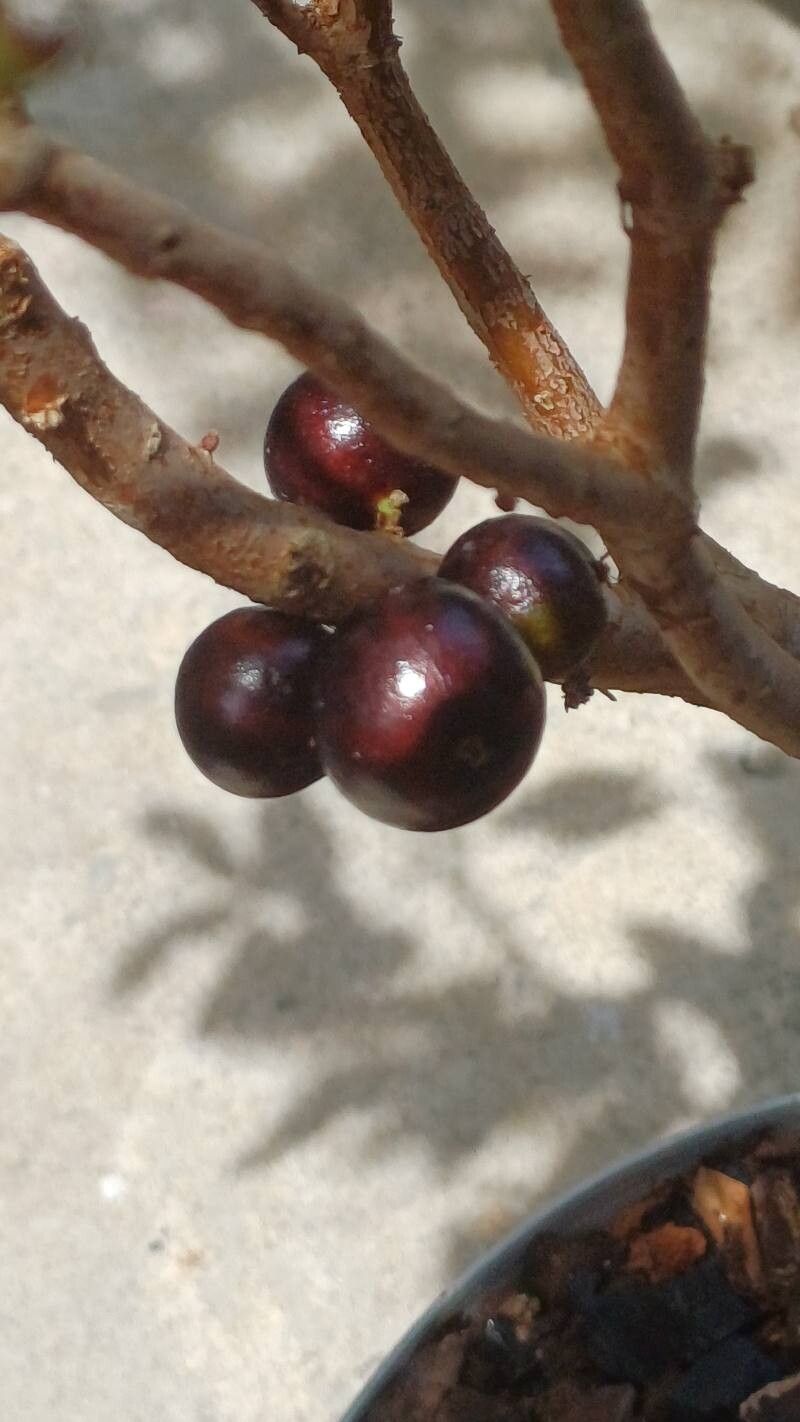
Ah, Plinia cauliflora! You’ve stumbled upon a true gem if you’re looking for something a little different for your garden. Also known as Jaboticaba, this Brazilian native is famous for its incredible fruit that grows directly on its trunk and branches. Imagine stepping out your door and plucking a juicy, grape-like fruit right off your tree! It’s a sight that never ceases to amaze me, even after all these years. Propagating it is a wonderful way to share this magic, and while it might have a bit of a reputation, with a little know-how, it’s absolutely achievable.
The Best Time to Start
For Plinia cauliflora, I’ve found that late spring through early summer is your sweet spot. This is when the plant is in a real growth spurt. You’re looking for semi-ripe to ripe wood for cuttings. This means wood that’s not brand new and soft, but also not old and woody. It should have a little give when you bend it, but still feel firm. It’s like they’re saying, “I’m ready to make more of me!”
Supplies You’ll Need
Here’s what you’ll want to have on hand before you get started:
- Sharp Pruning Shears or a Knife: Cleanliness is key!
- Rooting Hormone: A powdered or liquid form works well.
- Potting Mix: A blend of equal parts peat moss and perlite is my go-to. It’s light, airy, and drains beautifully. Some people add a little bit of coarse sand too.
- Small Pots or Seedling Trays: With drainage holes, naturally.
- Plastic Bags or a Propagator: To create a humid environment.
- Labels and a Pen: Don’t forget to label your cuttings!
- Watering Can or Mister: For gentle watering.
Propagation Methods
Now, let’s get our hands dirty! I find stem cuttings to be the most reliable method for Plinia, though it takes patience.
Stem Cuttings
- Select Your Cuttings: During the ideal season, choose healthy, vigorous stems from the current year’s growth. Look for sections that are about 4-6 inches long and have at least two sets of leaves.
- Prepare the Cuttings: Using your clean shears or knife, make a clean cut just below a leaf node (where a leaf meets the stem). Remove the lower leaves, leaving just a couple at the very top. Some gardeners pinch off the soft tip of the cutting.
- Apply Rooting Hormone: Dip the cut end of the stem into your rooting hormone, ensuring it’s well-coated. Tap off any excess.
- Plant Your Cuttings: Fill your chosen pots or trays with your peat moss and perlite mix. Make a small hole in the center of each pot with your finger or a pencil. Gently insert the cutting into the hole, making sure the rooting hormone stays on the cut end. Firm the mix around the stem.
- Water Gently: Water the soil thoroughly but gently. You don’t want to dislodge your cuttings.
The “Secret Sauce” (Pro Tips)
Here are a couple of tricks that have consistently upped my success rate with Plinia and other finicky propagators:
- Bottom Heat is Your Friend: Plinia cuttings absolutely love a little warmth from below. If you have a heat mat, set it to a low setting and place your pots on it. This encourages root development and significantly speeds up the process. It’s like giving them a cozy, warm bed to grow from.
- Don’t Over-Water, But Keep it Humid: Once your cuttings are planted and watered, cover them with a clear plastic bag or pop them into a propagator. This traps humidity, which is crucial for preventing the cuttings from drying out before they can form roots. Make sure no leaves are touching the sides of the bag or the propagator walls. If they do, they can start to rot. I usually prop up the bag with a skewer or two.
Aftercare & Troubleshooting
Once your cuttings are planted, place them in a bright spot with indirect light. You want to avoid direct sun, which can scorch them. Keep an eye on the moisture level – the soil should be consistently moist but never soggy.
Rooting can take anywhere from two months to six months, or even longer. Be patient! The best sign is when you see new leaf growth appearing at the top of the cutting. You can also give a very gentle tug on a cutting; if there’s resistance, it means roots have formed.
The most common issue you’ll encounter is rot. If a cutting turns black or mushy at the base, unfortunately, it’s not going to make it. This usually happens due to overwatering or poor drainage. This is why that well-draining mix and avoiding waterlogged conditions are so important.
A Gentle Encouragement
Propagating Plinia cauliflora is a journey, not a race. There will be times when a cutting simply doesn’t take, and that’s okay! Every gardener experiences it. The joy truly comes from the process itself, from nurturing a tiny cutting and watching it transform into a new life. So, gather your supplies, embrace the patience, and enjoy the magic of growing your very own Jaboticaba tree. Happy gardening!
Resource:
https://identify.plantnet.org/k-world-flora/species/Plinia%20cauliflora%20(Mart.)%20Kausel/data