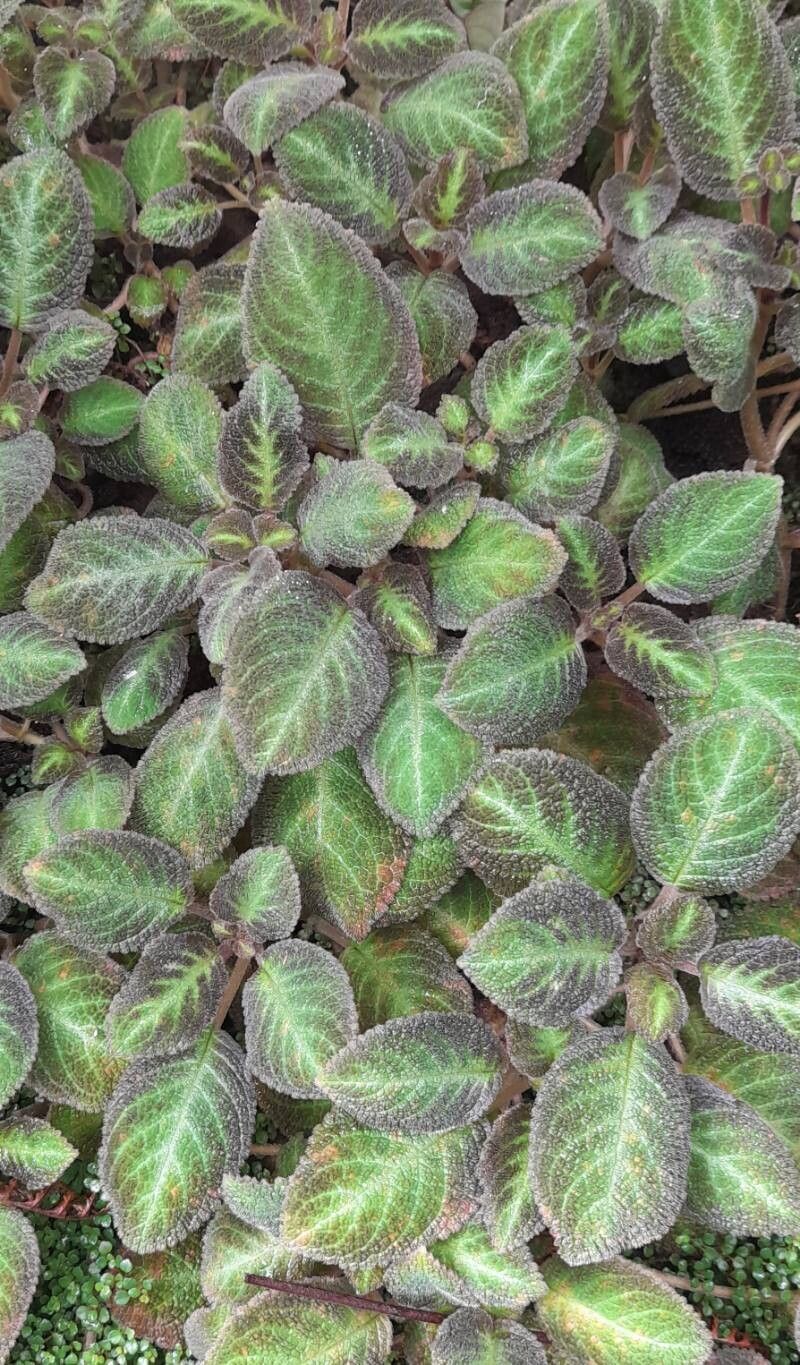
Hello there, fellow plant lovers! Today, we’re diving into something truly special: propagating Episcia lilacina. If you haven’t met this beauty, imagine trailing stems adorned with velvety leaves, often in shades of deep green, bronze, and even purple, sometimes with striking silver veining. They also produce adorable, delicate flowers in colours like pink, red, or orange. Propagating them is a wonderful way to share these living jewels with friends or just to fill your own space with more of their charm. For beginners, I’d say Episcia lilacina is moderately easy to propagate, but a few key steps can make all the difference.
The Best Time to Start
When it comes to getting new Episcias going, spring and early summer are your golden ticket. This is when the plant is really in its growth spurt, making it much more vigorous and receptive to propagation. You’ll harvest cuttings from healthy, actively growing stems. Trying to propagate during the plant’s dormant period in winter can be trickier, as the cuttings won’t have as much energy to put towards rooting.
Supplies You’ll Need
Here’s what I like to have on hand before I begin:
- Sharp, clean pruning shears or scissors: A clean cut is crucial for preventing disease.
- Rooting hormone (optional but recommended for beginners): This little powder or gel gives your cuttings a helpful boost.
- Well-draining potting mix: I usually use a blend of peat moss or coco coir, perlite, and a bit of orchid bark. You want something that doesn’t hold too much moisture.
- Small pots or seedling trays: These are perfect for housing your new cuttings.
- Clear plastic bags or a propagation dome: To create a humid environment for your cuttings.
- Water: For watering and, if you choose that method, for rooting.
Propagation Methods
Episcias are quite obliging and can be propagated in a few straightforward ways. My favorites are stem cuttings and divisions.
Stem Cuttings
This is by far the most common and successful method for Episcias.
- Select your cutting: Look for a healthy, non-flowering stem that has at least two to three sets of leaves, and is about 3-4 inches long.
- Make the cut: Using your clean shears, cut the stem just below a leaf node (where a leaf attaches to the stem). This is where the magic happens for root development.
- Prepare the cutting: Gently remove the lower leaves, leaving just the top one or two sets. This prevents leaves from rotting in the soil or water.
- Apply rooting hormone (optional): Dip the cut end into your rooting hormone, tapping off any excess.
- Plant your cutting: Fill your small pot with your well-draining potting mix. Make a small hole with your finger or a pencil and gently insert the cut stem, ensuring the lower leaf nodes are buried. Firm the soil around the cutting.
- Water gently: Water thoroughly but gently to settle the soil around the cutting.
- Create humidity: Cover the pot with a clear plastic bag or place it under a propagation dome. Make sure the bag doesn’t touch the leaves too much! Prop these in a warm spot with bright, indirect light. Avoid direct sun at all costs, as it will scorch those delicate leaves.
Water Propagation
If you’re a bit hesitant about soil, propagating in water is a lovely alternative.
- Prepare your cutting: Follow steps 1 and 2 from the stem cutting method.
- Remove lower leaves: Again, remove any leaves that would sit below the water line.
- Place in water: Put the cutting in a small jar or glass of water. Make sure the leaf nodes are submerged.
- Change water regularly: Change the water every couple of days to keep it fresh and prevent rot.
- Location, location, location: Place your jar in a warm spot with bright, indirect light.
Once you see healthy root growth (you’re looking for roots about an inch long), you can carefully transplant these cuttings into your well-draining potting mix, following step 5 from the stem cutting method.
The “Secret Sauce” (Pro Tips)
Here are a couple of things I’ve learned over the years that can really boost your propagation success:
- Bottom Heat is Your Friend: Episcias absolutely love a little warmth from below. If you have a seedling heat mat, placing your pots on it can dramatically speed up root formation. It mimics the warmth of spring soil exceptionally well.
- Don’t Let Leaves Drip-Dry: When you’re covering your cuttings with plastic, try to ensure the leaves aren’t constantly touching the condensation. If they are, it can lead to fungal issues. You can sometimes use small stakes to prop up the plastic a bit, creating a little more breathing room.
Aftercare & Troubleshooting
Once your cuttings have developed a good root system – you’ll often see new leaf growth appearing, which is a great sign! – it’s time for a little more focused care.
Watering: Keep the soil consistently moist but not soggy. Allow the top inch of soil to dry out slightly between waterings. Gradually reduce the humidity cover over a week or two to help the new plant acclimate to normal room conditions.
Light: Continue to provide them with bright, indirect light. They’ll be a bit sensitive for a while.
Troubleshooting: The most common issue you’ll encounter is rot. If a cutting turns mushy or black, it’s usually a sign of too much moisture or a lack of airflow. If you catch rot early, you might be able to cut away the affected part and try again with a fresh cutting in drier conditions. Another sign of struggle is if the leaves droop and yellow without new growth. This could mean it’s too dry, too cold, or not enough light.
A Little Patience Goes a Long Way
Propagating Episcia lilacina is a truly rewarding process. It’s like watching life spring from a tiny piece of a plant you already love. Don’t get discouraged if your first few attempts aren’t perfect. Every gardener has had cuttings that didn’t quite make it. Just keep at it, observe your plants, and enjoy the journey. Happy propagating!
Resource:
https://identify.plantnet.org/k-world-flora/species/Episcia%20lilacina%20Hanst./data