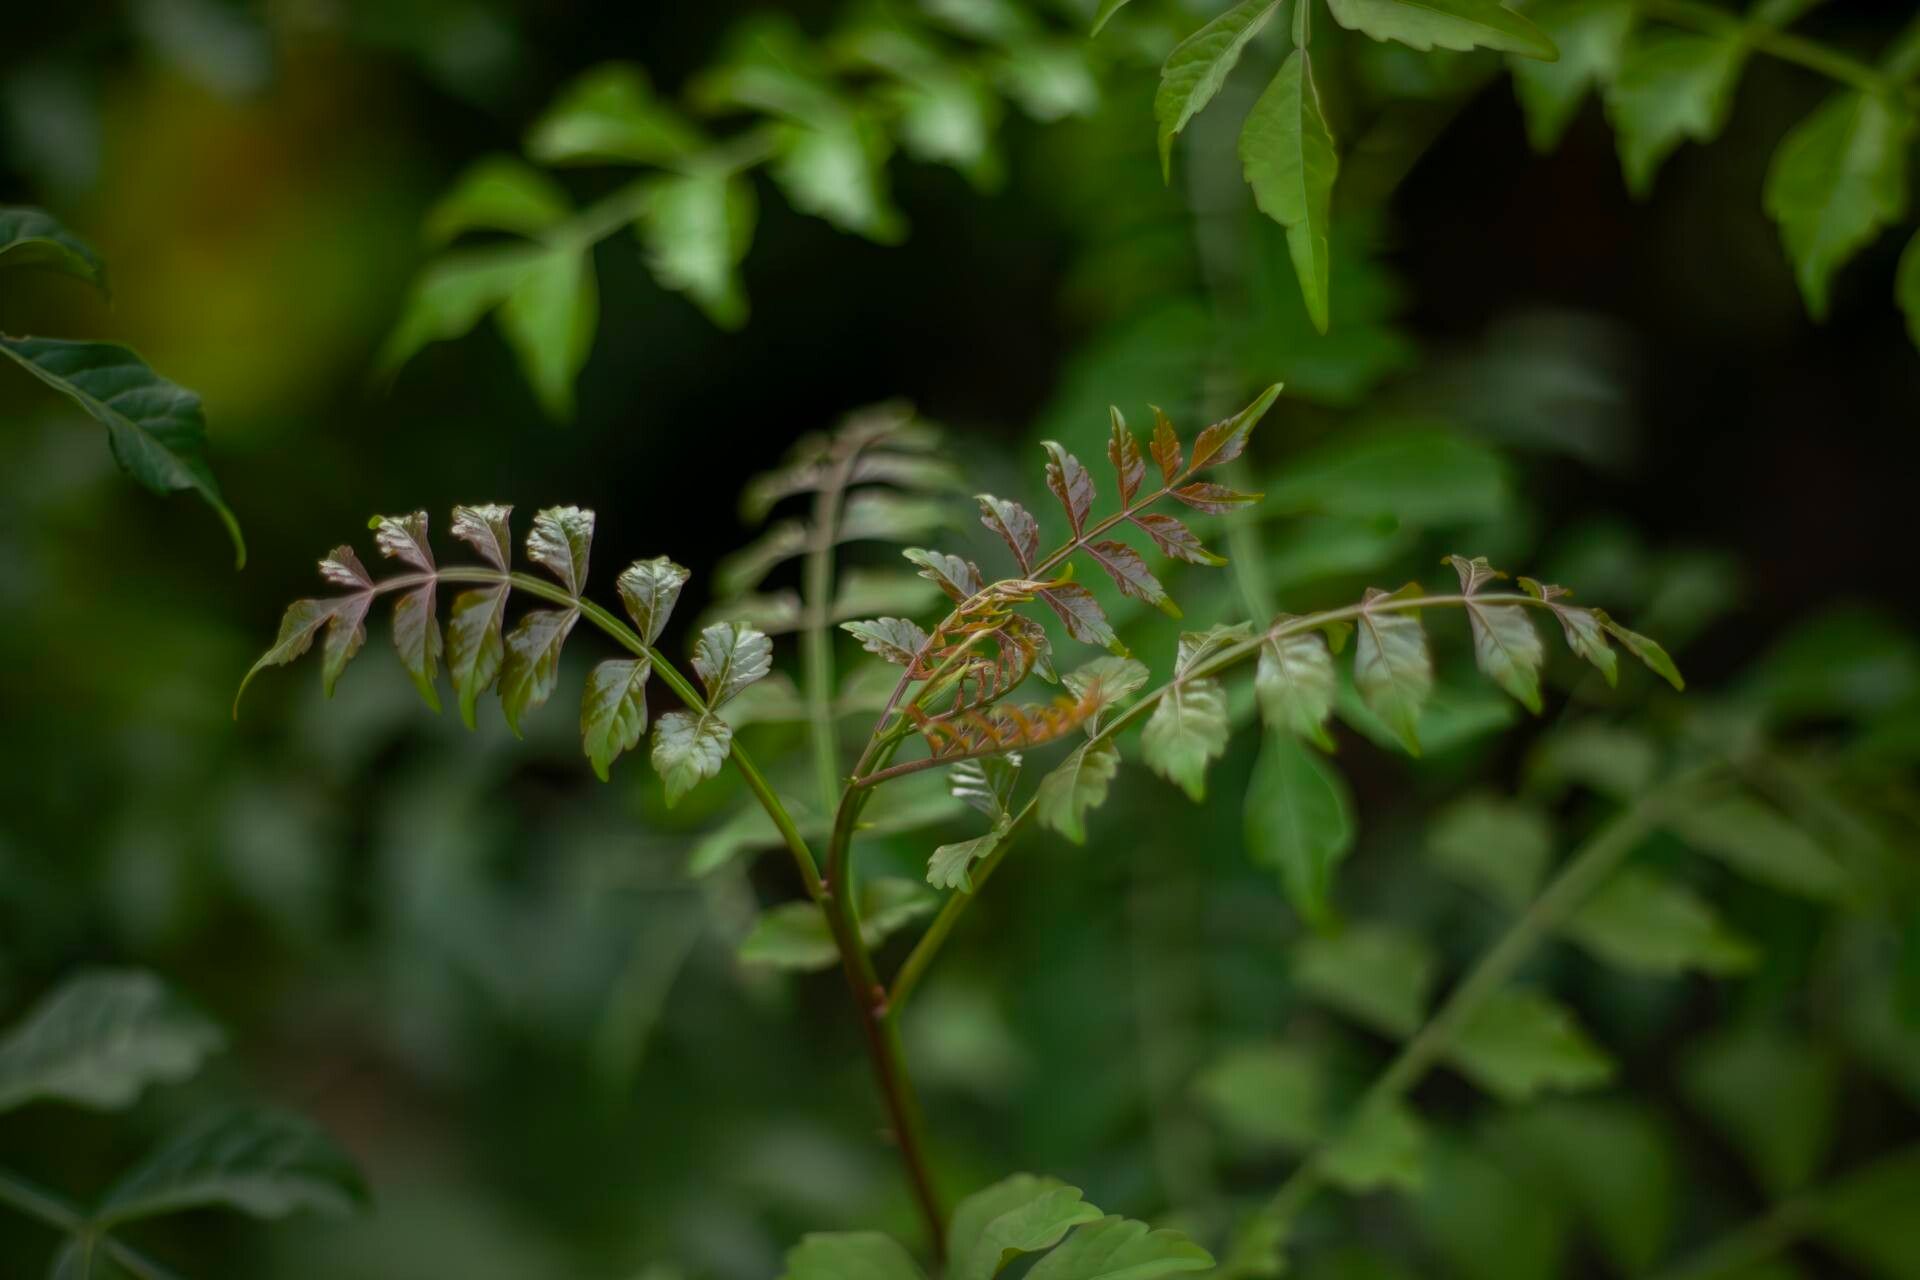
Hello garden friends! I’m so excited to chat about a plant that’s really captured my heart over the years: Harrisonia perforata, also known as the “Wild Rosemary” or by its common local names. Now, I know some of you might be thinking, “Is this another one of those finicky plants that’s impossible to grow?” (Don’t worry, I’ve been there!). But truly, Harrisonia perforata is a delightful plant with a lovely, slightly waxy foliage that smells divine when you brush against it. It’s a fantastic addition to any garden, and the reward of successfully propagating it yourself? Well, that’s just a special kind of joy. For beginners, I’d say it’s moderately easy – with a little patience and the right approach, you’ll be celebrating new little plants in no time.
The Best Time to Start
When it comes to getting new Harrisonia perforata plants going, I’ve found the sweet spot is typically in late spring or early summer. This is when the plant is actively growing, and its stems have a good balance of soft new growth and slightly more mature, woody material. This “semi-hardwood” stage is crucial for successful cuttings. Trying too early in the spring when things are still waking up, or too late in the fall when growth is slowing down, can make rooting a bit more of a challenge.
Supplies You’ll Need
Ready to get your hands dirty? Here’s what I usually gather before I begin:
- Sharp Pruning Shears or a Craft Knife: Clean cuts are essential.
- Rooting Hormone: A good quality powder or gel can really give those cuttings a boost.
- Well-Draining Potting Mix: A mix of perlite, coarse sand, and peat moss works wonders. Some people love using a bit of coco coir too. The key is that it shouldn’t hold too much moisture.
- Small Pots or Seed Trays: Clean ones, please! Sanitation is your friend.
- Watering Can with a Fine Rose: To gently water without disturbing your new plantings.
- Plastic Bags or a Propagator Lid: To create a humid environment.
- Labels: To keep track of what you’ve planted and when.
Propagation Methods
Harrisonia perforata is pretty adaptable, but I’ve had the most success with stem cuttings.
Stem Cuttings:
- Take the Cutting: In late spring or early summer, select a healthy, non-flowering stem from a mature plant. You want a piece that’s about 4-6 inches long. Make a clean cut just below a leaf node (where a leaf attaches to the stem).
- Prepare the Cutting: Gently remove the lower leaves from the cutting, leaving just a few at the top. This prevents them from rotting in the soil.
- Apply Rooting Hormone: Dip the cut end of the stem into your rooting hormone powder or gel, ensuring it’s coated. Tap off any excess.
- Plant the Cutting: Fill your clean pots with the well-draining potting mix. Make a small hole in the center of the soil with your finger or a pencil. Insert the cutting into the hole, ensuring the base is firmly in the soil. Gently firm the soil around the stem.
- Water Gently: Water the pot thoroughly until you see water draining from the bottom.
- Create Humidity: Place the potted cutting inside a plastic bag, sealing it loosely with a twist tie, or cover the pot with a propagator lid. This creates a mini-greenhouse. Place the pot in a bright spot, but out of direct, harsh sunlight.
The “Secret Sauce” (Pro Tips)
Here are a few little tricks that have made all the difference for me:
- The Water Bath Trick: Sometimes, I’ll dip the very tip of the cutting into water for a second before the rooting hormone. It helps the powder stick better. Just a quick dip, mind you – don’t let the leaves touch the water when it’s in the pot!
- Bottom Heat is Your Friend: If you have a heat mat designed for seedlings, placing your pots on it can significantly speed up root development. Harrisonia perforata loves a little warmth from below. It’s like a cozy little spa treatment for your cuttings!
- Don’t Be Afraid to Experiment (Gently!): While I prefer stem cuttings, I’ve occasionally tried water propagation with great success. However, with Harrisonia perforata, it’s crucial to change the water daily and ensure absolutely no leaves are submerged. Rot can set in very quickly this way.
Aftercare & Troubleshooting
Once your cuttings are planted, the waiting game begins! Keep the soil consistently moist but not waterlogged. You can check for roots by very gently tugging on the cutting after about 4-6 weeks. If you feel resistance, you’ve got roots! At this point, you can gradually harden them off by opening the plastic bag a little more each day, or removing the propagator lid for longer periods.
The most common sign of failure is rotting, which usually happens if the soil is too wet or the humidity is too high without enough ventilation. Your cutting might turn mushy and black. If you see this, it’s often best to start again to prevent it from spreading. Another sign of struggle is wilting that doesn’t recover after watering, which might mean your cutting is too dry or doesn’t have enough light.
A Encouraging Closing
Growing new plants from cuttings is such a fulfilling part of gardening. It connects you to the life cycle of your plants and, let’s be honest, it’s a fantastic way to share the beauty of Harrisonia perforata with friends and family. Be patient with the process; nature has its own timetable. Don’t get discouraged if your first few attempts aren’t perfect – every gardener has learned through trial and error! Just keep tending to them with a little love and observation, and soon you’ll be rewarded with beautiful new life. Happy propagating!
Resource:
https://identify.plantnet.org/k-world-flora/species/Harrisonia%20perforata%20(Blanco)%20Merr./data