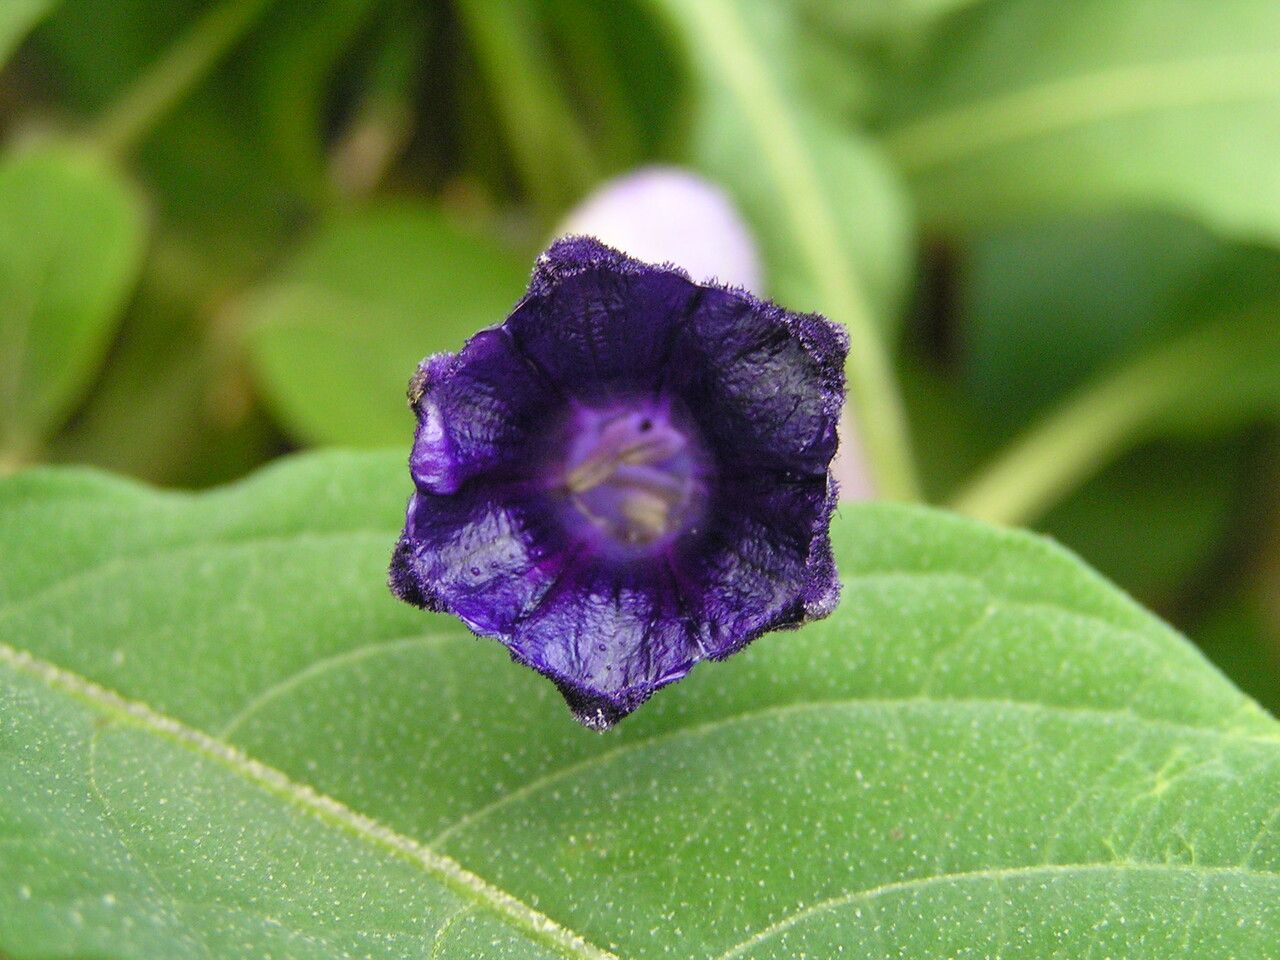
Oh, Iochroma calycinum! Isn’t it a beauty? Those trumpet-shaped flowers, often in vibrant blues and purples, simply sing in the garden. It’s a real showstopper, and I’ve always found it incredibly rewarding to share its charm by propagating it myself. If you’re a beginner, don’t be shy! While it’s not the absolute easiest plant to get started with, it’s definitely manageable with a little patience and know-how. Trust me, seeing those little roots emerge is a thrill!
The Best Time to Start
For Iochroma calycinum, spring and early summer are your golden windows. This is when the plant is actively growing, pushing out new, vigorous shoots that are perfect for taking cuttings. You’re looking for pencil-thick, healthy stems that have just finished flowering or are about to put on a new flush of growth. Avoid old, woody stems or brand-new, flimsier tips.
Supplies You’ll Need
Gathering your supplies before you start makes the whole process smoother. Here’s what I usually have on hand:
- Sharp, clean pruning shears or a sharp knife: This is crucial for making clean cuts that heal well.
- Rooting hormone powder or gel: While not strictly mandatory, it significantly boosts your success rate.
- A well-draining potting mix: I like a blend of perlite, peat moss, and a bit of compost. You can also buy specific seed starting or cutting mixes.
- Small pots or trays: Clean, small containers are perfect for starting out. Make sure they have drainage holes!
- A plastic bag or propagation dome: This creates a humid environment, which is vital for cuttings.
- Zephyranthes (Rain Lily) or small stakes: To support the plastic bag without it crushing your precious cuttings.
- Water: For keeping things moist.
Propagation Methods
The most reliable way I’ve found to propagate Iochroma calycinum is through stem cuttings. It’s straightforward and usually yields excellent results.
- Select Your Cuttings: Head out to your Iochroma calycinum plant. Look for those healthy, semi-hardwood stems I mentioned earlier. You want cuttings that are about 4-6 inches long.
- Make the Cut: Using your clean shears or knife, make a clean cut just below a leaf node. A leaf node is the little bump on the stem where a leaf grows from. This is where the magic happens for rooting.
- Prepare the Cutting: Gently remove the lower leaves from the cutting, leaving just a few at the top. If the remaining leaves are very large, you can even cut them in half diagonally to reduce water loss.
- Dip in Rooting Hormone: Dip the cut end of the stem into your rooting hormone. Tap off any excess. You want just enough to coat the bottom inch or so.
- Plant Your Cuttings: Fill your small pots with your moistened potting mix. Make a small hole in the center with your finger or a pencil. Insert the cutting into the hole, making sure the leaf nodes that were buried are now under the soil. Gently firm the soil around the stem.
- Create a Humid Environment: Water the soil lightly. Now, place the pot inside a clear plastic bag or cover it with a propagation dome. You can use stakes to keep the bag from touching the leaves. Seal it up!
The “Secret Sauce” (Pro Tips)
Here are a few little tricks I’ve picked up over the years that really seem to make a difference:
- Don’t let the leaves touch the water if you go the water propagation route. If you try rooting a cutting in water (which is less reliable for Iochroma than soil, but can work for some), make SURE no leaves are submerged. They’ll rot quickly and take your cutting down with them.
- Bottom heat is your friend. If you have a seedling heat mat, placing your pots on it can speed up rooting considerably. It mimics the warmth of spring soil and encourages root development.
- Don’t be afraid to experiment with timing. While spring is ideal, I’ve had success with later cuttings when I’ve had a particularly long, warm autumn. Just look for those vibrant new shoots!
Aftercare & Troubleshooting
Once your cuttings are planted and nestled in their humid little homes, place them in a bright spot out of direct sunlight. You want nice, diffused light. Check the soil moisture every few days. It should always feel damp, but not waterlogged. Don’t lift the bag or dome too often – you want to keep that humidity consistent.
You’ll know your cuttings have rooted when you see new leaf growth and they feel a little resistant when you gently tug on them. This usually takes anywhere from 4-8 weeks, sometimes longer.
The most common issue you might encounter is rot. If you see your cutting turning dark and mushy, or if mold starts to appear, it’s usually a sign of too much moisture and not enough air circulation. Sadly, a rotten cutting is usually a goner. Ensure your mix is indeed well-draining and try to avoid overwatering.
A Encouraging Closing
Propagating plants is a journey, and sometimes it’s a learning curve. Be patient with your Iochroma cuttings. Celebrate every tiny bit of progress, and don’t be disheartened if not every cutting makes it. The joy of seeing a new little plant emerge from what was just a simple cutting is truly special. Happy gardening!
Resource:
https://identify.plantnet.org/k-world-flora/species/Iochroma%20calycinum%20Benth./data