Hello fellow garden enthusiasts! Today, we’re diving into the wonderful world of Piper aduncum, often known as the Spiked Pepper or Tukwasa. I’ve spent a good chunk of my two decades in the garden getting to know this beauty, and let me tell you, its lush, tropical foliage and unique charm are a real treat. If you’re looking to expand your collection of this gorgeous plant, propagating it yourself is incredibly rewarding. And the best part? It’s quite accessible for beginners, which I know is always a plus!
The Best Time to Start
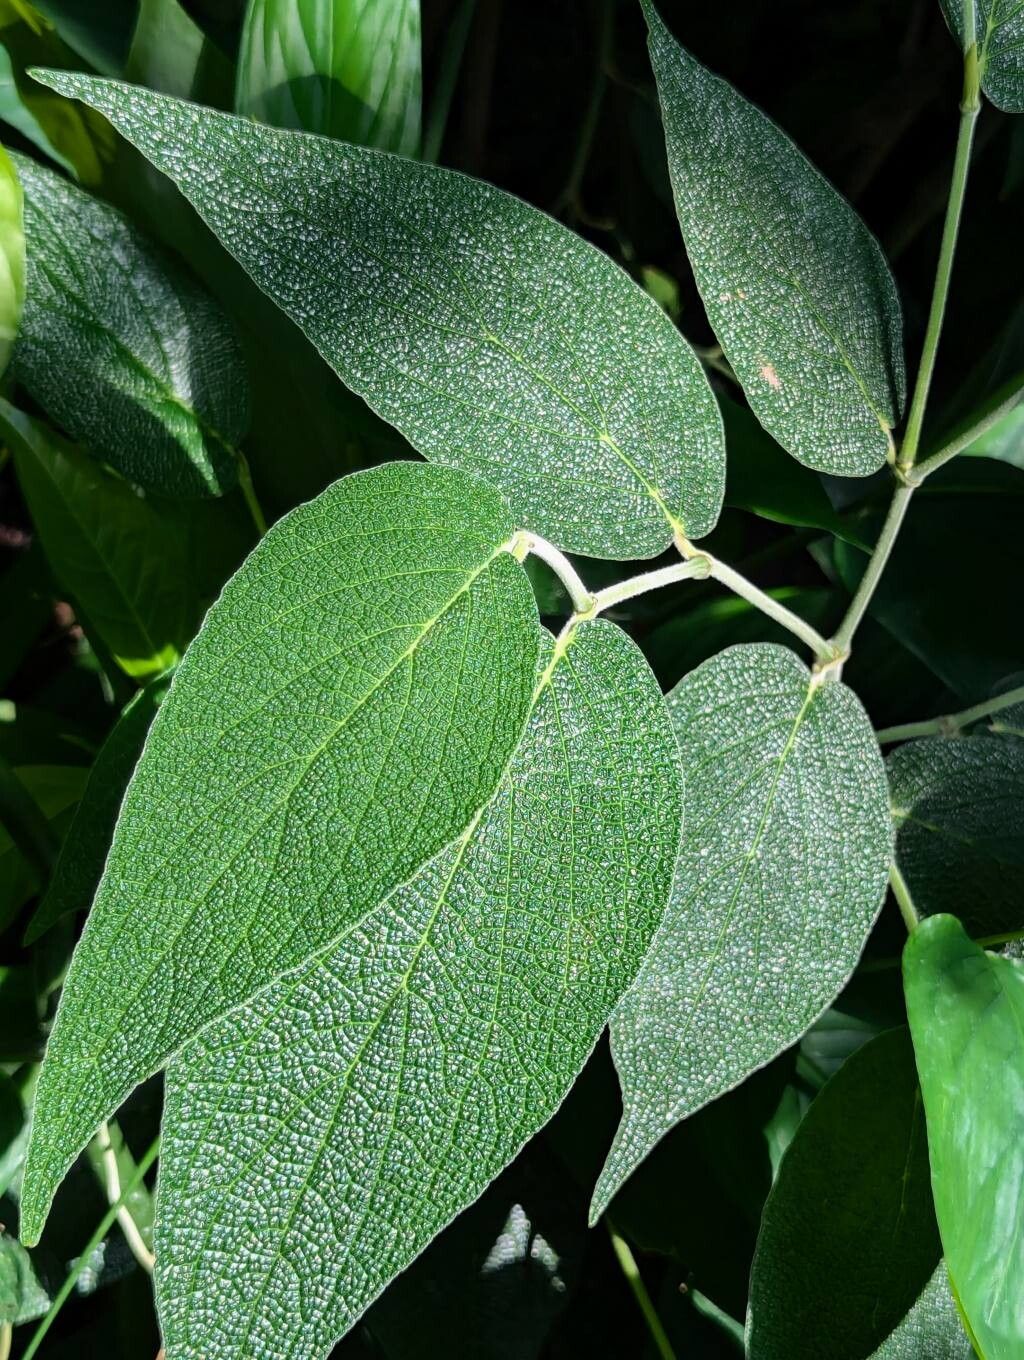
For the highest success rate with propagation, aim for the late spring or early summer. This is when the plant is in its most vigorous growth phase. You’ll want to take cuttings from healthy, softwood or semi-hardwood stems. These are the best because they’re flexible enough to root easily but have developed enough to sustain themselves.
Supplies You’ll Need
Gathering your tools beforehand makes the whole process much smoother. Here’s what I always have on hand:
- Sharp pruning shears or a clean knife: For making clean cuts on your stems.
- A well-draining potting mix: I like a blend of peat moss, perlite, and a bit of compost. You can also find specialized succulent or cactus mixes that work wonderfully.
- Small pots or seedling trays: With drainage holes, of course!
- Rooting hormone (optional but recommended): Especially helpful for encouraging faster root development. Look for one designed for stem cuttings.
- Clear plastic bags or a propagation dome: To create a humid environment.
- Spray bottle: For misting.
- Water: For water propagation.
Propagation Methods
Let’s get our hands dirty! Here are a couple of tried-and-true methods for propagating Piper aduncum:
Stem Cuttings
This is my go-to method for this plant.
- Select a healthy stem: Look for a stem that’s about 4-6 inches long and has at least two or three sets of leaves.
- Make a clean cut: About ¼ inch below a leaf node (where a leaf attaches to the stem). This is where the magic happens with rooting.
- Remove the lower leaves: Leave only the top two or three leaves on the cutting. This helps the plant focus its energy on root production, not leaf maintenance.
- Dip in rooting hormone (optional): If you’re using rooting hormone, dip the cut end into it. Gently tap off any excess.
- Plant the cutting: Insert the cut end into your prepared potting mix, making sure the lower leaf nodes are buried. You can plant a few cuttings in the same pot, spaced a couple of inches apart.
- Water gently: Moisten the soil thoroughly.
- Create humidity: Cover the pot with a clear plastic bag or a propagation dome. Prop it up with skewers or chopsticks so the plastic doesn’t touch the leaves.
Water Propagation
This method is visually satisfying as you can see the roots grow!
- Prepare the cutting: Follow steps 1-3 from the stem cutting method.
- Place in water: Put the cutting in a clean glass or jar filled with water. Make sure the leaf nodes are submerged but the leaves themselves are not.
- Find a bright spot: Place the jar in a bright location, out of direct sunlight.
- Change water regularly: Refresh the water every few days to keep it clean and oxygenated.
- Watch for roots: You should see roots begin to form within a few weeks. Once the roots are about an inch long, you can transplant them into potting mix.
The “Secret Sauce” (Pro Tips)
Over the years, I’ve picked up a few tricks that really make a difference:
- Don’t let the leaves touch the water: This is crucial for water propagation. If leaves sit in the water, they’ll rot and can take your cutting down with them. You might need to snip off a bit more stem to ensure this.
- Bottom heat is your friend: Using a seedling heat mat under your pots can significantly speed up root formation. It mimics the warmth of spring soil and gives those little root cells a real boost.
- Keep them out of direct sun: While they love bright light, direct sun can scorch your delicate cuttings, especially when they don’t have a developed root system yet. Think bright, indirect light.
Aftercare & Troubleshooting
Once you see signs of roots forming – like new leaf growth or resistance when you gently tug on the cutting – your Piper aduncum is ready for a little more independence.
- Acclimate slowly: If you were using a plastic bag, gradually introduce your new plant to drier air by opening the bag a bit more each day for about a week.
- Watering: Water when the top inch of soil feels dry to the touch. Overwatering is a common downfall, so err on the side of caution.
- Signs of trouble: The most common issue you might encounter is rot. If your cutting turns mushy or black, it’s likely rot. This usually happens due to too much moisture and not enough air circulation. If you catch it early, you might be able to salvage a healthy section above the rot. Yellowing leaves can also indicate too much or too little water, or not enough light.
A Encouraging Closing
Watching a new plant emerge from a simple cutting is one of the most satisfying experiences in gardening. There will be times when a cutting doesn’t make it, and that’s perfectly okay! Every gardener experiments, and sometimes it’s just about learning what works best for your environment. Be patient, enjoy the process, and celebrate each little success. Happy propagating!
Resource:
https://identify.plantnet.org/k-world-flora/species/Piper%20aduncum%20L./data