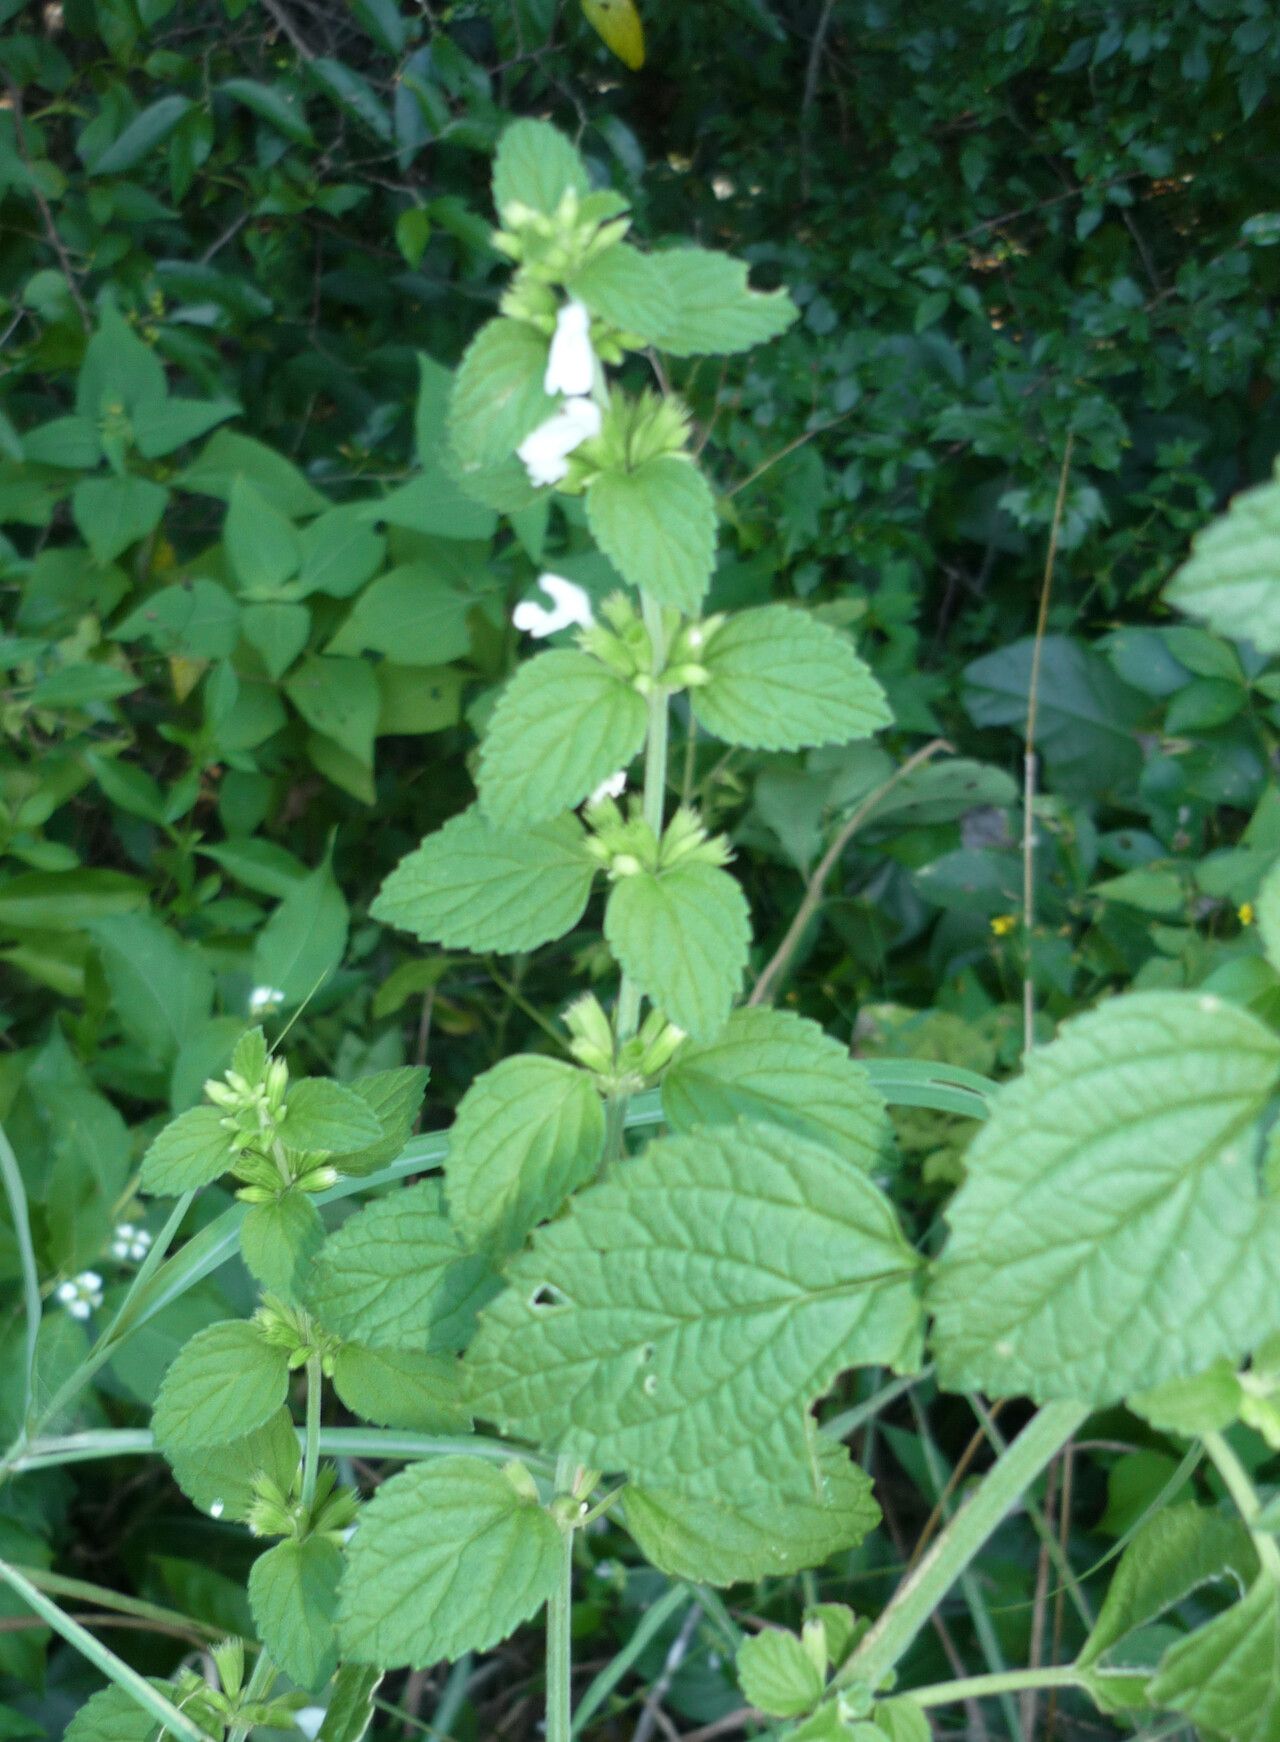
Hello, fellow garden enthusiasts! Today, I want to talk about a plant that’s really captured my heart recently: Leucas decemdentata. If you’re looking for a plant that brings a lovely splash of color and texture to your garden, with delicate, star-shaped flowers that attract pollinators, you’ve found a winner. And the best part? Propagating it is incredibly rewarding, and I’m happy to say, it’s quite forgiving, even for beginners! It’s a wonderful way to fill your garden or share a piece of its beauty with friends.
The Best Time to Start
When it comes to Leucas decemdentata, the absolute sweet spot for propagation is the active growing season. Think late spring through early summer. This is when the plant is full of energy and ready to put out new growth, making it ideal for taking cuttings. You can also have success in early autumn, but I find the spring and early summer window gives you the best chance for robust root development before cooler weather sets in.
Supplies You’ll Need
Gathering your supplies beforehand makes the whole process much smoother. Here’s what I always have on hand:
- Clean, sharp pruning shears or scissors. A good clean cut is crucial.
- A well-draining potting mix. I often use a blend of equal parts peat moss, perlite, and a touch of compost. You can also buy specific seed-starting or propagation mixes.
- Small pots or trays for your cuttings. Ensure they have drainage holes.
- Rooting hormone (optional but highly recommended for faster, stronger roots). Gel or powder forms both work well.
- A plastic bag or propagation dome to create a humid environment.
- A spray bottle with clean water for misting.
- A labels to mark your cuttings (trust me, you’ll thank yourself later!).
Propagation Methods
Leucas decemdentata is wonderfully amenable to stem cuttings. It’s my go-to method for this plant.
Stem Cuttings:
- Select your parent plant: Look for a healthy, non-flowering stem. You want to take cuttings from actively growing, but not woody, material.
- Take the cutting: Using your clean shears, cut a stem about 4-6 inches long. Make the cut just below a leaf node (that little bump where the leaves attach to the stem).
- Prepare the cutting: Gently remove the lower leaves from the cutting, leaving just a couple of leaves at the top. This prevents the buried leaves from rotting.
- Apply rooting hormone (optional): If you’re using rooting hormone, dip the cut end of the stem into it, tapping off any excess.
- Plant the cutting: Make a small hole in your prepared potting mix with a pencil or your finger. Insert the cut end of the stem into the hole, ensuring the leaf nodes where you removed leaves are below the soil line. Gently firm the soil around the stem.
- Create humidity: Water the soil lightly, and then cover the pot with a plastic bag or propagation dome. This traps moisture and humidity, which is essential for rooting. Make sure the leaves don’t touch the plastic if possible.
- Find a good spot: Place your pot in a warm location with bright, indirect light. Avoid direct sunlight, as it can scorch the cuttings.
The “Secret Sauce” (Pro Tips)
After years of trial and error, I’ve learned a few tricks that really boost my success rates.
- Bottom Heat is Your Friend: Cuttings root much faster when their little roots are kept warm. I love using a seedling heat mat placed under the propagation tray. This provides gentle warmth that encourages root development. You don’t need it blazing hot, just a consistent cozy temperature.
- Don’t Drown Them: While humidity is key, overwatering is the quickest way to kill a cutting. Let the top inch of soil dry out slightly between waterings. Check the moisture level by gently poking your finger into the soil.
- Patience with the “Wiggle Test”: Resist the urge to tug on your cuttings! Wait until you see new growth emerging. Then, give the cutting a very gentle wiggle. If it resists easily, it has developed roots. Don’t be discouraged if it takes a few weeks.
Aftercare & Troubleshooting
Once your Leucas decemdentata cuttings have started to show signs of rooting – usually new leaf growth or a gentle tug resistance – it’s time to transition them.
- Acclimatize: Gradually remove the plastic bag or dome over a few days, allowing the new plant to get used to the drier air.
- Watering: Continue to water when the top inch of soil feels dry.
- Light: Keep them in that bright, indirect light. As they grow stronger, you can slowly introduce them to a bit more direct sun.
- Transplanting: Once the new plants are a few inches tall and look robust, you can transplant them into slightly larger individual pots.
Now, what if things don’t go as planned? The most common culprit is rot. If your cuttings turn black and mushy, they’ve likely been too wet or not had enough air circulation. Sadly, these are usually a loss. Another sign of trouble is wilting that doesn’t recover even after watering. This could indicate a lack of roots or a problem with the parent material. Don’t take it too personally; even experienced gardeners have failures! It’s all part of the learning process.
So there you have it! My guide to propagating Leucas decemdentata. Remember, gardening is a journey. Be patient with yourself and your new plants. Enjoy the satisfaction of nurturing something from a humble cutting into a beautiful, thriving addition to your green space. Happy propagating!
Resource:
https://identify.plantnet.org/k-world-flora/species/Leucas%20decemdentata%20(Willd.)%20Sm./data