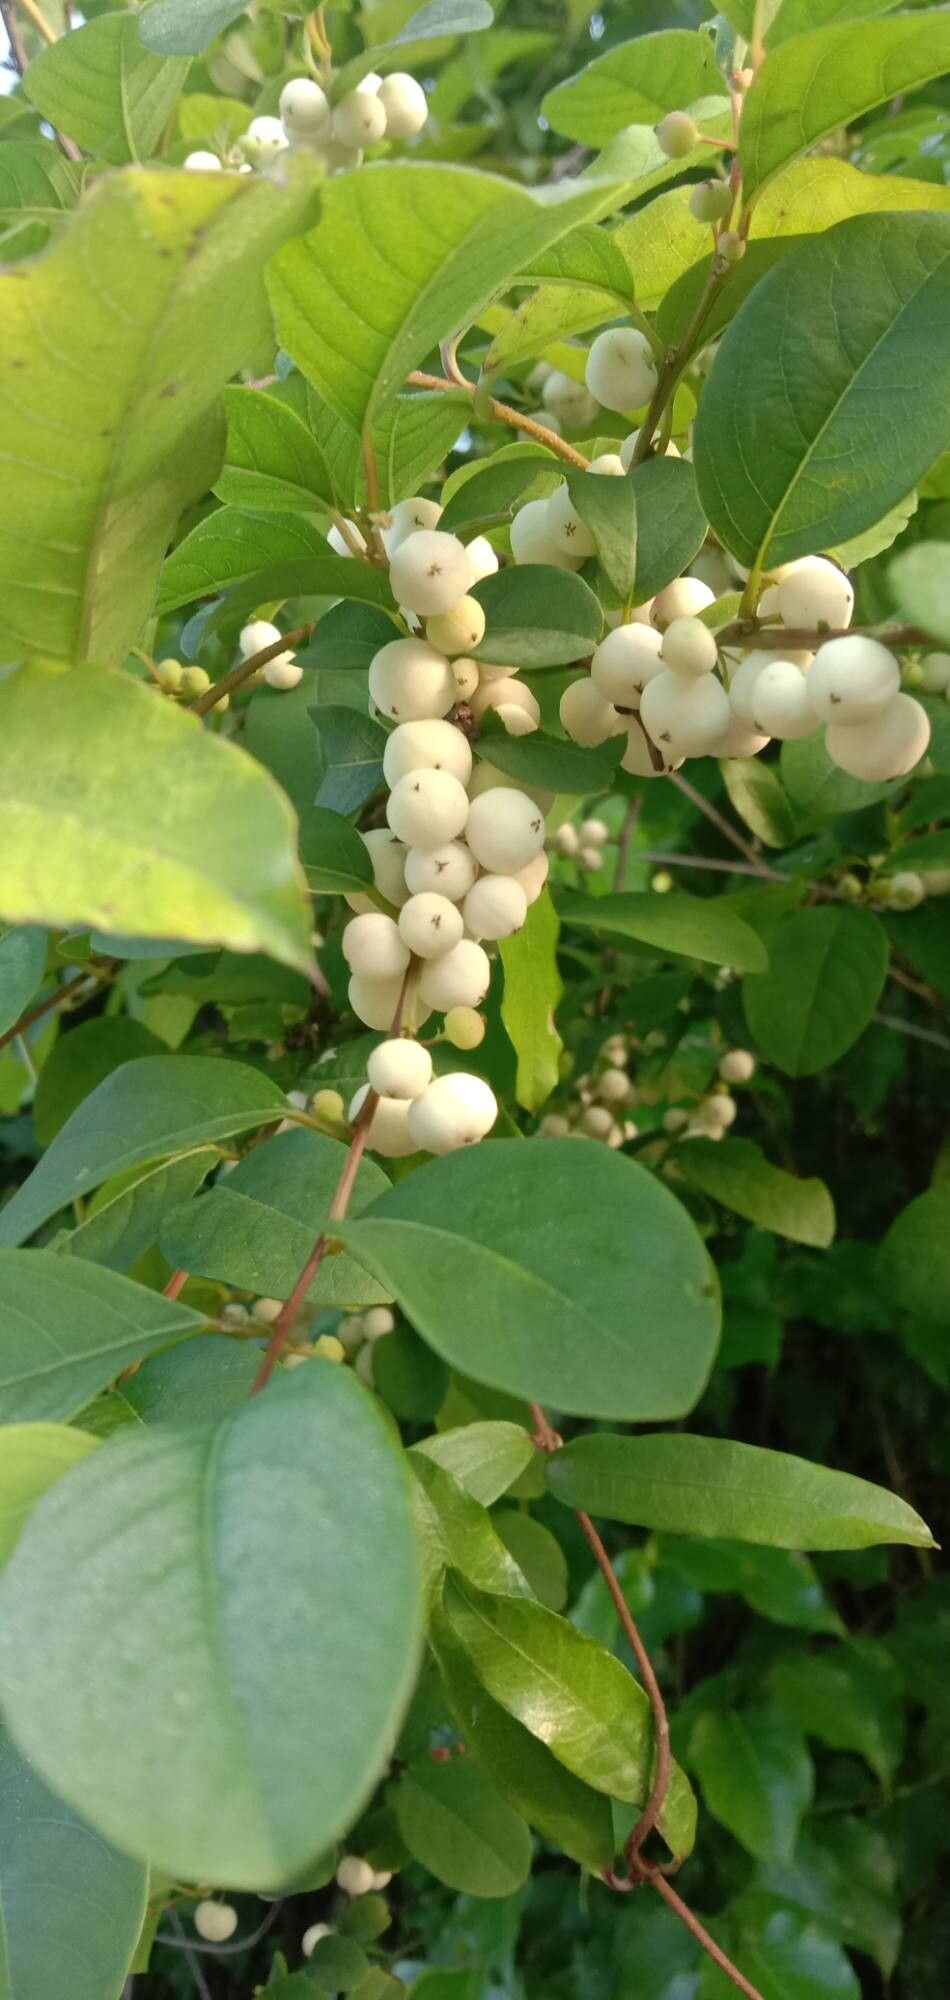
Hello there, fellow plant lovers! I’m thrilled you’re curious about propagating Flueggea virosa, often known as the white or mountain flugge. If you’re looking for a plant that offers delicate, airy white flowers and a graceful presence in the garden, this is a wonderful choice. And the joy of creating more of these beauties from your existing plants? Absolutely priceless! For beginners, I’d say it’s moderately easy, but with a few key pointers, you’ll be well on your way.
The Best Time to Start
Honestly, the sweet spot for propagating Fluegeavirosa is in late spring to early summer. This is when the plant is actively growing and has plenty of energy to put into developing new roots. I prefer to take cuttings when the new growth has started to firm up a bit – think pencil-thick and just starting to lose that bright, vibrant green of brand-new shoots, but not yet woody.
Supplies You’ll Need
- Clean, sharp pruning shears or a knife: Essential for making clean cuts that heal well.
- Small pots or propagation trays: Whatever you have on hand will do, just make sure they have drainage holes.
- Sterile potting mix or propagation medium: A well-draining mix is key. I like a blend of peat moss, perlite, and a bit of coco coir. Good drainage prevents rot.
- Rooting hormone (optional but recommended): This can really give your cuttings a boost. Look for one suitable for softwood or semi-hardwood cuttings.
- Plastic bags or a propagator: To create a humid environment for your cuttings.
- Water: For keeping things moist.
- A small watering can or spray bottle: For gentle watering.
Propagation Methods
I find two methods work exceptionally well for Flueggea virosa: stem cuttings and, if you have a larger specimen, division.
Stem Cuttings:
- Select your cutting: Look for healthy, current-year shoots that are about 4-6 inches long.
- Make the cut: Using your clean pruning shears or knife, make a clean cut just below a leaf node. A leaf node is where a leaf attaches to the stem; this is where roots are most likely to form.
- Prepare the cutting: Gently remove the lower leaves, leaving just a few at the very top. If any leaves are very large, you can even cut them in half to reduce water loss.
- Apply rooting hormone: If you’re using it, dip the cut end of the stem into the rooting hormone powder or gel. Tap off any excess.
- Prepare your pots: Fill your small pots or trays with your well-draining potting mix. Moisten the mix slightly.
- Insert cuttings: Make a small hole in the potting mix with your finger or a pencil. Insert the cutting, ensuring the leaf nodes that will be underground are covered by the soil. Gently firm the soil around the base of the cutting.
- Create humidity: Water the pots gently. Then, cover each pot or the entire tray with a clear plastic bag, or place them inside a propagator. This will trap moisture around the cuttings. You can prop up the bag with a small stake or skewer if it touches the leaves. Secure the bag with a rubber band.
- Place them in a bright spot: Find a location that receives bright, indirect light. Avoid direct sun, which can scorch the delicate cuttings.
Division (for established plants):
- Dig carefully: With an established plant, carefully dig around the base of the plant, trying to disturb the roots as little as possible.
- Lift and separate: Gently lift the entire root ball out of the ground. You should be able to see natural divisions in the root system.
- Separate gently: Using your hands, or a clean, sharp spade if necessary, gently pull or cut the root ball into sections. Each section should have a good amount of roots and at least one or two healthy shoots.
- Replant immediately: Plant the divided sections into their new homes as soon as possible. Water them in well.
The “Secret Sauce” (Pro Tips)
- You know, I’ve found that avoiding direct sunlight on the cuttings is crucial. They’re trying to establish roots, not photosynthesize intensely. Once they’ve rooted and are showing new growth, then they can handle a bit more light.
- And here’s a little trick: If you have a heat mat, placing your propagation tray on it can make a world of difference. Bottom heat encourages root development much faster than just ambient room temperature. Just make sure the heat isn’t too intense!
Aftercare & Troubleshooting
Once your cuttings have been in their humid environment for a few weeks, start checking for roots. You can do this by giving them a gentle tug. If you feel resistance, that’s a good sign! You’ll also start to see new leaf growth.
As soon as roots have formed, it’s time to acclimatize them. Gradually increase ventilation by opening the plastic bag a little more each day for about a week. Once they are clearly growing and haven’t wilted, you can remove the bag entirely. Continue to keep the soil consistently moist but not waterlogged. They’re still delicate!
The biggest thing to watch out for is rot. If your cuttings turn mushy or black, it’s usually a sign of too much moisture and not enough air circulation, or a soil mix that’s too heavy. If you see this, remove the affected cutting immediately to prevent it from spreading. Sometimes, even with the best care, a cutting won’t take. Don’t be discouraged; it often just means conditions weren’t quite right or the cutting wasn’t as vigorous as you thought.
A Little Patience Goes a Long Way
Propagating plants is such a rewarding journey. It connects you more deeply with your garden and allows you to share your love for beautiful plants with others. Be patient with your Flueggea virosa cuttings. Some will be slower than others. Celebrate every little sign of success, and don’t be afraid to experiment. Happy propagating!
Resource: