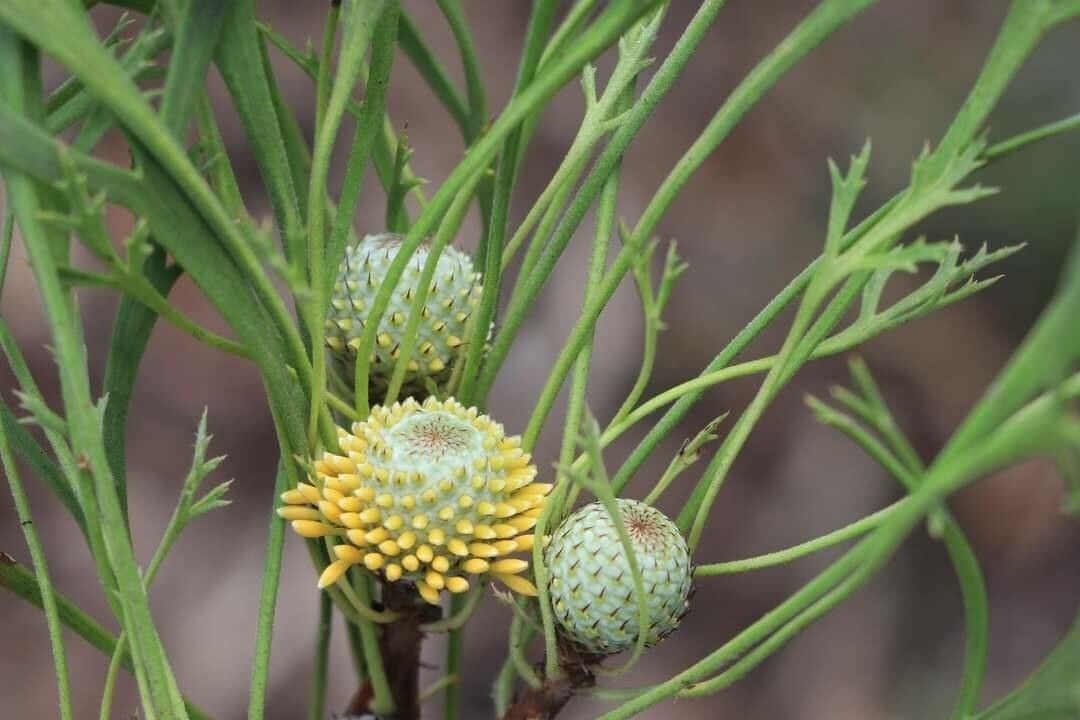
Hello fellow garden lovers! Today, we’re diving into the delightful world of Isopogon anemonifolius, also known as the Drumstick Plant or Cone Flower. If you’ve ever admired those unique, spiky, pinkish-red flower heads that pop up like little fireworks, you’re not alone. This Australian native is a real conversation starter and a joy to have in the garden, attracting all sorts of beneficial insects.
Now, you might be wondering if propagating this beauty is a tough nut to crack. I’ve found that while it’s not the absolute easiest plant to start from scratch, with a little patience and the right approach, it’s definitely achievable for most home gardeners. The reward of seeing a little plant you grew yourself thrive is truly special, isn’t it?
The Best Time to Start
For the highest success with Isopogon anemonifolius, I always recommend taking cuttings in late spring to early summer. This is when the plant is actively growing and has plenty of energy. You’re looking for stems that have started to mature – they should be firm but not woody, often referred to as “semi-hardwood” cuttings. Avoid taking them from brand new, very soft shoots or old, woody growth.
Supplies You’ll Need
Here’s what you’ll want to have on hand before you get started:
- Sharp, clean pruning shears or secateurs: You want a clean cut to prevent disease.
- Small pots or seed trays: Ensure they have good drainage holes.
- Rooting hormone (optional but recommended): This encourages faster and stronger root development.
- Gritty, well-draining potting mix: A good blend for Australian natives is key. I often use a mix of coarse sand, perlite, and a bit of peat or coir. You want it to drain like a sieve.
- Slow-release fertilizer (for later): Not for the initial propagation, but good to have for when repotting.
- A clear plastic bag or propagator lid: To create a humid environment.
- Labels or markers: To keep track of your cuttings!
Propagation Methods: Stem Cuttings
This is my go-to method for Isopogon anemonifolius, and it usually yields the best results.
- Take Your Cuttings: With your clean secateurs, select a healthy stem. Cut a piece about 10-15 cm (4-6 inches) long. Make the cut just below a leaf node (where a leaf attaches to the stem).
- Prepare the Cuttings: Gently remove the lower leaves from your cuttings, leaving just a few at the top. This prevents them from rotting in the soil. If the top leaves are very large, you can cut them in half to reduce water loss.
- Apply Rooting Hormone (Optional): Dip the cut end of each cutting into your rooting hormone powder, tapping off any excess.
- Pot Them Up: Fill your pots with your prepared, gritty mix. Make small holes in the soil with a pencil or your finger. Insert the cuttings into the holes, ensuring at least one leaf node is below the soil surface. Gently firm the soil around each cutting.
- Water Gently: Water the pots thoroughly but gently, so you don’t dislodge the cuttings.
- Create Humidity: Place a clear plastic bag over the pot, supported by stakes so it doesn’t touch the leaves, or use a propagator lid. This creates a mini-greenhouse.
- Find a Spot: Place the pots in a bright spot but out of direct, harsh sunlight. An eastern-facing window is often perfect.
The “Secret Sauce” (Pro Tips)
From my years in the potting shed, here are a few things that really make a difference:
- Don’t Overcrowd: Give your cuttings a bit of space in the pot. They need air circulation around them, even in a humid environment. Stuffing too many in can lead to fungal issues very quickly.
- Bottom Heat is Your Friend: If you can, placing your pots on a heat mat designed for propagation can significantly speed up root formation. It mimics the warmth of spring soil.
- Patience with Watering: Once the soil is moist and you’ve got your humidity dome on, resist the urge to water constantly. You only need to water when the top centimetre (half inch) of soil feels dry. Overwatering is the quickest way to lose your cuttings to rot.
Aftercare & Troubleshooting
Once those little roots start forming – and you might see tiny roots poking out the drainage holes after about 4-8 weeks, sometimes longer – it’s time for a bit of TLC.
- Gradual Acclimation: Slowly remove the plastic bag or lid over the course of a week. This helps your new plant adjust to normal humidity.
- Light Feeding: Once the cuttings are clearly growing and feel a slight resistance when you gently tug on them (indicating good root development), you can start feeding them with a very diluted, slow-release fertilizer. Think baby food for plants.
- Repotting: When the plants are a decent size and have a good root system, carefully transplant them into their own larger pots. Handle the roots gently!
Now, for the inevitable troubleshooting. The most common issue you’ll face is rot. This usually happens due to overwatering or poor drainage. If a cutting turns black and mushy, it’s usually past saving. Keep an eye out for wilting that doesn’t recover after watering, or fungal spots on the leaves. If you see that, it’s often best to discard the affected cutting and try to improve your conditions for the others.
A Encouraging Closing
Propagating Isopogon anemonifolius is a journey, and like any good garden journey, it requires patience. Don’t be discouraged if not every cutting takes – that’s perfectly normal, even for seasoned gardeners! Celebrate the successes, learn from the challenges, and most importantly, enjoy the process of nurturing new life. Happy growing!
Resource: