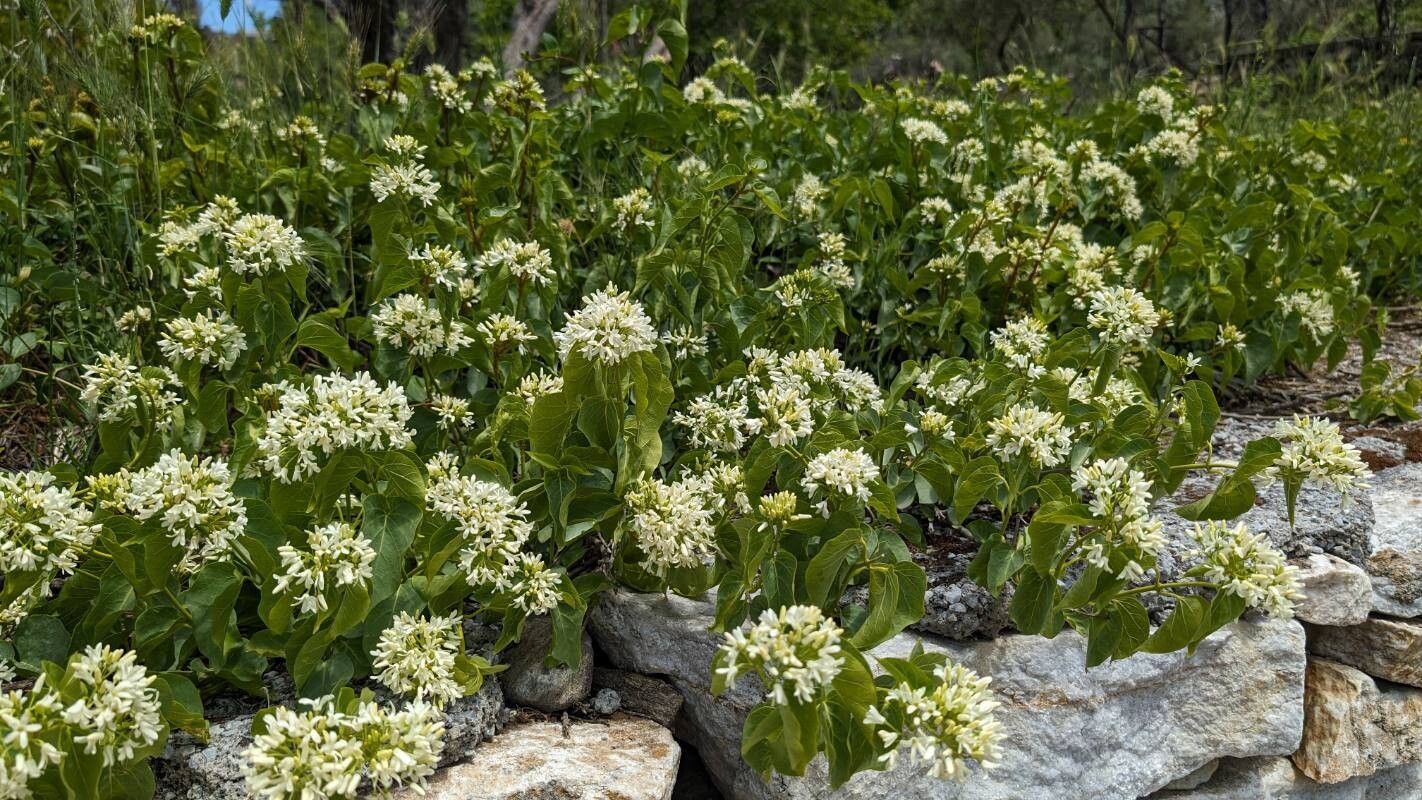
Hello, fellow plant lovers! Today, we’re diving into the wonderful world of Cionura erecta. If you haven’t met this beauty yet, you’re in for a treat. It’s a stunning plant with these delicate, starry flowers that just make you smile. And the best part? You can easily multiply this joy! I’ve been growing and propagating Cionura for years, and honestly, it’s one of those plants that feels incredibly rewarding to share. It’s generally a pretty straightforward plant to propagate, which is fantastic news for those of you just starting out.
The Best Time to Start
For me, the absolute sweet spot for propagating Cionura erecta is late spring to early summer. This is when the plant is actively growing, full of energy, and just ready to burst forth. You’ll be taking cuttings from healthy, new growth, and that vibrant energy transfers right into successful rooting. Trying to propagate when the plant is dormant or stressed will just make things harder for both of you.
Supplies You’ll Need
Here’s what I always have on hand when I’m ready to get my hands dirty:
- Sharp, clean pruning shears or a sharp knife: Cleanliness is key to preventing disease.
- Rooting hormone: This is a helpful boost, especially for cuttings. I often use a powder, but gels work well too.
- Potting mix: A light, well-draining mix is essential. I like to use a blend of peat moss or coco coir with perlite or coarse sand. A 50/50 ratio usually does the trick.
- Small pots or seed trays: Choose something with drainage holes!
- Clear plastic bags or a propagation dome: This will help maintain humidity.
- Watering can or spray bottle: Gentle watering is crucial.
- Labels and a marker: Trust me, you’ll thank yourself later!
Propagation Methods
Let’s get to the fun part! Cionura erecta is a champion at propagating from stem cuttings.
Stem Cuttings:
- Select your cutting: Look for a healthy, non-flowering stem on your established plant. You want a piece that’s about 4-6 inches long. Make your cut just below a leaf node (the spot where a leaf attaches to the stem).
- Prepare the cutting: Gently remove the lower leaves. You want to expose at least one or two leaf nodes, as this is where roots will happily emerge from. You can leave a couple of leaves at the top to help with photosynthesis.
- Apply rooting hormone: Dip the cut end of the stem into your rooting hormone, tapping off any excess.
- Pot it up: Fill your small pot with your prepared potting mix. Make a small hole in the center with your finger or a pencil.
- Insert the cutting: Place the hormone-dipped end of the cutting into the hole and gently firm the soil around it.
- Water gently: Water the soil thoroughly but avoid waterlogging. A gentle spray from a bottle is often best for these initial cuttings.
- Create a mini-greenhouse: Cover the pot with a clear plastic bag or propagation dome. This will trap humidity, which is vital for cuttings. Make sure the leaves aren’t touching the plastic if possible. You can use stakes to keep the bag propped up.
- Place in bright, indirect light: Find a spot that gets plenty of light but no direct sun, which can scorch the delicate cuttings.
Water Propagation (for the impatient!):
While stem cuttings in soil are my go-to, you can also start Cionura in water.
- Prepare cuttings as above, making sure to remove lower leaves.
- Place cuttings in a clean glass of water. Make sure the leaf nodes are submerged, but that the leaves themselves are not.
- Change the water every few days to keep it fresh and prevent bacterial growth.
- Place in bright, indirect light.
- Watch for root development! This can happen in a few weeks. Once you have decent roots (about an inch long), you can carefully transplant them into your potting mix.
The “Secret Sauce” (Pro Tips)
Here are a few little tricks I’ve learned along the way that can make a big difference:
- “Wipe and Dry”: Before you pot up your cuttings, give the leaves a light wipe with a damp cloth. This removes any dust or potential hitchhikers. Then, let the cut end of the stem “callus” over for an hour or two before applying rooting hormone and potting. This can help prevent rot, especially if your environment is a bit humid.
- Bottom Heat is Your Friend: If you have a heat mat designed for seedlings, placing your pots on it can dramatically speed up rooting. The warmth encourages root development from below without overheating the foliage. It’s like a little foot massage for your cuttings!
Aftercare & Troubleshooting
Once you start seeing new growth on your cuttings, that’s a great sign that roots have formed! You can gently tug on the cutting; if there’s resistance, it’s rooting.
- Acclimatize: It’s time to slowly introduce your new plant to the outside world. Gradually remove the plastic bag or dome over a week or so, opening it for longer periods each day. This prevents shock from a sudden change in humidity.
- Watering: Continue to water gently, ensuring the soil stays consistently moist but not soggy. As the plant grows, you can start watering as you would your mature Cionura.
- Transplanting: Once your new plant is well-established and has a good root system, you can transplant it into a slightly larger pot.
Now, what if things go wrong? The most common issue is rot. If your cutting turns black and mushy, it’s usually a sign of too much moisture and not enough airflow. If you see this, it’s best to discard the rotting cutting to prevent it from affecting others. Wilting can happen if the cutting is too dry or hasn’t rooted yet, but often, with consistent moisture and humidity, they bounce back.
A Little Patience Goes a Long Way
Propagating plants is a journey, and each cutting is a little experiment. Don’t be discouraged if not every single one makes it. The satisfaction of seeing a tiny stem transform into a flourishing new plant is truly immense. So, grab your tools, enjoy the process, and soon you’ll have even more of those lovely Cionura erecta to admire and share! Happy gardening!
Resource:
https://identify.plantnet.org/k-world-flora/species/Cionura%20erecta%20(L.)%20Griseb./data