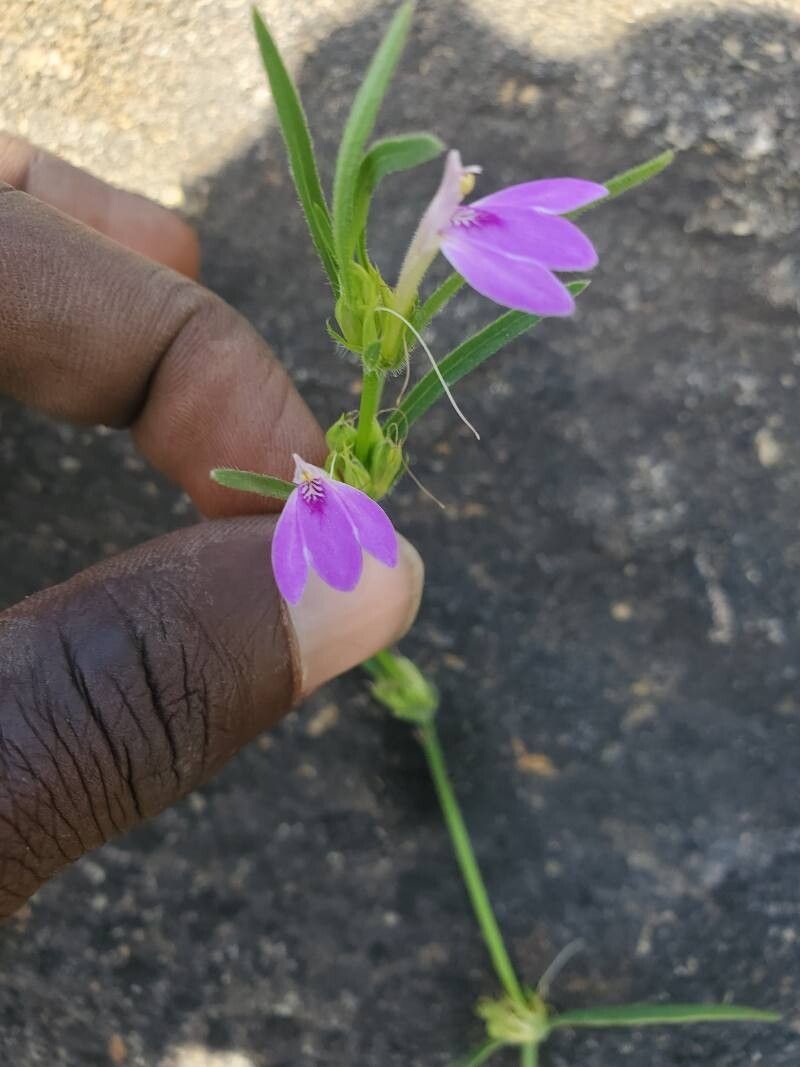
Grow More of That Gorgeous Justicia: Your Guide to Propagating Justicia ladanoides
Oh, Justicia ladanoides! Isn’t it just a delight? Those delicate, almost ethereal blooms and that lovely, often fragrant foliage just draw you in. If you’ve fallen for this charmer as much as I have, you’re in for a treat. Propagating it is a wonderfully rewarding way to fill your garden with more of its magic, and honestly, it’s not as daunting as you might think. Even if you’re just starting your gardening journey, you can absolutely succeed with this one.
When to Get Your Hands Dirty
The sweet spot for propagating Justicia ladanoides is definitely late spring or early summer. This is when the plant is actively growing, pushing out fresh, healthy stems. You’ll want to select stems that are currently growing but aren’t yet flowering. Think of it as capturing that vibrant, youthful energy for your new plants.
Gearing Up for Success
Here’s what you’ll want to have on hand before you begin:
- Sharp Pruning Shears or a Clean Knife: For making clean cuts.
- Rooting Hormone (Optional but Recommended): A little boost for your cuttings. I like the powder form, but liquid works too.
- Well-Draining Potting Mix: A good blend of potting soil, perlite, and peat moss works wonders. You want something airy!
- Small Pots or Seed Trays: With drainage holes, of course.
- Clear Plastic Bags or a Propagator: To create a humid environment.
- Watering Can with a Fine Rose: For gentle watering.
Let’s Grow More Justicia!
There are a couple of reliable ways to get more Justicia ladanoides. I find stem cuttings to be the most straightforward for this particular plant.
Stem Cuttings:
- Take Your Cuttings: Using your sharp shears, snip 4-6 inch pieces from healthy, non-flowering stems. Make your cut just below a leaf node (where a leaf attaches to the stem).
- Prepare the Cuttings: Gently remove the lower leaves from the bottom half of the stem. If the remaining leaves are very large, I like to cut them in half. This reduces water loss while the cutting is trying to root.
- Dip in Rooting Hormone (If Using): Lightly dip the cut end of the stem into your rooting hormone, tapping off any excess.
- Pot Them Up: Fill your small pots with your well-draining potting mix. Make a small hole in the center of the soil with your finger or a pencil.
- Plant Your Cuttings: Insert the prepared cuttings into the holes, about 1-2 inches deep, ensuring at least one leaf node is below the soil surface. Gently firm the soil around the stem.
- Water Gently: Water the soil thoroughly until it’s evenly moist.
- Create Humidity: Place the pots into a clear plastic bag or a propagator. If using a bag, I like to use stakes to keep the plastic from touching the leaves. Seal it, but leave a small opening for air circulation.
- Find a Bright Spot: Place the pots in a location that receives bright, indirect light. Avoid direct sun, which can scorch the delicate cuttings.
My “Secret Sauce” for Extra Lushness
As a seasoned gardener, I’ve learned a few tricks that really make a difference.
- The Bottom Heat Trick: If you can, place your pots on a seedling heat mat. This gentle warmth from below can really encourage root development faster than they might otherwise. It’s like a warm hug for your cuttings!
- Don’t Overwater, But Keep it Moist: This is crucial. You want the soil to be consistently moist, not soggy. Too much water can lead to rot, which is the quickest way to lose a cutting. I often find myself lifting the baggie or propagator lid to check the soil moisture every couple of days.
Patience is a Virtue (and a Gardener’s Best Friend)
After a few weeks, you should start to see signs of new growth. This is the best indicator that roots are forming! You can give a gentle tug on a cutting – if there’s resistance, you’ve got roots!
- Transitioning: Once your cuttings have developed a good root system (you might see them emerging from the drainage holes), it’s time to remove them from the propagator or plastic bag gradually. Start by opening up the bag for a few hours each day, then remove it completely. This helps them acclimatize to the drier air.
- Repotting: When the new plants are sturdy enough to handle, you can transplant them into slightly larger pots with fresh potting mix.
- Troubleshooting: The most common issue you’ll encounter is rot, which usually happens from overwatering or poor drainage. If you see a cutting turning black and mushy, unfortunately, it’s best to discard it and try again. Wilting can also occur if the cutting is too dry or if it’s not getting enough light.
Watching those tiny roots emerge and seeing new leaves unfurl is one of the most satisfying moments in gardening. Don’t be discouraged if not every cutting succeeds. Gardening is a journey of learning and experimenting. Just keep trying, enjoy the process, and soon you’ll have a whole collection of these lovely Justicia ladanoides to share (or keep all to yourself!). Happy propagating!
Resource:
https://identify.plantnet.org/k-world-flora/species/Justicia%20ladanoides%20Lam./data