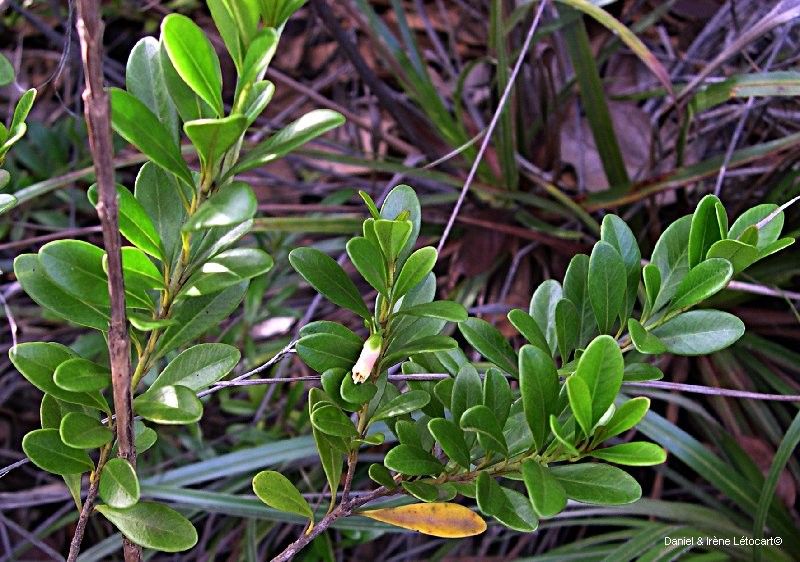
Hello fellow garden enthusiasts! Today, I want to chat about a truly special plant that has captured my heart over the years – Planchonella ericiflora, often known as the Heath-leaved Queensland Firewheel. Its delicate, Heath-like foliage is just gorgeous, and when it bursts into those vibrant, star-shaped red flowers, it’s pure magic. Propagating it yourself? Oh, that’s one of the most rewarding gardening experiences you can have. Now, I won’t lie, Planchonella ericiflora can be a bit of a shy starter for absolute beginners, but with a little patience and these tips, you’ll soon be enjoying your own little firewheels.
The Best Time to Start
When it comes to coaxing new life from your Planchonella ericiflora, you’ll find the most success when the plant is actively growing. Aim for late spring to early summer. This is when the plant has stored up plenty of energy, and the warmer temperatures encourage vigorous root development. You want to take your cuttings from healthy, semi-hardwood growth – that’s wood that’s not brand new and soft, but also not old and woody. Think of it as being firm but still flexible.
Supplies You’ll Need
Gathering your tools beforehand makes the whole process so much smoother. Here’s what I always have on hand:
- Sharp Pruning Shears or a Craft Knife: Clean cuts are key to minimizing disease and encouraging healing.
- Rooting Hormone: A good quality rooting powder or gel will give your cuttings a significant boost.
- Misting Bottle: For keeping your cuttings hydrated without waterlogging.
- Perlite and Coarse Sand: A well-draining mix is crucial. I usually go for about a 50/50 blend. You can also add a small amount of peat moss if your sand is very gritty.
- Small Pots or Seed Trays: Clean containers are a must.
- Clear Plastic Bags or a propagator: To create a humid environment.
- Labels: So you don’t forget what you’ve planted!
Propagation Methods
My go-to method for Planchonella ericiflora is stem cuttings. It’s tried and true for me.
- Take Your Cuttings: On a bright morning, after the dew has dried, select healthy stems. Cut pieces about 10-15 cm long. Make your cut just below a leaf node (the point where a leaf attaches to the stem). This is where the magic happens for rooting.
- Prepare the Cuttings: Gently remove the lower leaves, leaving just a few at the top. If you have any leaves that are really big, you can even carefully cut them in half to reduce water loss through transpiration.
- Apply Rooting Hormone: Dip the cut end of each stem into the rooting hormone, tapping off any excess. Make sure the entire cut surface is coated.
- Potting Up: Fill your clean pots with your perlite and sand mix. Make a small hole in the center with a pencil or your finger.
- Insert the Cuttings: Gently insert the hormone-coated end of each cutting into the hole, ensuring it’s firm in the mix. You can fit a few cuttings into one pot, just make sure they aren’t touching each other.
- Water Gently: Water the mix thoroughly but gently. You want it to be moist, not soggy.
- Create Humidity: Cover the pot with a clear plastic bag, using stakes to keep the bag from touching the leaves, or place it in a propagator.
The “Secret Sauce” (Pro Tips)
Here are a few things I’ve learned that make a real difference:
- Bottom Heat is Your Friend: While not strictly essential, placing your pots on a heat mat or a warm windowsill can significantly speed up root formation. My Planchonella cuttings seem to love a bit of warmth from below!
- Don’t Drown Your Leaves: When you water, make sure to be gentle. If you’re using a spray bottle to mist, aim at the soil, not directly onto the leaves, especially if they are close to the soil surface. Excess moisture sitting on leaves can lead to fungal issues.
- Air Circulation Matters: While humidity is key, stagnant air can be a breeding ground for mold. If you’re using a plastic bag, open it up for a few minutes each day to let in some fresh air.
Aftercare & Troubleshooting
Once your cuttings have been potted, the waiting game begins. Keep them in a bright spot out of direct sunlight. Mist them regularly to maintain that lovely humid environment.
You’ll know your cuttings have rooted when you see new leaf growth or when they feel firm and resist gently when tugged. This usually takes anywhere from 4 to 8 weeks, sometimes a bit longer.
The most common problem you’ll encounter is rot. If you see your cuttings turning mushy or black at the base, it’s a sign of too much moisture and not enough air. If this happens, remove the affected cutting immediately to prevent it from spreading. You might also find that a cutting simply fails to root; this is nature’s way, and it’s nothing to get discouraged about. Just try again!
A Closing Thought
Growing plants from cuttings is a journey, and the most beautiful thing about the garden is its generosity. Be patient with your little Planchonella ericiflora cuttings. Celebrate each tiny bit of progress, and trust in the process. Before you know it, you’ll have a whole new shrub to admire! Happy propagating!
Resource: