Oh, hello there! It’s so good to see you. Pull up a chair, and let’s talk about one of my favorite climbing beauties: Phanera scandens, also known as the White Bauhinia or Butterfly Vine.
Let’s Talk About the White Bauhinia
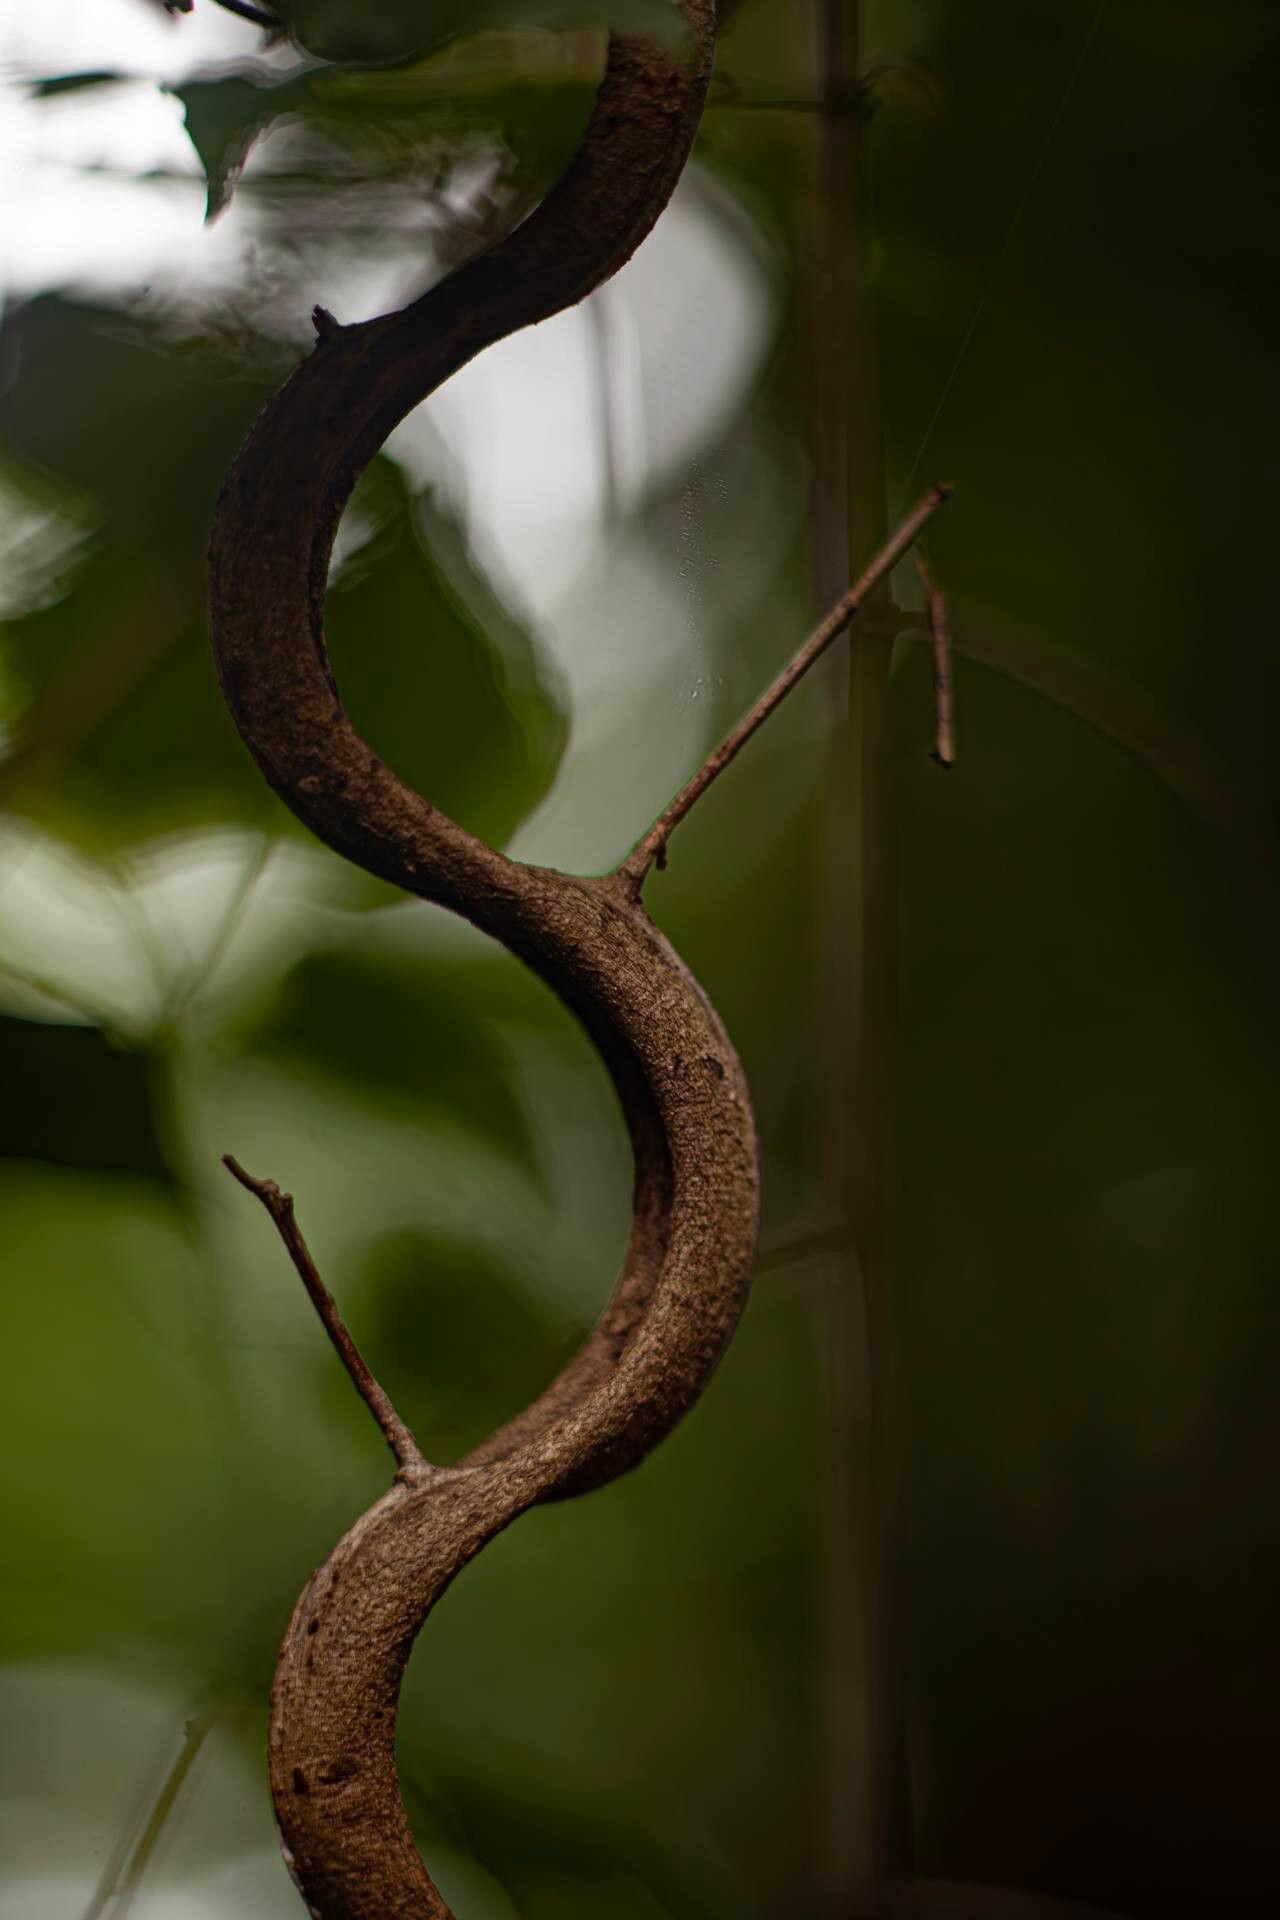
There’s something so magical about watching a vine unfurl its delicate, orchid-like white flowers, isn’t there? Phanera scandens is a real showstopper, perfect for adding a touch of elegance to pergolas, trellises, or even just letting it ramble over a garden wall. The reward of propagating your own is immense. Seeing those tiny new leaves emerge, knowing you coaxed them into life – it’s a truly special feeling. Is it a beginner’s plant to propagate? Honestly, while it’s not the absolute easiest, with a little patience and the right approach, you’ll find it quite manageable and deeply satisfying.
When to Get Your Hands Dirty?
The sweet spot for propagating Phanera scandens is when the plant is in its active growing season. Think late spring through early summer. This is when the stems have plenty of energy to put towards developing new roots. You’re looking for stems that are somewhat mature but not overly woody – often called semi-hardwood cuttings. Avoid taking cuttings from brand new, very soft growth, as it tends to be a bit too delicate.
What You’ll Need for Success
Gathering your supplies beforehand is half the battle! Here’s what I usually have on hand:
- Sharp Pruning Shears or a Knife: For clean cuts that heal well.
- Rooting Hormone (powder or gel): This is definitely a helpful boost for encouraging root development.
- Potting Mix: A good, well-draining mix is crucial. I often use a blend of peat moss, perlite, and a bit of compost. You want something that holds moisture but doesn’t become waterlogged.
- Small Pots or Trays: With drainage holes, of course!
- Clear Plastic Bag or Dome: To create a humid microclimate.
- Watering Can or Spray Bottle: For gentle watering.
Bringing New Plants to Life: Propagation Methods
We’ll focus on the most reliable method for Phanera scandens: stem cuttings.
-
Take Your Cuttings: On a bright morning, select healthy, non-flowering stems. Look for stems that are flexible but have started to firm up. Using your clean shears, cut stems about 4-6 inches long. Make the cut just below a leaf node (where a leaf attaches to the stem). Remove the lower leaves, leaving just a couple at the top. If the leaves are very large, I often cut them in half to reduce water loss through transpiration.
-
Prepare the Cuttings: Dip the cut end of each stem into your rooting hormone, ensuring it’s coated. Tap off any excess.
-
Plant Them Up: Fill your pots or trays with your prepared potting mix. Make a hole in the center with your finger or a pencil. Gently insert the dipped end of the cutting into the hole, making sure at least one leaf node is buried in the soil. Firm the soil gently around the stem.
-
Create a Humid Environment: Water the soil thoroughly but gently. Then, cover the pot or tray with a clear plastic bag, propping it up with stakes so it doesn’t touch the leaves. A clear plastic dome also works beautifully. Place your cuttings in a bright spot, but out of direct, harsh sunlight.
The “Secret Sauce”: My Insider Tips
Now, here are a few little tricks I’ve picked up over the years that can really make a difference:
- Bottom Heat is Your Friend: For cuttings, there’s nothing quite like a heating mat. It mimics the warmth of the soil in warmer climates and gives those roots a little extra encouragement to get going. You don’t want it scorching hot, just gently warm to the touch.
- Don’t Let the Leaves Drip: When watering, always be careful not to let water pool on the leaves of your cuttings. Especially when they’re enclosed in plastic, persistent moisture on the foliage is a prime invitation for fungal issues. A gentle misting, or watering the soil directly, is best.
- Patience is a Virtue (Especially with Woody Vines): Phanera can sometimes take a little longer to root than softer herbaceous plants. Don’t be discouraged if you don’t see roots immediately. I often wait 4-8 weeks, or even longer, before gently tugging on a cutting to check for resistance. If it feels secure, you’ve got roots!
Nurturing Your New Arrivals & What to Watch For
Once you start to see new growth emerging from your cuttings, or you confirm they have a good root system, it’s time to start thinking about moving them along.
- Gradual Acclimatization: Slowly remove the plastic cover over a few days to help your new plants get used to the drier air.
- Watering: Keep the soil consistently moist but not soggy. Water when the top inch of soil feels dry.
- Light: Continue to provide bright, indirect light. As they get bigger, you can slowly introduce them to more direct sun.
- Transplanting: Once the root system is well-established and you see healthy leaf growth, you can transplant your new Phanera into slightly larger pots.
Now, what if things don’t go according to plan? The most common issue is rot. If your cutting looks limp, mushy, or has turned black, it’s likely succumbed to rot. This usually happens when the soil is too wet and there’s not enough air circulation. If you see this, unfortunately, it’s time to discard the cutting and start fresh, perhaps with a bit more care in managing moisture levels. Yellowing leaves can sometimes mean they need a bit more light, or perhaps are getting too much water. Keep an eye on them!
Go Forth and Grow!
Propagating Phanera scandens is a journey, and like any good garden adventure, it’s filled with learning and the joy of creation. Be patient with yourself, enjoy the process, and celebrate every tiny new leaf and root you inspire. Happy gardening!
Resource: