Hello there, fellow plant enthusiasts! Today, we’re diving into the delightful world of propagating Gymnocarpium oyamense, a fern that brings such a lovely, delicate charm to any shady corner. I’ve spent years nurturing these beauties, and I can tell you, watching a tiny piece of your existing fern transform into a whole new plant is one of the most satisfying feelings in gardening. If you’re new to propagation, don’t fret! While some ferns can be a bit fiddly, Gymnocarpium oyamense is generally quite forgiving, making it a wonderful plant to start your propagation journey with.
The Best Time to Start
For Gymnocalycium oyamense, the sweet spot for propagation is undoubtedly the spring. As the days lengthen and temperatures begin to warm, the plant is gearing up for active growth. This vigorous energy transfer means cuttings or divisions are more likely to develop strong roots and new fronds. You can also have success with divisions in early autumn, giving the new plants time to establish before winter.
Supplies You’ll Need
Gathering your tools beforehand makes the whole process much smoother. Here’s what I always have on hand:
- Sterilized pruning shears or a sharp knife: For clean cuts.
- A well-draining potting mix: I like a blend of peat moss, perlite, and a touch of compost. For ferns, adding a bit of orchid bark can also be beneficial for aeration.
- Small pots or trays: With drainage holes, of course!
- Rooting hormone (optional but helpful): A powdered or liquid form can give your cuttings a boost.
- Plastic bags or a propagation dome: To maintain humidity.
- Watering can or mister: For gentle watering.
- Labels and a permanent marker: To keep track of your new plants!
Propagation Methods
Gymnocalycium oyamense is most commonly and successfully propagated through division and spore propagation. While stem cuttings aren’t typically the go-to for this particular fern, division is exceptionally easy and rewarding.
Division
This is my favorite method for Gymnocalycium oyamense because it’s so straightforward and gives you mature plants faster.
- Gently remove the fern from its pot. If it’s in the ground, carefully dig around it.
- Examine the root ball. You’re looking for distinct clumps or sections that can be separated. You’ll often see rhizomes (underground stems) that are easy to tease apart.
- Using your hands or a sterilized knife/trowel, carefully divide the fern. Try to ensure each division has a good portion of roots and at least a few healthy fronds. Don’t be afraid to gently pull apart the roots if they are intertwined.
- Pot up each division into its own container with fresh, well-draining potting mix.
- Water thoroughly and place in a shady spot.
Spore Propagation
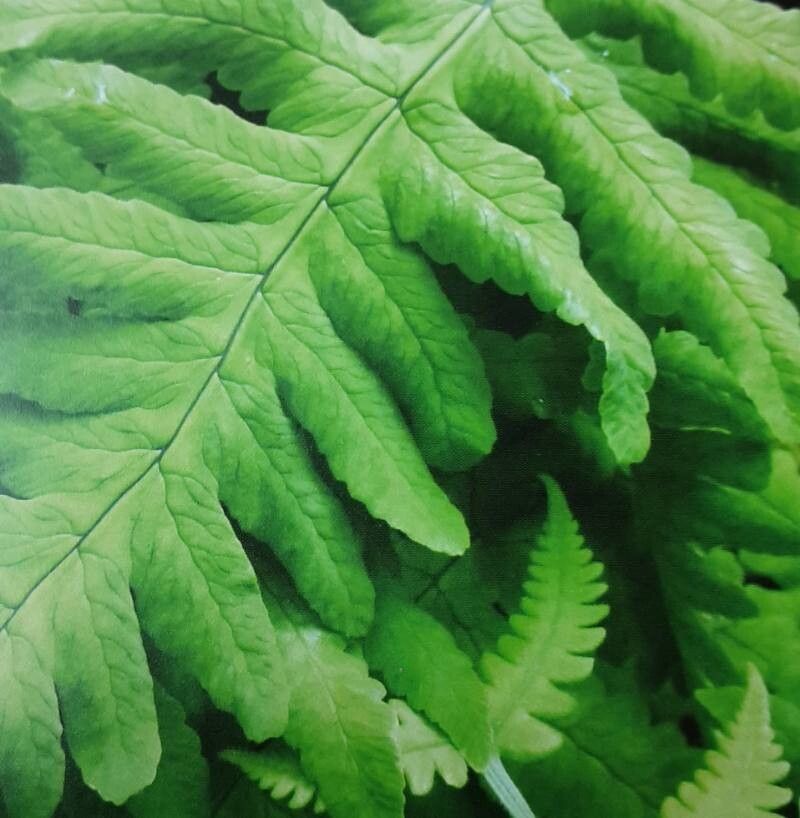
This method is more akin to starting from seed and requires a bit more patience. Gymnocalycium oyamense produces spores on the undersides of its fronds, typically in distinct structures called sori.
- Harvesting Spores: Look for mature fronds where the sori (usually brown or tan dots) are starting to dry and look powdery. You can carefully snip off a frond and lay it on a piece of paper indoors in a dry, airy spot until the spores are released. You’ll see a fine, dusty powder.
- Sowing: Sow the spores thinly on the surface of a sterilized, moist potting mix. You can use a fine sieve to distribute them evenly.
- Create Humidity: Mist the surface gently and then cover the pot with a clear plastic bag or propagation dome to create a humid microclimate.
- Patience is Key: Keep the mix consistently moist but not waterlogged. Place it in a bright spot, but out of direct sunlight. It can take weeks or even months for tiny prothalli (the first stage of fern growth) to appear. From prothalli, tiny fiddleheads will eventually form.
The “Secret Sauce” (Pro Tips)
Here are a couple of things I’ve learned over the years that can make a big difference:
- Don’t Overwater Divisions: While ferns love moisture, soggy soil can lead to rot, especially right after division. Let the top inch of soil dry out slightly before watering again.
- Shield New Divisions Immediately: After dividing and potting, place your new plants in a shadier spot than their parent plant for a week or two. They need time to recover from the stress of separation before facing brighter light.
- For Spores, Think “Moist Greenhouse”: The key to successful spore germination is consistently high humidity and gentle moisture. Think of the conditions inside a warm greenhouse – that’s what you’re aiming for in your little propagation setup.
Aftercare & Troubleshooting
Once your divisions have settled in, treat them like you would a mature Gymnocalycium oyamense. Keep them in shady, consistently moist conditions. Water when the top inch of soil feels dry to the touch. Avoid letting them dry out completely, but also steer clear of waterlogged soil which can lead to root rot.
Signs of trouble usually involve yellowing fronds, wilting, or mushy stems. If you see these, check your watering habits. Overwatering is the most common culprit for rot. If you suspect rot, act quickly: unpot the plant, trim away any rotten sections with sterilized tools, and repot in fresh, dry soil. For spore propagation, mold is a common issue if the humidity is too high without enough airflow. You can try gentle fanning or a very light application of a horticultural fungicide if it becomes severe.
A Little Encouraging Word
Propagating plants is a journey, and Gymnocalycium oyamense is a wonderful companion for that journey. Don’t be discouraged if a division doesn’t take immediately, or if your spores take their sweet time. Every attempt teaches you something new. Enjoy the process, celebrate the little successes, and soon you’ll have even more of these graceful ferns to share! Happy gardening!
Resource:
https://identify.plantnet.org/k-world-flora/species/Gymnocarpium%20oyamense%20(Baker)%20Ching/data