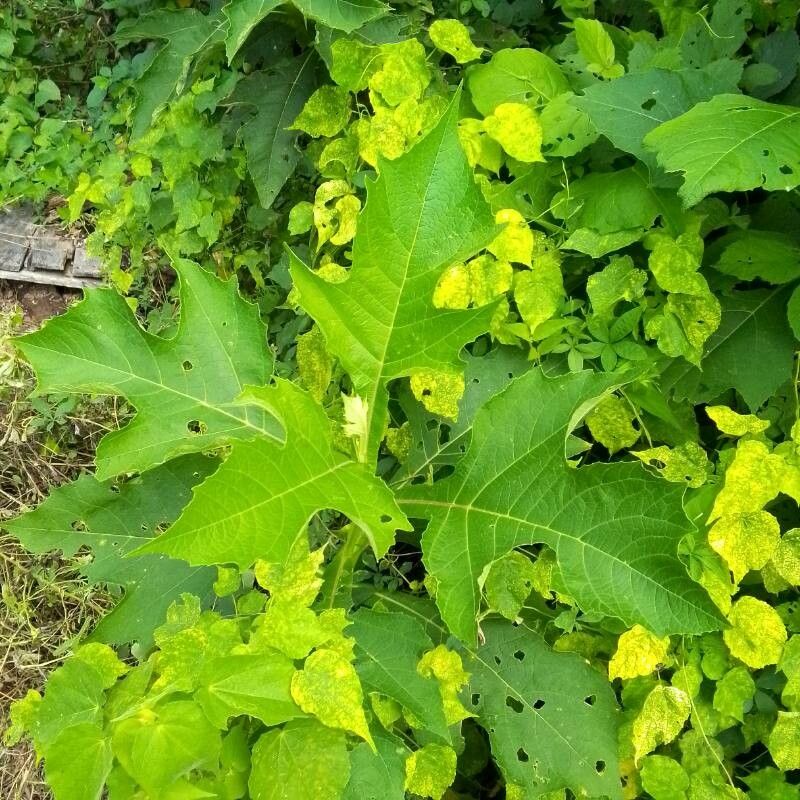
Hello there, fellow garden enthusiasts! Today, I want to chat about a plant that has truly captured my heart over the years: Verbesina fastigiata. If you’re looking for a splash of sunny yellow, a cascade of cheerful blooms, and a plant that just seems to radiate good vibes, you’re in for a treat. These beauties, often seen gracing our gardens with their tall, arching stems and masses of small, daisy-like flowers, are a delight. And the best part? They’re surprisingly rewarding to propagate. Don’t be intimidated; even if you’re just dipping your toes into the world of plant propagation, Verbesina fastigiata is a wonderfully forgiving subject to practice on.
The Best Time to Start
When it comes to getting those new little Verbesina plants going, timing is key. I’ve found the late spring to early summer is your golden window. This is when the plant is in its active growing phase, full of vigor and ready to put out new shoots. Starting then gives your cuttings ample time to establish well before the cooler weather arrives. Trying too early in the spring, before things are truly warm and settled, can lead to disappointing results.
Supplies You’ll Need
Gathering your supplies beforehand makes the whole process so much smoother. Here’s what I usually have on hand:
- Sharp Pruning Shears or a Knife: Clean cuts are essential for healthy root development.
- Rooting Hormone: This isn’t strictly mandatory, but it really does give your cuttings a significant boost.
- Small Pots or Seedling Trays: Something for your new babies to grow in!
- Well-Draining Potting Mix: A mix of peat, perlite, and a bit of compost works beautifully. Don’t use heavy garden soil!
- Watering Can with a Fine Rose: To gently water without disturbing your delicate cuttings.
- A Clear Plastic Bag or Propagation Dome: This creates a humid microclimate, which is crucial.
- (Optional) Bottom Heat Mat: This can speed up rooting, especially if your greenhouse or indoor space is a bit cooler.
Propagation Methods
I typically find success with stem cuttings for Verbesina fastigiata. It’s straightforward and yields great results.
- Take Your Cuttings: In late spring or early summer, select healthy, non-flowering stems. Using those clean pruning shears, cut sections that are about 4-6 inches long. Make your cut just below a leaf node (where a leaf attaches to the stem). This is where roots are most likely to form.
- Prepare the Cuttings: Gently remove the lower leaves from your cuttings. You want to leave just a few leaves at the top to help with photosynthesis. If the remaining leaves are very large, you can snip them in half to reduce water loss.
- Apply Rooting Hormone: Dip the cut end of each stem into your rooting hormone, tapping off any excess.
- Plant Your Cuttings: Fill your small pots or trays with the well-draining potting mix. Make a hole in the center of the soil with your finger or a pencil. Gently insert the prepared cutting into the hole, ensuring the leaf nodes you removed are below the soil line.
- Water Gently: Water the soil thoroughly but gently. You want the soil to be moist, not waterlogged.
- Create a Humid Environment: Cover the pots with a clear plastic bag or a propagation dome. This traps moisture and keeps the humidity high, which is vital for cuttings that haven’t developed roots yet. You can poke a few small holes in the bag to allow for some air circulation.
- Find a Warm Spot: Place your pots in a bright location, but out of direct, intense sunlight. A warm windowsill or a heated propagation mat is ideal.
The “Secret Sauce” (Pro Tips)
Here are a couple of little tricks I’ve learned that can make a big difference:
- The “Barely-Touch” Rule: If you’re using a very clear plastic bag or dome, try to ensure that the leaves on your cuttings don’t touch the plastic. If they do, they can develop mold very quickly, which is the last thing you want. A support system like small stakes or just letting the bag drape loosely can help.
- Bottom Heat is Your Friend: While not essential for Verbesina, if you find your cuttings are taking their sweet time to root, adding bottom heat can really speed things up. It encourages root formation from the bottom up, and it really makes a noticeable difference.
Aftercare & Troubleshooting
Once you start to see signs of new growth, like tiny leaves unfurling at the top, that’s a fantastic sign that roots have formed! Congratulations! At this point, you can gradually reduce the humidity by slowly opening up the plastic bag or dome over a few days. Continue to keep the soil consistently moist but never soggy.
The biggest challenge you might face is rot. This usually happens if the soil is too wet for too long or if there isn’t enough air circulation. If you see a cutting turning black and mushy, it’s best to remove it immediately to prevent it from spreading. Don’t get discouraged if not every single cutting takes; it’s all part of the learning curve!
A Heartfelt Closing
Propagating plants is such a beautiful way to connect with nature and to multiply the joy your garden brings you. Be patient with your little Verbesina cuttings. Some will root faster than others, and that’s perfectly normal. Enjoy the process, celebrate those tiny root tips, and soon you’ll have a whole new generation of these cheerful bloomers to share or to fill your garden with even more sunshine. Happy gardening!
Resource: