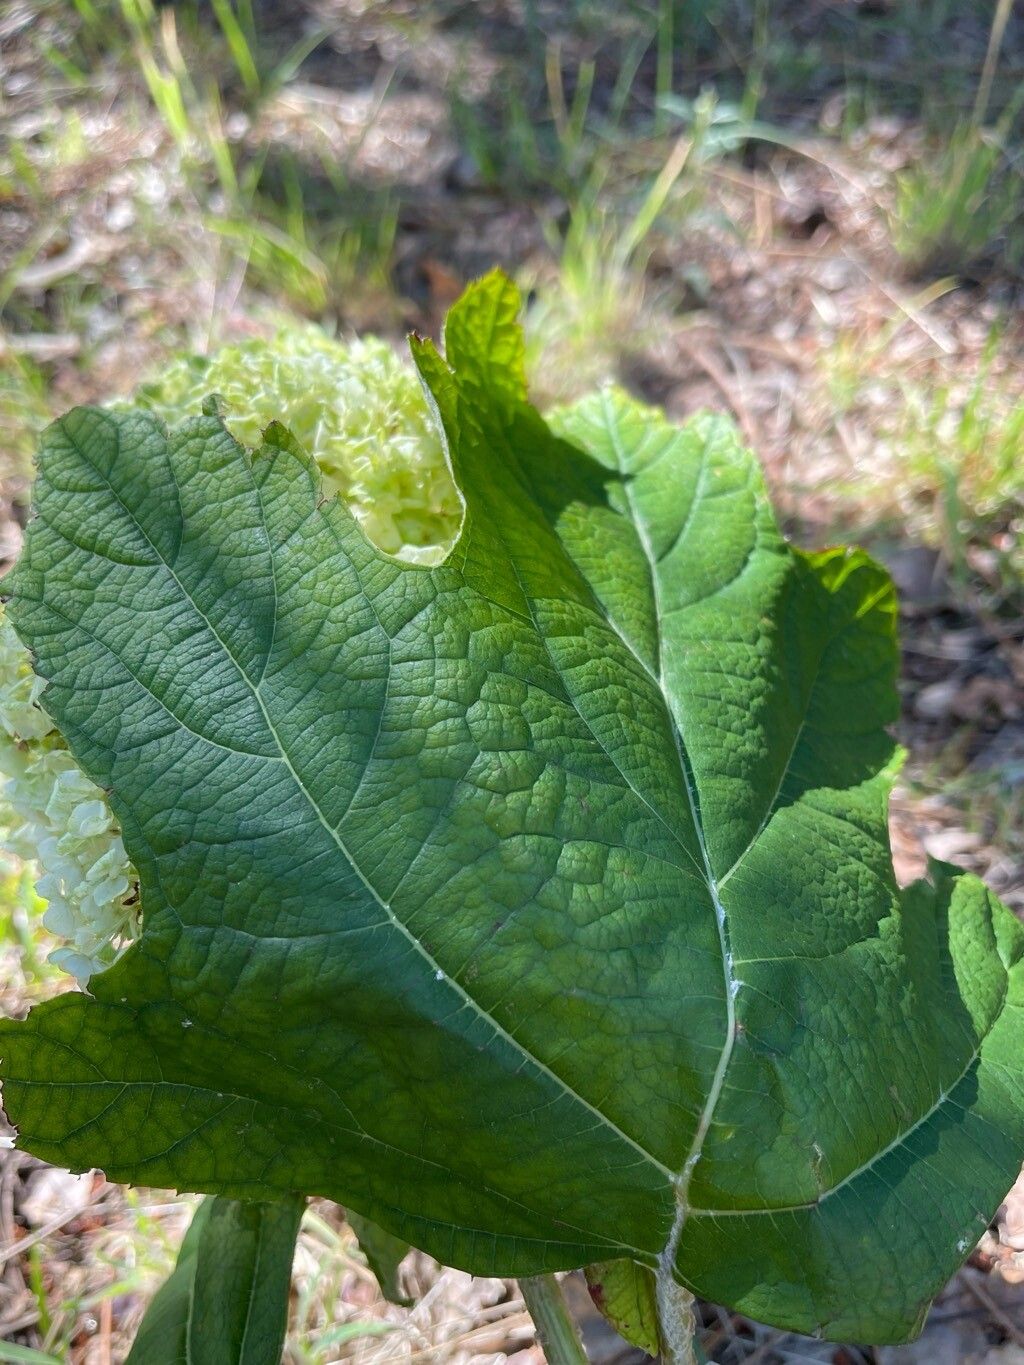
Oh, Oakleaf Hydrangeas! Aren’t they just delightful? With their big, architectural leaves that turn such a gorgeous russet in the fall, and those lovely, cone-shaped white blooms that age to a soft pink – they truly bring a certain elegance to any garden. And the best part? They’re not nearly as fussy as some of their hydrangeal cousins. If you’ve ever admired one and wished you had more, you’re in luck! Propagating Oakleaf Hydrangeas is a really satisfying project, and honestly, it’s quite beginner-friendly. Let’s get some new beauties growing!
The Best Time to Start
For Oakleaf Hydrangeas, late spring to early summer is your sweet spot. This is when the plant is actively growing and has plenty of fresh, pliable stems. You want to take cuttings from wood that is semi-hardwood. This means it’s not brand new and green, but it’s also not old and woody. It should snap cleanly when you bend it, not bend like a green twig.
Supplies You’ll Need
Here’s what you’ll want to have on hand:
- Sharp Pruning Shears or a Craft Knife: Cleanliness is key! We want to avoid introducing any nasty bacteria.
- Rooting Hormone: A powder or gel will significantly boost your success rate.
- Small Pots or Trays: With good drainage holes.
- A Well-Draining Potting Mix: I like a blend of equal parts peat moss or coco coir, perlite, and a good quality potting soil. This ensures aeration and prevents waterlogging.
- Plastic Bags or a Propagator: To create a humid dome.
- Water: For misting.
- An Optional Bottom Heat Mat: This can really speed things up!
Propagation Methods
Let’s dive into how we can create new Oakleaf Hydrangeas.
Stem Cuttings
This is my go-to method for these beauties.
- Select Your Cuttings: Look for healthy stems that are around 4-6 inches long. Take them in the morning when the plant is most hydrated.
- Prepare the Cuttings: Using your clean shears, make a cut just below a node (where a leaf attaches to the stem). Remove the lower leaves, leaving just the top two or three. If the leaves are very large, I like to cut them in half horizontally. This reduces water loss while still allowing for photosynthesis.
- Apply Rooting Hormone: Dip the cut end of the stem into your rooting hormone, ensuring it’s coated. Tap off any excess.
- Plant Your Cuttings: Make a hole in your potting mix with a pencil or your finger. Gently insert the cutting, making sure the nodes where you removed the leaves are covered by soil. Firm the soil gently around the base.
- Create a Humid Environment: Water the pots lightly. You can then place them inside a clear plastic bag (supported with stakes so it doesn’t touch the leaves) or put them in a propagator. Seal it up to keep the humidity high.
- Location, Location, Location: Place your pots in a bright spot, but out of direct sunlight. A north-facing windowsill or a shady corner of the greenhouse is perfect.
Water Propagation (Less Common for Oakleaf, but Possible!)
While I generally find stem cuttings more reliable for Oakleaf Hydrangeas, you can try water propagation with a bit of care.
- Prepare Your Cuttings: Similar to stem cuttings, get 4-6 inch pieces with healthy leaves. Remove the lower leaves.
- Place in Water: Put the cuttings in a clean jar or vase filled with fresh water.
- Crucial Rule: This is vital – ensure no leaves are touching the water. They will rot and contaminate the water, dooming your efforts. Change the water every few days to keep it fresh.
- Patience is Key: You’ll see tiny white roots start to form. This can take a few weeks. Once the roots are about an inch long, you can carefully transplant them into well-draining potting mix, as described above.
The “Secret Sauce” (Pro Tips)
Here are a few things I’ve learned over the years that make a real difference:
- Don’t Be Afraid to Take a Few Extra: Not every cutting will take, and that’s perfectly okay. Propagating more than you think you’ll need is a simple way to increase your odds.
- Bottom Heat Works Wonders: If you have a bottom heat mat, place your pots on it. This gentle warmth encourages root development significantly. It’s like giving your cuttings a cozy warm hug!
- Cleanliness is Paramount: I can’t stress this enough. Sterilize your tools before and between cuttings. Wash your hands. This simple step drastically reduces the risk of fungal infections and rot.
Aftercare & Troubleshooting
Once you see new leaf growth emerging, that’s a good sign roots are forming!
- Acclimatize Gradually: If you used a plastic bag or propagator, start by opening it up for a few hours each day to gradually acclimate your new plants to drier air.
- Watering: Keep the soil consistently moist but not soggy. Water when the top inch of soil feels dry.
- Transplanting: Once your cuttings have a good root system and are growing well, you can transplant them into slightly larger pots.
- Troubleshooting – Rot: The most common issue is rot. If your cuttings turn black and mushy, or develop fuzzy white mold, it’s usually a sign of too much moisture and poor air circulation. If you catch it early, you might be able to save some by trimming away the affected parts and ensuring better drainage and ventilation. Don’t waterlogged the soil!
A Encouraging Closing
Propagating plants is such a rewarding journey. It connects you to the rhythm of nature and the amazing resilience of plants. Be patient with your new Oakleaf Hydrangea babies. Some will take off faster than others. Just keep them in a bright, protected spot, water them as needed, and before you know it, you’ll have beautiful new additions to your garden – or to share with a friend! Happy gardening!
Resource:
https://identify.plantnet.org/k-world-flora/species/Hydrangea%20quercifolia%20W.Bartram/data