Hey there, fellow plant enthusiasts!
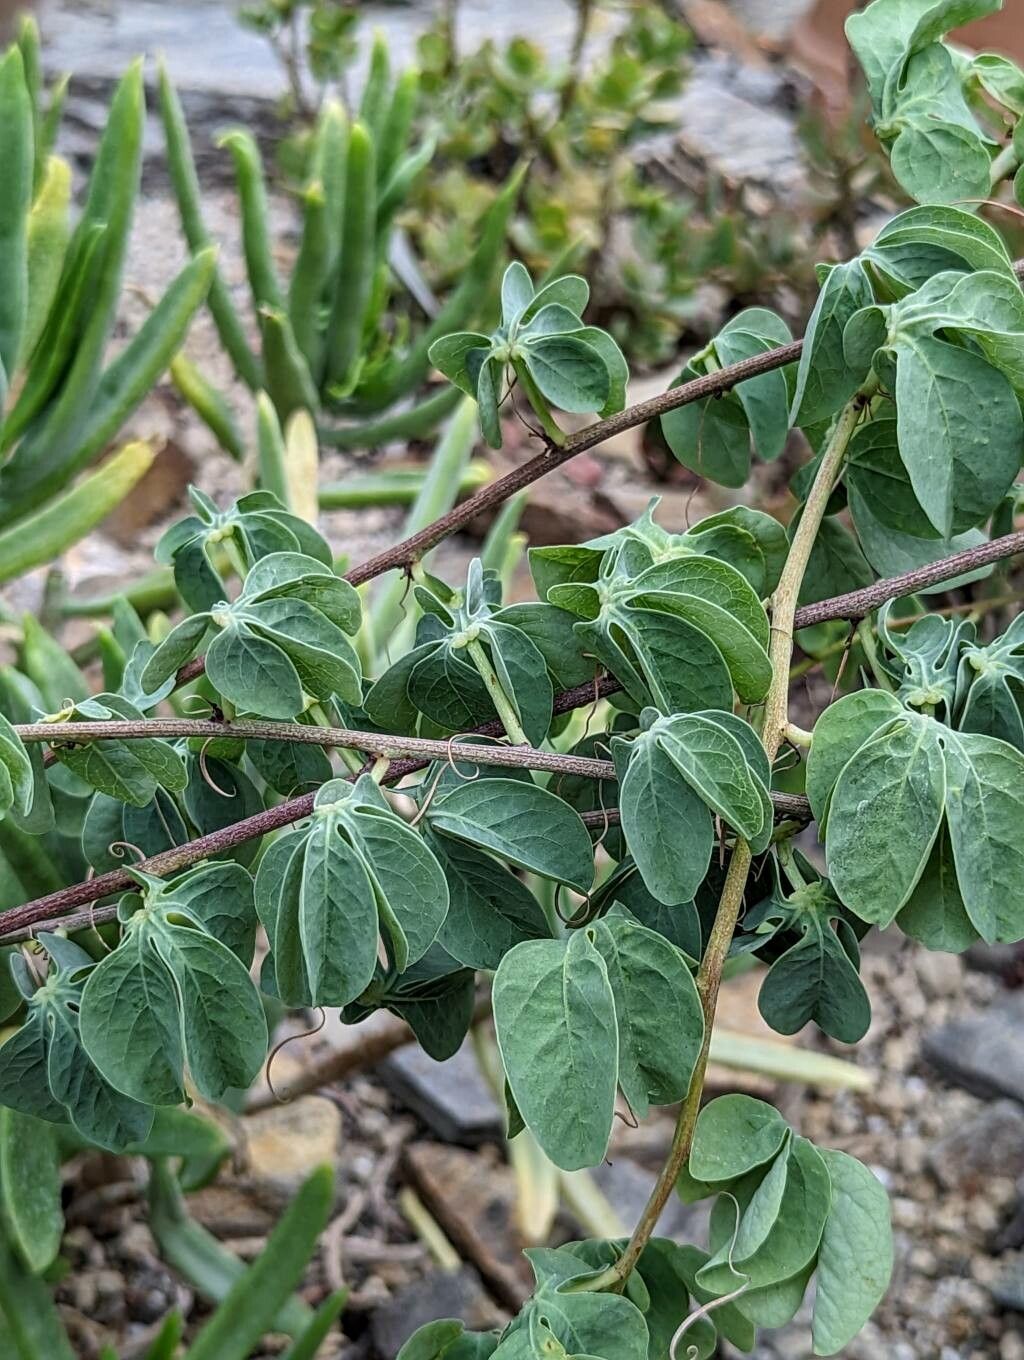
Let’s talk about a real gem for the succulent and caudiciform lovers out there: Adenia fruticosa. This plant is just something special. Its gnarled, woody caudex (that swollen base that stores water) and delicate, trailing vines create such a striking contrast. Seeing a little piece of your own plant sprout and grow feels like a small miracle, doesn’t it? It’s incredibly rewarding to multiply these unique beauties. Now, about its ease for beginners? I’d say Adenia fruticosa falls into the intermediate category. It’s not impossible by any stretch, but it does appreciate a bit more attention than your average succulent.
The Best Time to Start
For the highest chance of success with Adenia fruticosa, you’ll want to propagate during its active growing season. This typically means late spring through summer. The plant is full of vim and vigor then, meaning it’s ready to put out new roots and shoots. Trying to propagate when it’s resting, like in the dead of winter, is a recipe for disappointment.
Supplies You’ll Need
Here’s a little kit to get you started:
- Sharp, clean pruning shears or a hobby knife: For making clean cuts.
- Well-draining potting mix: I like a blend of cactus/succulent mix with perlite or coarse sand added. A 50/50 mix usually does the trick.
- Rooting hormone (optional but recommended): Helps encourage faster root development. Look for one with IBA (indole-3-butyric acid).
- Small pots or seed trays: For your cuttings. Cleanliness is key here!
- Plastic bags or a clear plastic dome: To create a high-humidity environment.
- Spray bottle: For misting.
- Gloves: Some plants can have irritating sap.
Propagation Methods
I’ve found the most reliable methods for Adenia fruticosa are through stem cuttings.
Stem Cuttings:
- Start by identifying a healthy, semi-hardwood stem on your mature plant. This means it’s not brand new and soft, but not old and completely woody either. Look for stems that have a bit of flexibility but feel firm.
- Using your sharp shears or knife, take a cutting that’s about 4-6 inches long. Make sure it has at least two sets of leaves.
- Remove the lower leaves from the bottom half of the cutting. This prevents them from rotting once they’re in the soil.
- If you’re using rooting hormone, dip the cut end into the powder or gel. Give it a gentle tap to remove any excess.
- Prepare your pots with your well-draining mix. Make a small hole with your finger or a pencil.
- Carefully insert the cutting into the hole, ensuring the nodes (where the leaves were removed) are below the soil surface. Gently firm the soil around the cutting.
- Water lightly to settle the soil.
The “Secret Sauce” (Pro Tips)
Over the years, I’ve learned a few little tricks that make a difference.
- Let it callus: Before you stick that cutting in the soil, let the cut end dry out and form a callus for a day or two in a dry, shaded spot. This helps prevent rot, which is a major enemy of cuttings.
- Bottom heat is your friend: Adenia fruticosa loves a little warmth from below. Placing your pots on a propagation mat can significantly speed up root formation. It mimics the warmth of spring soil.
- Don’t overwater! This is crucial. While they need moisture to root, these guys are desert dwellers at heart. Allow the top inch of soil to dry out completely between waterings. Soggy soil is a direct invitation to root rot.
Aftercare & Troubleshooting
Once your cuttings are planted, it’s time for some TLC.
Aftercare:
- Create humidity: Cover the pot with a clear plastic bag or dome to create a mini greenhouse effect. This keeps the humidity high around the leaves and prevents them from drying out before they can form roots. Ventilate it every few days by opening the bag for a few minutes to allow air circulation and prevent mold.
- Find a bright spot: Place the cuttings in a location that receives bright, indirect light. Avoid direct, harsh sunlight, which can scorch them.
- Be patient: This is where the real testing of your gardener’s spirit comes in. It can take anywhere from 4 weeks to several months for roots to form. You’ll know they’re rooting when you see new growth appearing at the tip of the cutting. Gently tugging on the cutting – if there’s resistance, you likely have roots!
Troubleshooting:
- Shriveled or yellowing leaves: This can happen if the cutting is drying out too much, or if it’s getting too much direct sun initially. Ensure adequate humidity and indirect light.
- Rot (mushy stem or blackening at the soil line): This is the most common problem. It’s usually a sign of overwatering or poor drainage. If you spot rot, you might need to discard the cutting and try again, making sure your soil is extra well-draining and you’re letting it dry out between waterings. Sometimes, you can salvage it by cutting away the rotted part and letting the healthy section callus before replanting.
A Encouraging Closing
So there you have it! Propagating Adenia fruticosa can be wonderfully rewarding. It takes a little patience and keen observation, but seeing those first roots emerge is a feeling like no other. Don’t be discouraged if your first attempt isn’t perfect; gardening is a journey of learning and experimenting. Just keep at it, enjoy the process, and soon you’ll have even more of these captivating plants to admire and share! Happy propagating!
Resource:
https://identify.plantnet.org/k-world-flora/species/Adenia%20fruticosa%20Burtt%20Davy/data