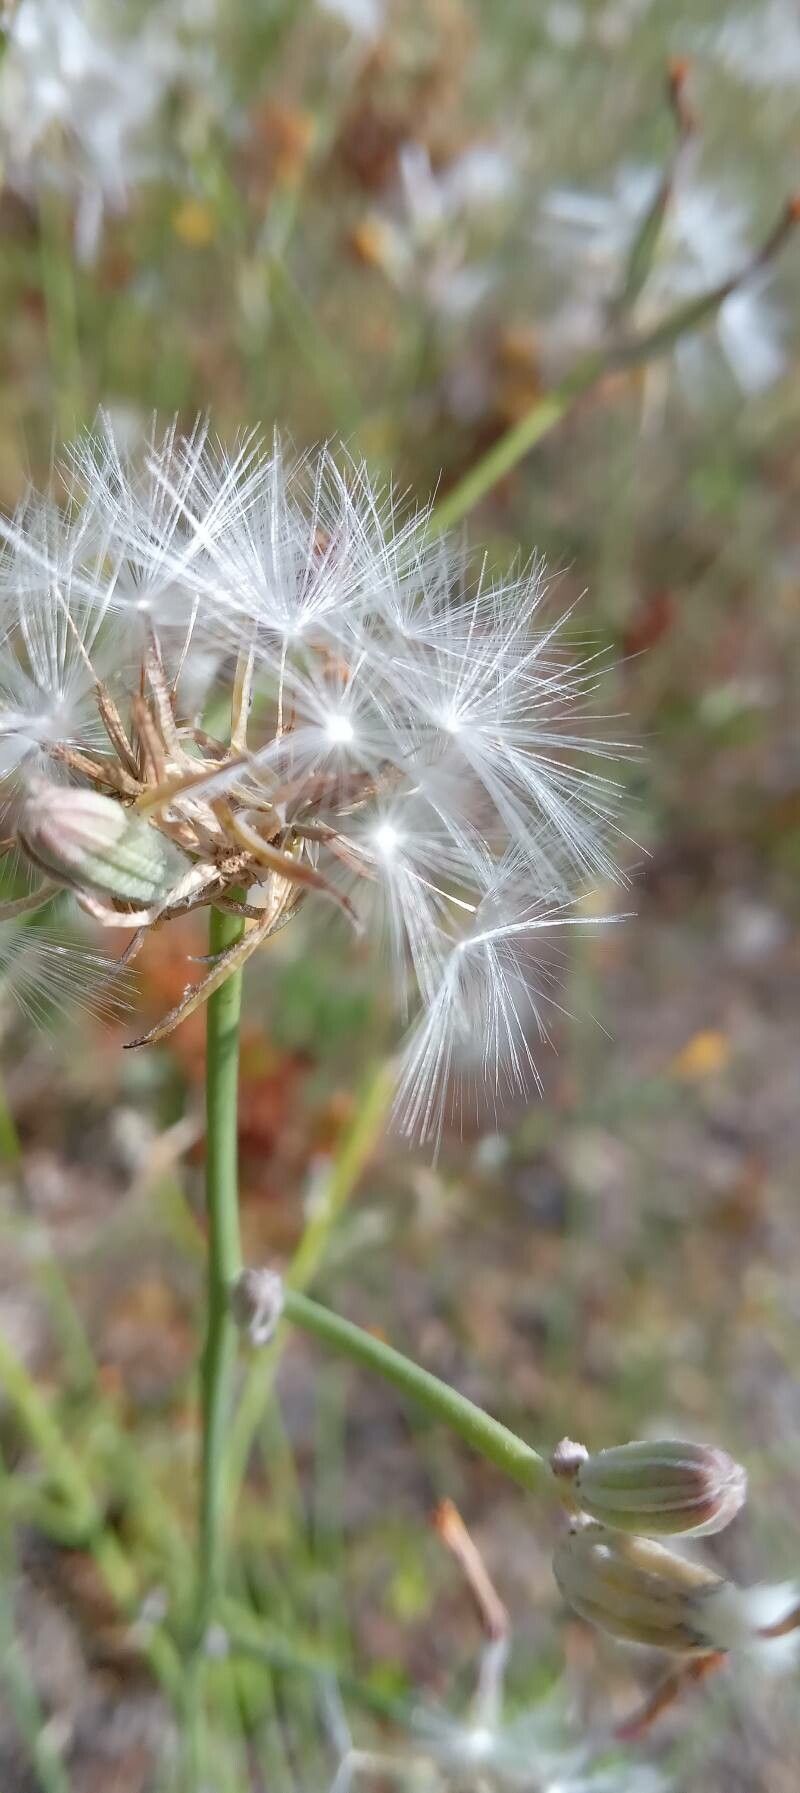
Hello there, fellow garden enthusiasts! Today, I want to talk to you about a plant that might not be on everyone’s radar, but one that has a quiet charm and a wonderful resilience: Chondrilla juncea, also known as Rush Skeletonweed. If you appreciate plants with delicate, airy foliage that dance in the breeze, and a surprising toughness, then this one is for you. Propagating it is incredibly rewarding, giving you more of that lovely texture to fill your garden beds or even to share with friends. And the good news? It’s relatively easy, even for folks just starting out on their propagation journey.
The Best Time to Start
For the best chance of success with Chondrilla juncea, I always reach for my pruning shears in late spring to early summer. This is when the plant is actively growing and has plenty of good, healthy stem material to work with. You want to take cuttings from stems that are vigorous and free of any signs of stress or disease. Waiting until after the main flush of spring growth ensures you’re grabbing material that’s ready to root.
Supplies You’ll Need
Here’s what I keep handy when I’m propagating Chondrilla:
- Sharp Pruning Shears or a Craft Knife: Cleanliness is key here to avoid introducing diseases.
- Rooting Hormone (Optional but Recommended): A powdered or liquid form can give your cuttings a real boost.
- Small Pots or Seed Trays: Clean pots are a must!
- Well-Draining Potting Mix: I often use a mix of equal parts perlite and peat moss or coco coir. This ensures good aeration and prevents waterlogged conditions.
- Watering Can or Spray Bottle: For gentle watering.
- Clear Plastic Bags or Domes: To create a humid environment over your cuttings.
- Gravel or Small Stones (for water propagation): To help support the cuttings.
Propagation Methods
Chondrilla juncea is quite obliging and can be propagated through a couple of methods. I find stem cuttings to be the most reliable, but water propagation can also work in a pinch.
Stem Cuttings: My Go-To Method
- Select Your Stems: Look for healthy, non-flowering stems and take cuttings about 4-6 inches long. Make your cuts just below a leaf node – that little bump where a leaf attaches to the stem.
- Prepare the Cuttings: Gently remove the lower leaves from the bottom half of the cutting. This prevents them from rotting in the soil.
- Apply Rooting Hormone: If you’re using rooting hormone, dip the cut end into the powder or liquid and tap off any excess.
- Planting: Make a small hole in your prepared, moist potting mix with a pencil or your finger. Insert the cutting into the hole, making sure at least one leaf node is buried. Gently firm the soil around it.
- Create Humidity: Water gently from the base. Then, cover the pot with a clear plastic bag or a plastic dome. You want to create a mini-greenhouse effect to keep the humidity high around the cuttings. Place the pots in a bright location out of direct sunlight.
Water Propagation: A Visual Treat
- Prepare Your Cuttings: Follow steps 1 and 2 above for preparing stem cuttings.
- Place in Water: Find a clean jar or glass and fill it with fresh water. Place the cuttings in the water, ensuring that the submerged leaf nodes are below the water surface, but crucially, no leaves are touching the water.
- Location: Place the jar in a bright spot out of direct sun. You can add a few small stones to the bottom of the jar to help support the cuttings if needed.
The “Secret Sauce” (Pro Tips)
Here are a couple of things I’ve learned over the years that really make a difference:
- Don’t Let the Leaves Touch the Water (Water Propagation): I can’t stress this enough. Leaves submerged in water will rot, potentially taking your whole cutting with them. If a lower leaf is likely to get wet, just remove it.
- Consider Bottom Heat: While Chondrilla juncea is pretty forgiving, if you’re propagating in cooler weather or want to speed things up, placing your potted cuttings on a gentle heat mat can significantly encourage root development. It mimics the warmth of spring soil.
- Patience is Key with the Soil Mix: When using stem cuttings, the well-draining soil is your best friend. It’s better to have soil that’s a touch too dry than too wet. Overwatering is the most common culprit for failed cuttings.
Aftercare & Troubleshooting
Once you start to see signs of new growth – tiny leaves unfurling or slight resistance when you gently tug on the cutting – it’s a good indicator that roots have formed. For potted cuttings, you can gradually remove the plastic bag over a few days to acclimate them to normal humidity. Water them when the top inch of soil feels dry. If you propagated in water, you can pot them up into their well-draining mix once the roots are about an inch long.
The most common issue you’ll encounter is rot. If your cuttings turn mushy, develop black spots, or simply look a bit sad and deflated, it’s usually due to overwatering or poor air circulation. Don’t be too disheartened; just try again with drier conditions. Sometimes, a cutting just doesn’t have what it takes, and that’s okay!
Keep Growing!
So, there you have it! Propagating Chondrilla juncea is a wonderful way to expand your garden or share the joy of plants. Be patient, observe your cuttings, and trust your instincts. Each little success is a step towards a greener, more beautiful space. Happy propagating!
Resource:
https://identify.plantnet.org/k-world-flora/species/Chondrilla%20juncea%20L./data