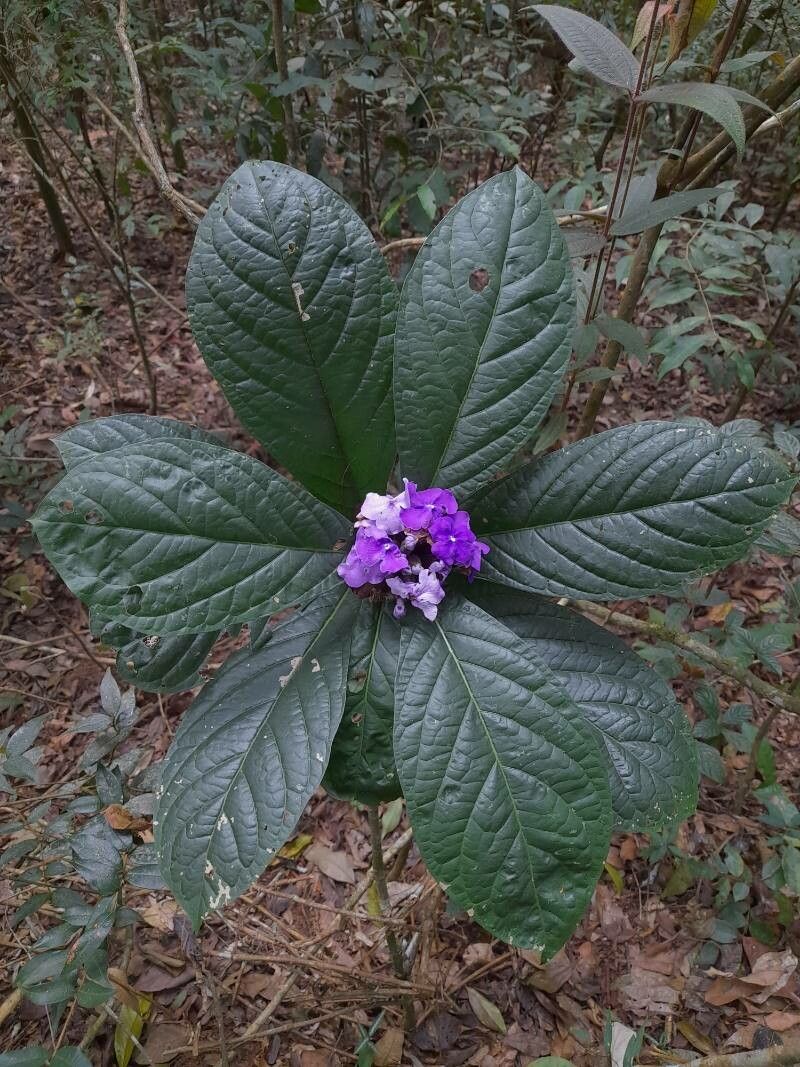
Oh, hello there! Come on in, grab yourself a mug. Let’s talk about a plant that truly captures my heart: Brunfelsia hydrangeiformis. You know, the one with those gorgeous, star-shaped flowers that change color from deep violet to a soft lavender. It’s like magic unfolding right in your garden. Growing them from scratch? Well, that’s a special kind of reward. I’d say for beginners, it’s a moderately challenging but entirely achievable project. A little patience, a little care, and you’ll have your very own little beauties.
The Best Time to Start
Spring is absolutely your golden window for propagating Brunfelsia hydrangeiformis. Think of it as the plant waking up from its winter slumber, full of energy and ready to grow. You’re looking for new, tender growth – the kind that’s still a little soft and bendy, not woody. This is when the plant is at its most vigorous and most receptive to rooting. You can definitely try later in the season, but spring just gives you that extra boost.
Supplies You’ll Need
Alright, let’s get our supplies together. Think of this as packing for a little adventure!
- Clean, sharp pruning shears or a sharp knife: For making those clean cuts.
- Rooting hormone powder or gel: This is your little helper for encouraging root development.
- Potting mix: I like to use a well-draining mix. A blend of peat moss and perlite is fantastic, or you can find specific cutting mixes. The key is good drainage; soggy feet, bad news for baby roots.
- Small pots or trays: Clean ones, please! Disease is no fun.
- Plastic bags or a propagator: To create that humid little environment.
- Perlite or gravel (optional): For better drainage at the bottom of pots.
- Watering can or spray bottle: For gentle moisture.
Propagation Methods
Now, for the fun part! We’ll focus on stem cuttings, as that’s usually the most successful route for Brunfelsia.
Stem Cuttings
- Gather Your Cuttings: On a bright but not scorching hot day in spring, select healthy, non-flowering shoots. You want pieces that are about 4-6 inches long. Make your cut just below a leaf node (where a leaf attaches to the stem). This is where the magic happens for rooting.
- Prepare the Cuttings: Gently remove the lower leaves, leaving just two or three at the very top. This reduces water loss. If the leaves are quite large, you can even cut them in half horizontally to further minimize transpiration.
- Dip in Rooting Hormone: Dip the cut end of your prepared cutting into your rooting hormone. Tap off any excess. You want a thin coating.
- Plant Your Cuttings: Fill your clean pots with your well-draining potting mix. Make a little hole with your finger or a pencil, then insert the base of the cutting. Gently firm the soil around it.
- Create a Humid Environment: Water the soil gently. Then, cover the pot with a clear plastic bag, or pop it into a propagator. Make sure the plastic doesn’t touch the leaves too much – you can use little stakes to keep it propped up.
- Find the Right Spot: Place your pots in a bright location but out of direct sunlight. A greenhouse, a bright windowsill, or even a shaded spot outdoors in consistent warmth will work.
The “Secret Sauce” (Pro Tips)
It’s not just about following the steps, is it? There are those little things that make a big difference.
- Bottom Heat is Your Friend: If you can, use a heat mat under your pots. Brunfelsia roots love a little warmth from below, especially when they’re trying to get going. It just speeds things up beautifully.
- Don’t Drown Them, but Keep Them Moist: You want the soil to be consistently moist, but never waterlogged. I like to check by feeling the soil with my finger. If it feels dry an inch down, it’s time for a gentle watering or a light misting.
- Air Circulation is Key: While we want humidity, we also need some air movement to prevent fungal issues. I often lift the plastic bag for a few minutes each day to let things breathe. You can also use a small fan on a low setting nearby.
Aftercare & Troubleshooting
Once you start seeing signs of little roots – usually a gentle tug on the cutting will show resistance, or you might see tiny white nubs peeking through drainage holes – it’s time for a little TLC.
Gradually acclimate your new plants to less humidity by opening the plastic bag a little more each day over a week or so. Continue to keep them in bright, indirect light and ensure the soil stays consistently moist. Once they’re well-rooted and you see new growth, you can carefully pot them up into slightly larger containers.
What if things go wrong? The most common culprit is rot. If your cuttings turn black and mushy, or develop dark spots, it’s usually a sign of too much moisture and not enough air. Unfortunately, these are usually lost causes. Another sign of struggle can be yellowing leaves, which might mean too much or too little water, or not enough light. Don’t get discouraged! It happens to all of us. Just clean your tools, start fresh with new cuttings, and try again.
A Little Patience, A Lot of Joy
Propagating plants is a beautiful exercise in patience and observation. You’re essentially nurturing new life, and there’s something incredibly fulfilling about that. Don’t expect miracles overnight; it can take weeks, sometimes even a couple of months, for roots to fully establish. Just keep them happy, give them what they need, and trust the process. You’ll get there, and the joy of seeing your own Brunfelsia flourish will be worth every moment. Happy gardening!
Resource: