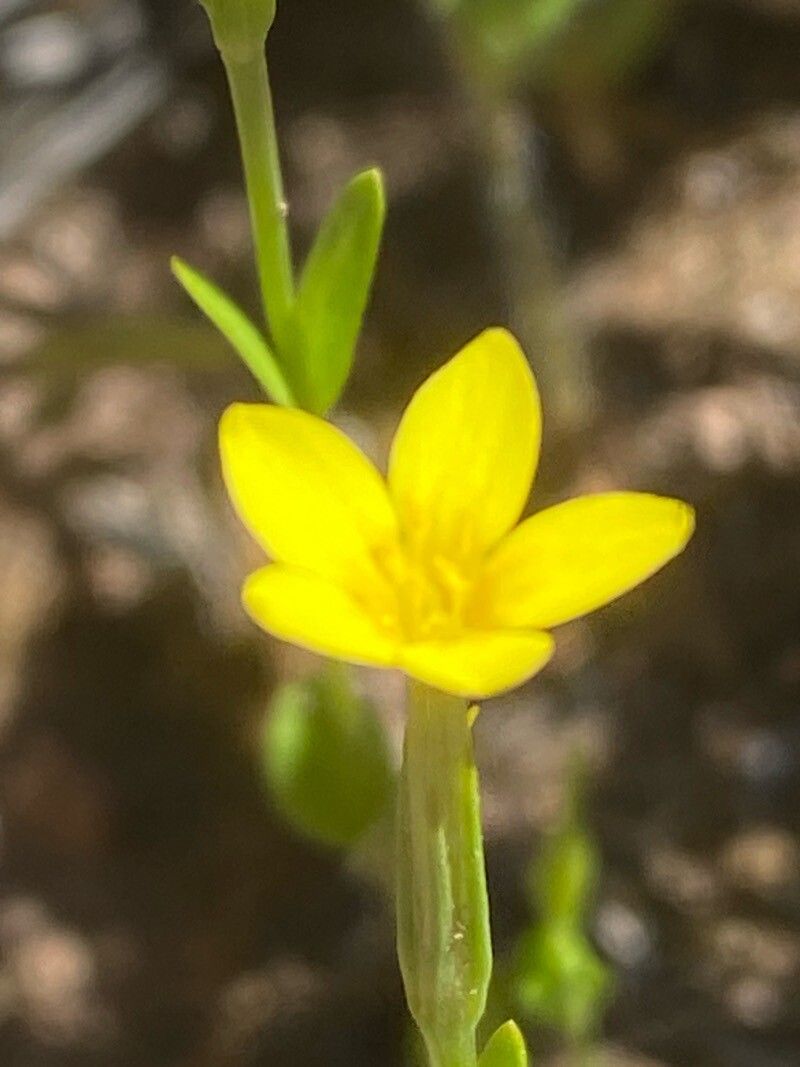
Hello fellow plant lovers! Today, we’re diving into the delightful world of Centaurium maritimum, also known as Sea Centaury. I’ve always been charmed by its delicate, star-shaped pink flowers that seem to capture a bit of sea spray and sunshine. Growing it from seed or cuttings is a wonderful way to fill your garden with more of that cheerful blush, and honestly, there’s a special kind of satisfaction in nurturing a new life from a tiny beginning. For beginners, I’d say Centaurium maritimum is moderately easy. It asks for a little attention, but the rewards are absolutely worth it.
The Best Time to Start
The sweet spot for propagating Centaurium maritimum is generally in late spring to early summer. This is when the parent plants are actively growing and have plenty of energy to put into developing new roots. Waiting until after the plant has finished its main flush of blooming can also work, as it allows the plant to build up reserves.
Supplies You’ll Need
Here’s what you’ll want to have on hand:
- Sharp pruning shears or a very clean knife: For taking cuttings.
- Well-draining potting mix: A cactus/succulent mix or a blend of equal parts peat moss, perlite, and coarse sand is excellent.
- Small pots or trays: With drainage holes, of course!
- Rooting hormone (optional but recommended): A powder or gel can give cuttings a helpful boost.
- Watering can with a fine rose: To water without disturbing delicate new growth.
- Clear plastic bag or propagator lid: To create a humid environment.
- Gravel or perlite: For the bottom of pots, if you’re worried about absolute drainage.
Propagation Methods
While Centaurium maritimum can be grown from seed, I’ve found stem cuttings to be a very effective and rewarding method.
Stem Cuttings:
- Take the Cuttings: In late spring or early summer, select healthy, non-flowering stems from your mature plant. Gently twist or cut a section of stem about 3-4 inches long. Make your cut just below a leaf node (where a leaf joins the stem).
- Prepare the Cuttings: Carefully remove the lower leaves from the cutting, leaving just a few at the top. This is important to prevent them from rotting in the soil.
- Apply Rooting Hormone (Optional): Dip the cut end of the stem into your rooting hormone, tapping off any excess.
- Plant the Cuttings: Fill your small pots or trays with your well-draining potting mix. Make a small hole in the soil with your finger or a pencil. Insert the cutting into the hole, ensuring the leaf nodes are below the soil surface. Gently firm the soil around the base.
- Create Humidity: Water the soil gently until it’s evenly moist but not soggy. Immediately cover the pots with a clear plastic bag or place them in a propagator lid. This creates a humid microclimate that helps prevent the cuttings from drying out.
The “Secret Sauce” (Pro Tips)
Here are a couple of little tricks I’ve learned over the years that can really make a difference:
- Never let the lower leaves touch the water in the pot. If you’re doing water propagation (which I don’t recommend for Sea Centaury as much as soil, but if you choose to!), it’s crucial that no leaves are submerged. They’ll rot quickly and can take the whole cutting with them. For soil cuttings, this means really stripping those lower leaves.
- Bottom heat is your friend. If you have a heat mat designed for seedlings, placing your pots on it can significantly speed up the rooting process. It mimics the warmth of spring and encourages root development.
Aftercare & Troubleshooting
Once your cuttings are potted, place them in a bright spot with indirect light. Direct sun can scorch them. Keep the soil consistently moist but avoid overwatering. Mist the leaves occasionally if the humidity starts to drop.
You’ll know your cuttings are rooting when you see new leaf growth appearing at the tips. This usually takes anywhere from 3 to 6 weeks.
The most common sign of failure is wilting and browning, which often indicates the cutting has dried out. Rotting at the base, a slimy or mushy stem, usually means too much moisture and not enough air circulation. If you see rot, it’s hard to come back from, so it’s best to try again with fresh cuttings and ensure your soil is far more draining.
A Encouraging Closing
Watching those tiny roots develop and new leaves unfurl is one of the most rewarding parts of gardening. Be patient with your Centaurium maritimum cuttings. They’re delicate souls, but with a little care and the right conditions, you’ll soon have a whole new generation of these beautiful coastal blooms to enjoy. Happy propagating!
Resource:
https://identify.plantnet.org/k-world-flora/species/Centaurium%20maritimum%20(L.)%20Fritsch/data