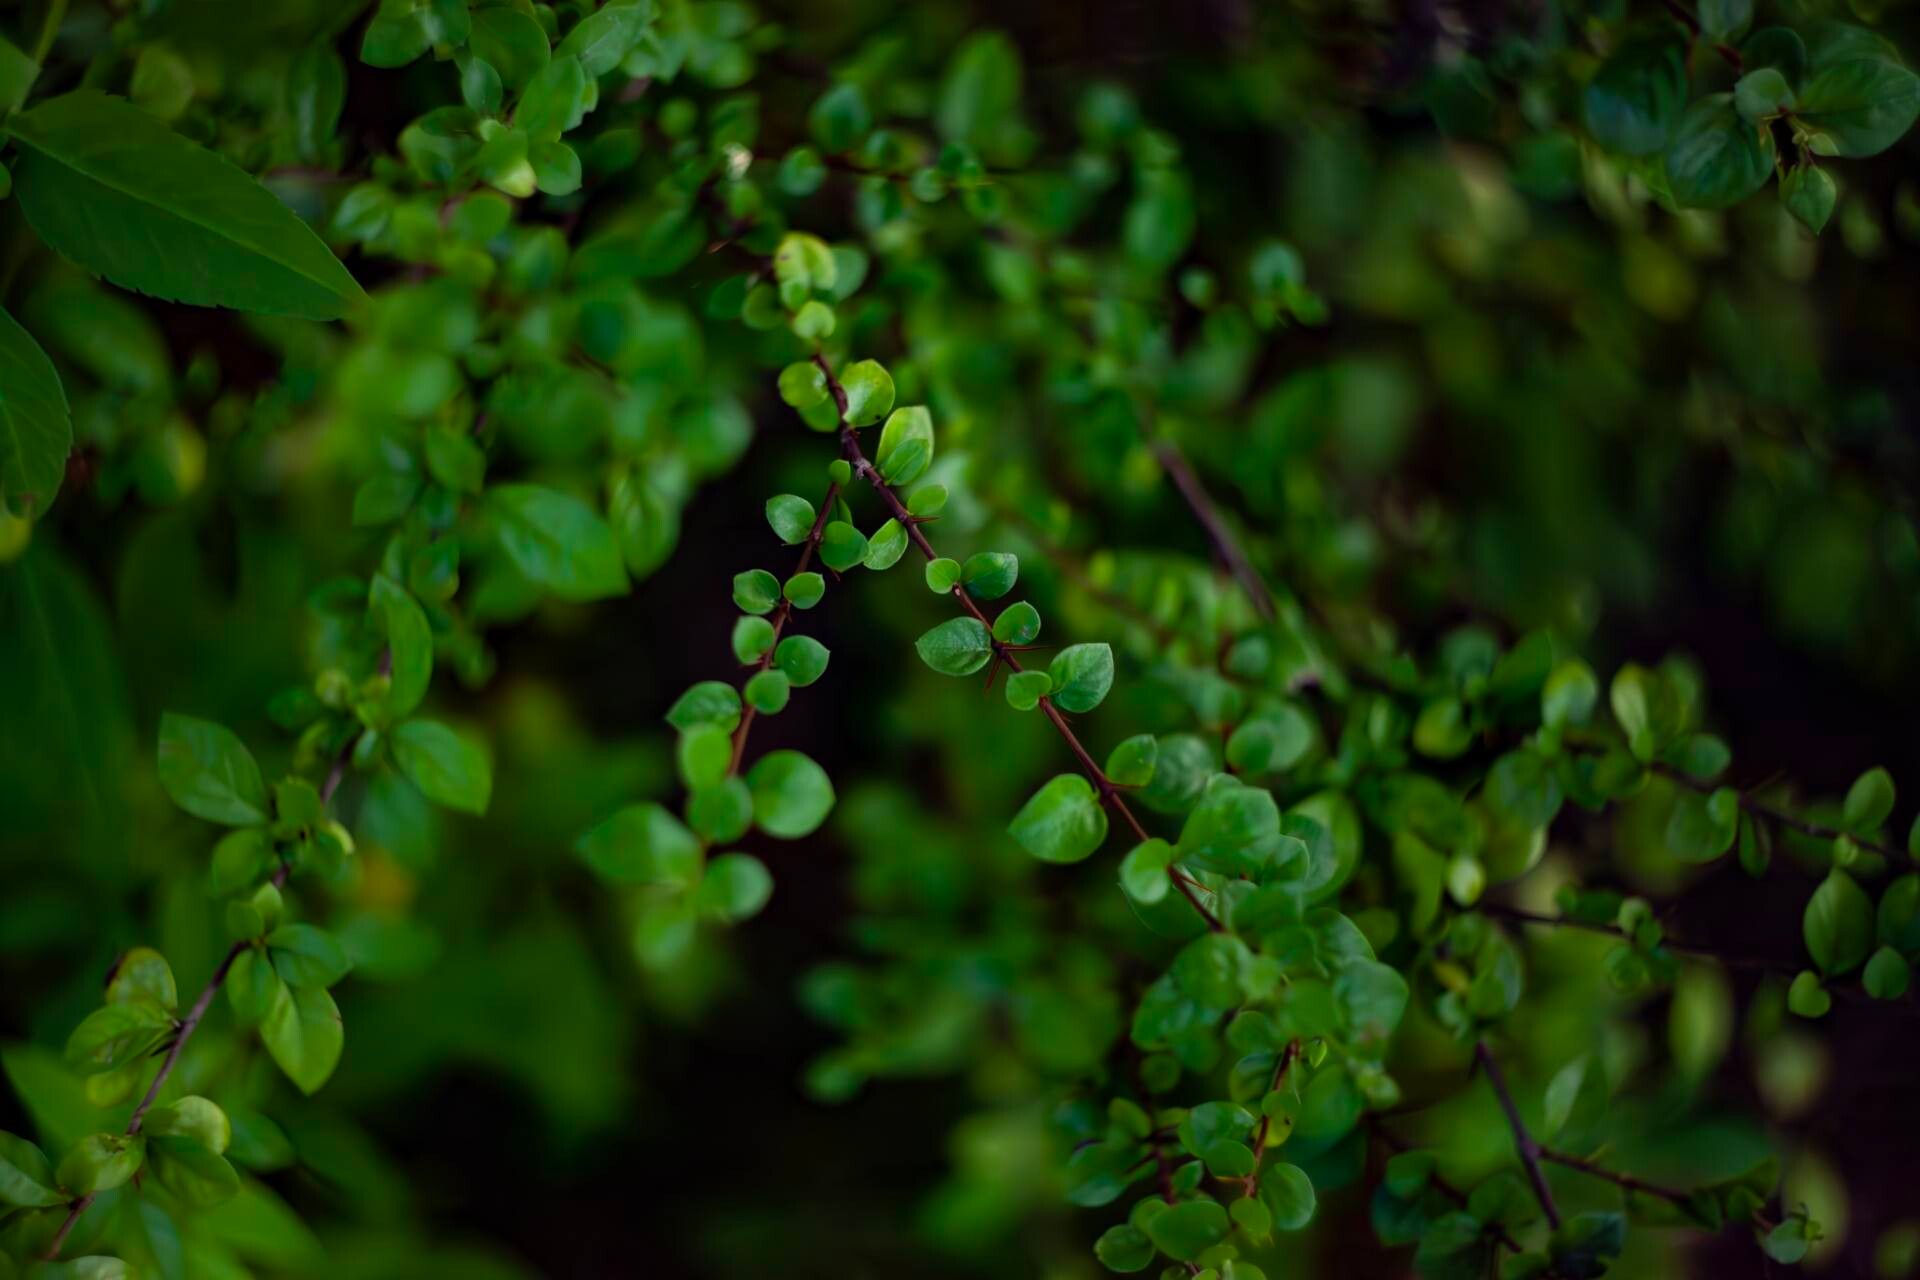
Hello, fellow plant lovers! It’s wonderful to connect with you again. Today, we’re diving into something truly special: propagating Randia aculeata, also known as the thorny pastebell or the native white indigoberry. This little gem is a favorite of mine for its beautiful white, star-shaped flowers that, dare I say, smell divine, and its attractive dark green foliage. Plus, those berries offer a bit of charm too! Propagating it is such a rewarding way to fill your garden or pot them up as thoughtful gifts. Now, for beginners, I’d say Randia aculeata falls into the moderate category. It’s not the absolute easiest thing to start from scratch, but with a little care and attention, you’ll find success.
The Best Time to Start
My personal experience tells me the absolute best time to propagate Randia aculeata is in late spring or early summer. This is when the plant is actively pushing out new growth, and those young, tender shoots are full of vigor. They’re much more likely to root successfully when they’re at their peak energy levels. You can also have some success with semi-hardwood cuttings a bit later in the season, but I find starting with those softer, newer stems yields the highest success rate for me.
Supplies You’ll Need
Gathering your tools beforehand makes the whole process run so much smoother. Here’s what I usually have on hand:
- Sharp, clean pruning shears or a razor blade. Sterilize them with rubbing alcohol!
- Rooting hormone. I often use a powdered form, but liquid works well too.
- A good quality potting mix. I like a mix that drains well – a 50/50 blend of perlite and peat moss is my go-to. You can also use a dedicated cactus or succulent mix.
- Small pots or containers with drainage holes. Six-inch pots are a good size to start with.
- A spray bottle filled with water.
- Clear plastic bags or a propagation dome.
Propagation Methods
While there are a few ways to go about this, I find stem cuttings to be the most reliable and straightforward method for Randia aculeata.
-
Take Your Cuttings: On a bright, mild day, select healthy, vigorous stems from your mature plant. Look for stems that are about four to six inches long and have started to firm up a bit but aren’t woody. Make a clean cut just below a leaf node. Remove the lower leaves from the cutting, leaving just a few at the very top.
-
Apply Rooting Hormone: Dip the cut end of the stem into your rooting hormone, making sure it’s completely coated. Gently tap off any excess.
-
Plant Your Cuttings: Fill your pots with your well-draining potting mix. Moisten the mix until it’s damp but not soggy. Make a small hole in the center of the soil with your finger or a pencil, and carefully insert the cutting. Firm the soil gently around the base of the stem. You can typically fit several cuttings into one pot, as long as they aren’t touching each other.
-
Create a Humid Environment: This is crucial! Water the soil gently after planting. Then, cover the pot with a clear plastic bag or a propagation dome. This creates a mini-greenhouse effect, keeping the humidity high, which is vital for the cuttings to root.
The “Secret Sauce” (Pro Tips)
Here are a couple of things I’ve learned over the years that really seem to boost my success rates:
- Don’t let the leaves touch the water. If you’re misting, make sure the leaves themselves stay relatively dry. Excess moisture on the foliage can lead to fungal issues. For stem cuttings, ensuring good air circulation around the leaves is key.
- Bottom Heat is Your Friend. If you have a heated propagator mat, using it is a game-changer. Gentle bottom heat encourages root development from the base of the cutting. It doesn’t need to be scorching hot, just a consistent, mild warmth.
Aftercare & Troubleshooting
Once your cuttings are planted and nestled into their humid little homes, be patient! Keep the soil consistently moist but never waterlogged. I like to check the soil moisture every few days by gently poking my finger in. Look for signs of roots in about 4-8 weeks. You might see new growth, or you can gently tug on a cutting – if there’s resistance, roots are forming!
The most common issue you’ll encounter is rot. If you see a cutting turning black and mushy, or if mold starts to appear, it’s usually a sign of too much moisture and not enough air circulation. In this case, remove the affected cutting immediately and try to improve ventilation. If you’re seeing wilting, it’s usually a sign that the cutting is drying out, so increase your misting or check the soil moisture.
A Encouraging Closing
Propagating plants is a beautiful dance with nature, and with Randia aculeata, it’s a dance worth learning. Don’t be discouraged if your first few attempts aren’t perfect. Gardening is all about learning and trying again. Take joy in the process, celebrate every tiny new sprout, and soon you’ll have a whole new generation of these delightful indigoberries to admire. Happy propagating!
Resource:
https://identify.plantnet.org/k-world-flora/species/Randia%20aculeata%20L./data