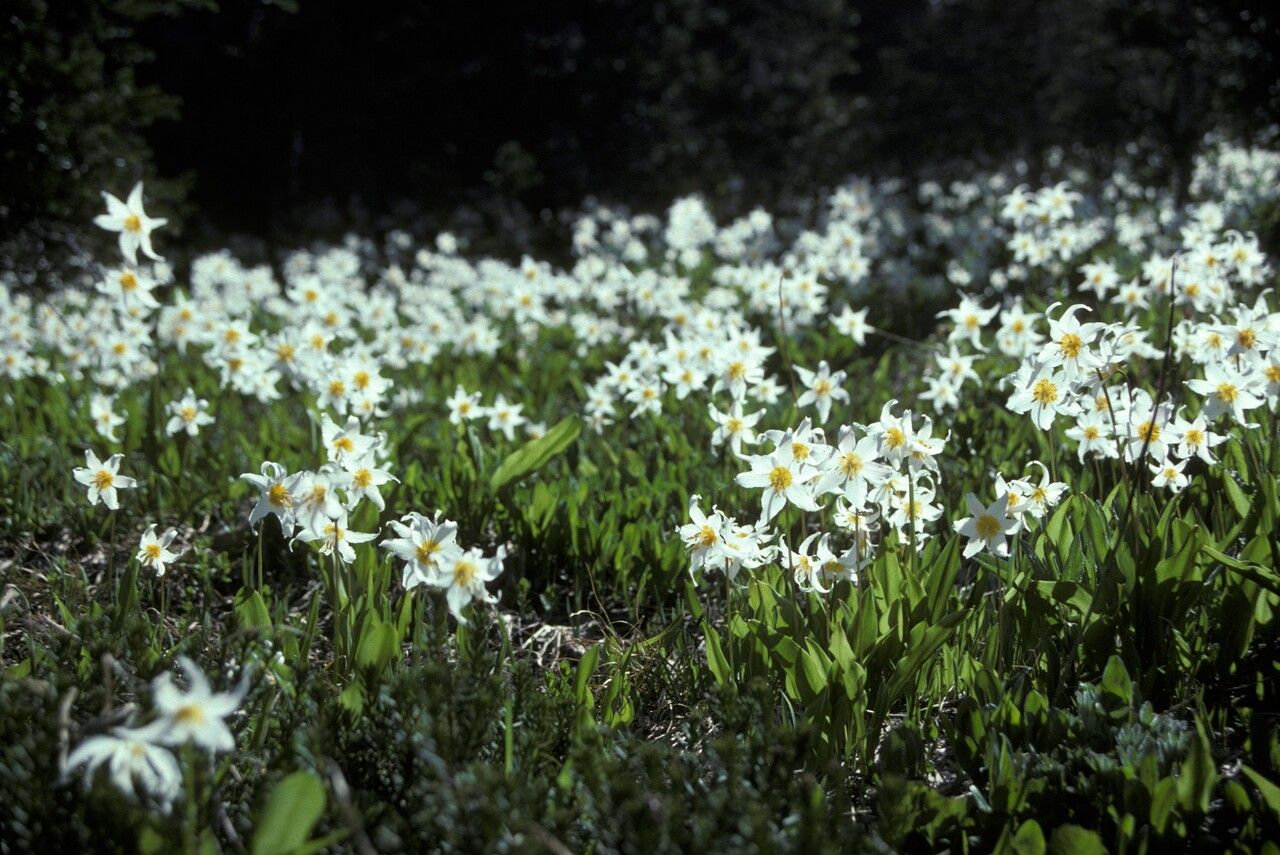
Oh, hello there! Pull up a chair, and let’s chat about one of my absolute favorite wildflowers: Erythronium montanum, or the avalanche lily. If you’ve ever had the pleasure of seeing these elegant, recurved white flowers with their striking yellow stamens gracing a woodland setting, you’ll understand their allure. They’re like little woodland jewels.
Propagating them can feel a bit like unlocking a tiny piece of nature’s magic. It’s a very rewarding process, though I’ll be honest, Erythronium montanum isn’t the easiest plant for a complete beginner to start with. They have some specific needs, but with a little care and patience, you can absolutely succeed.
The Best Time to Start
For avalanche lilies, the ideal time to propagate is right after flowering, typically in late spring to early summer. This is when the plant is actively storing energy for the next season, and the bulbs (or more accurately, corms for Erythronium) are plump and ready. You’re essentially working with established material when it’s at its peak vigor.
Supplies You’ll Need
Here’s what you’ll want to have on hand before we get our hands dirty:
- Sharp trowel or small spade: For gently loosening the soil.
- Small container or seed tray: With good drainage holes.
- Well-draining potting mix: A blend of equal parts peat moss, perlite, and a little compost works wonderfully. Alternatively, a good quality seed starting mix is fine.
- Rubbing alcohol: To sterilize your tools.
- Watering can with a fine rose: For gentle watering.
- Optional: Rooting hormone powder: While not strictly necessary for division, it can give a boost.
- Optional: Small sticks or labels: To keep track of your new charges.
Propagation Methods
We’ll focus on the most effective method for Erythronium montanum, which is division. These beauties don’t typically do well with stem cuttings or water propagation in the way many other plants do.
Division
This method involves carefully separating the bulbs (corms) that the parent plant has produced.
- Locate your plant: Gently dig around the base of a mature Erythronium montanum plant when it’s finished blooming. You should see the main corm and hopefully some smaller offsets around it.
- Loosen the soil: Use your trowel to carefully loosen the soil surrounding the corms. Work slowly and with a delicate touch. You want to avoid damaging the roots or the corms themselves.
- Gently separate: Once you can see the corms clearly, carefully tease them apart. Some may come away easily, while others might be more firmly attached. If a corm is particularly stubborn, you can gently use the tip of your trowel or even a clean, sharp knife to make the separation. Make sure each separated corm has at least one small bud or growing point.
- Inspect and clean: Remove any dead or damaged leaves or roots from the separated corms. If you’re using rooting hormone, now is the time to dip the base of the corms into it.
- Planting: Fill your container or seed tray with your prepared well-draining mix. Make planting holes about 1-2 inches deep, depending on the size of the corm. Place the corm in the hole, ensuring the pointed end (where new growth will emerge) is facing upwards.
- Water gently: After planting, give the soil a gentle watering. You want it to be moist but not waterlogged.
- Placement: Place the container in a cool, shady spot. Avalanche lilies prefer cooler temperatures and dappled light, mimicking their natural woodland habitat.
The “Secret Sauce” (Pro Tips)
Now, for a couple of little tricks I’ve picked up over the years that can really make a difference:
- Think like a forest floor: These plants love the rich, crumbly soil you’d find under a deciduous tree. That’s why our well-draining mix works, but if you can incorporate a bit more leaf mold or aged compost, your new Erythronium will absolutely sing its thanks.
- Don’t overwater, but don’t let them dry out either! This is the tricky balance with most bulbs. After the initial watering, they like consistently moist soil, especially while they are actively growing and forming new offsets. However, once they go dormant (which they will do by late summer), you can let the soil dry out a bit more. Just don’t let them bake in the sun!
Aftercare & Troubleshooting
Once your new avalanche lilies are potted up, treat them with gentle care. Keep them in that cool, shady spot. Water them when the top inch of the soil feels dry. You might not see much happening above ground for a while, and that’s perfectly normal. They’re busy establishing their root systems underground.
The most common issue you’ll encounter is rot. This happens when the soil stays too wet for too long, especially in the presence of poor drainage. If you notice any corms becoming mushy or developing a foul smell, they’ve likely rotted. Unfortunately, there’s not much you can do once that happens. The best prevention is a super well-draining soil mix and careful watering.
You might also see some yellowing leaves, which can be a sign of too much direct sun or insufficient water. Just adjust their location or watering schedule accordingly.
A Encouraging Closing
Growing avalanche lilies from a corm division can be a wonderfully patient endeavor. It might take a year or two for them to truly establish and flower enthusiastically, but watching those delicate blooms unfurl will be such a delight. Don’t get discouraged if not every corm takes. Gardening is a journey of learning and observation. Enjoy the process, and soon you’ll have your very own patch of woodland magic! Happy growing!
Resource:
https://identify.plantnet.org/k-world-flora/species/Erythronium%20montanum%20S.Watson/data