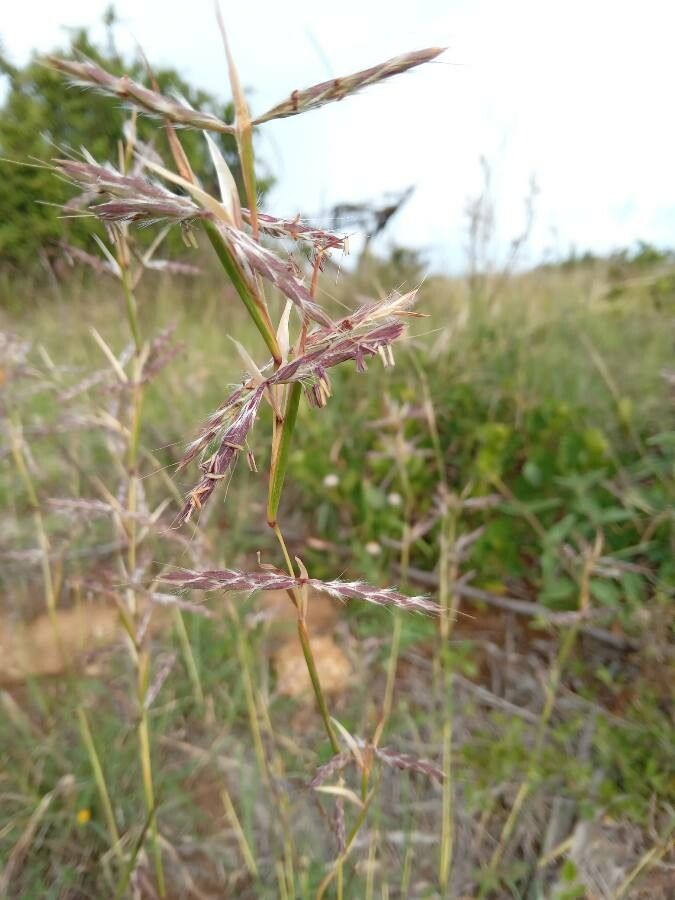
Hey there, fellow plant lovers! I’m so excited to chat with you today about a grass that’s truly captured my heart: Hyparrhenia filipendula. You might know it better by its common name, Golden Thatch Grass. Isn’t that just a beautiful name? It has this wonderful, golden-hued foliage that shimmers in the sunlight, creating this ethereal, almost magical feel in the garden. If you’re looking for a touch of movement and a cascade of warm tones, this grass is your answer.
Now, I know some of you might be eyeing those stunning plumes and thinking, “Can I actually grow more of this beauty?” The great news is, yes, you absolutely can! Propagating Hyparrhenia filipendula is a deeply rewarding experience. It’s not overly fussy, which makes it a great place for beginners to dip their toes into the world of grass propagation. Seeing those tiny roots emerge is just pure gardening joy!
The Best Time to Start
For the highest chance of success with Hyparrhenia filipendula, I always recommend starting in late spring to early summer. This is when the plant is actively growing and has plenty of energy to put into developing new roots. You’re looking for healthy, vigorous new shoots that haven’t yet started to flower. Think of it like giving your young plants a head start before the heat of summer really kicks in.
Supplies You’ll Need
To get your propagation party started, you’ll want to gather a few essentials. It’s always better to be prepared!
- Sharp, clean pruning shears or a sharp knife: A clean cut is crucial to prevent disease.
- Rooting hormone (optional but recommended): This gives your cuttings a little boost. Look for one specifically for herbaceous plants.
- Well-draining potting mix: A good blend would be equal parts peat moss, perlite, and coarse sand. Standard potting soil is often too dense.
- Small pots or trays: Anything that can hold your cuttings and mix, with drainage holes, of course!
- A spray bottle with water: For keeping things consistently moist.
- A plastic bag or propagator lid: To create a humid environment for your cuttings.
Propagation Methods
While you can divide clumps, I find that taking stem cuttings is generally the most effective and reliable way to propagate Hyparrhenia filipendula. It allows you to get more plants from a single specimen.
Here’s how I do it:
- Select Your Cuttings: Head out to your healthy Golden Thatch Grass. Look for stems that have at least two to three nodes (the small bumps on the stem where leaves emerge). Gently bend the stem until it snaps. You want to take cuttings that are about 4-6 inches long.
- Prepare the Cuttings: Using your clean shears or knife, trim the bottom of the stem just below a node. Remove the lower leaves, leaving just the top one or two. This prevents them from rotting in the soil.
- Apply Rooting Hormone (Optional): If you’re using rooting hormone, dip the cut end of the stem into the powder or gel. Tap off any excess.
- Plant Your Cuttings: Fill your small pots or trays with your prepared, moistened potting mix. Make a small hole in the center with a pencil or your finger.
- Insert the Cuttings: Carefully insert the base of each cutting into the hole, ensuring that at least one node is buried beneath the surface. Gently firm the soil around the base.
- Create a Humid Environment: Water the soil lightly. Then, cover the pot or tray with a clear plastic bag or a propagator lid. This is key to keeping the humidity high around your cuttings.
- Provide Light and Warmth: Place your propagation setup in a location that receives bright, indirect light. Avoid direct sun, which can scorch the tender cuttings. A little gentle warmth from a heat mat can also be beneficial, though not strictly necessary if your environment is warm enough.
The “Secret Sauce” (Pro Tips)
Over the years, I’ve picked up a few tricks that really seem to make a difference.
- Don’t be afraid to get your hands right in there! When I’m preparing my cuttings, I like to gently rub the node with my fingernail before dipping it in rooting hormone. I find this sometimes helps expose the tissue a little more, encouraging roots to form.
- If you’re not using a dedicated propagator, and your plastic bag is touching the leaves, support it with some stakes or even chopsticks. You don’t want those leaves wilting against the plastic. Moist leaves pressed against plastic can sometimes lead to rot.
- For Golden Thatch Grass, I’ve noticed that avoiding overwatering is critical. You want the soil to be consistently moist, not soggy. It’s better to err on the side of slightly dry than waterlogged. A good test is to lightly press the soil; if it feels cool and some water oozes out, it’s probably too wet.
Aftercare & Troubleshooting
Once you start to see those tiny roots peeking through the drainage holes, or new growth emerging from the top, you’re in business! You can now gradually acclimatize your new plants to normal conditions. This means slowly removing the plastic cover over a few days, or opening the vents on your propagator. Continue to keep the soil consistently moist but not waterlogged.
The most common issue you might encounter is rot. If your cuttings turn black and mushy, that’s a sure sign of too much moisture and poor air circulation. Discard any rotten cuttings immediately and check that your potting mix is draining well. If you see a fuzzy white mold, you might need to increase air circulation.
A Encouraging Closing
Propagating plants is such a wonderful journey, and with Hyparrhenia filipendula, you’re embarking on a truly beautiful one. Be patient, observe your cuttings, and don’t get discouraged if not every single one takes. That’s just part of learning! Enjoy the process, and soon you’ll be rewarded with your very own clumps of shimmering Golden Thatch Grass. Happy gardening!
Resource: