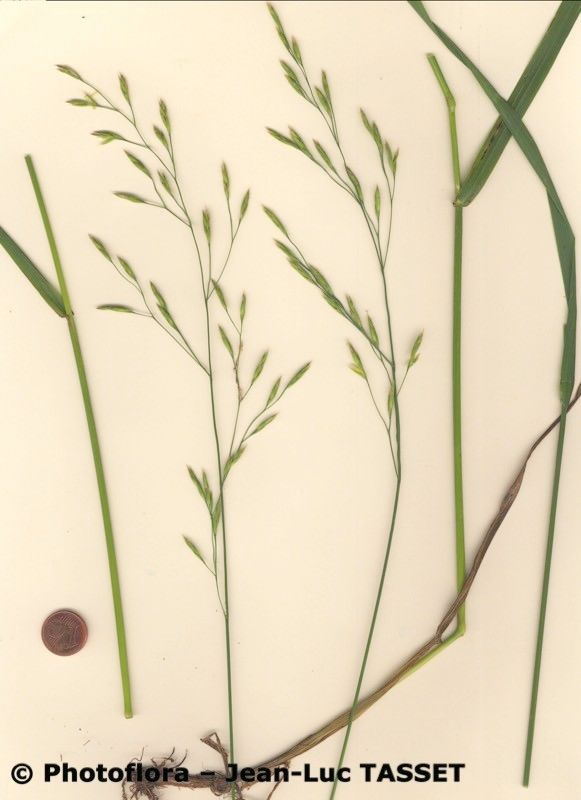
Hello there, fellow plant enthusiasts! Today, we’re diving into the wonderful world of propagating Lolium apenninum, also known as Perennial Ryegrass. Now, I know what you might be thinking – grass? But believe me, there’s a quiet charm to this resilient grass. It’s fantastic for filling out borders, adding texture to arrangements, or even just appreciating its sturdy, verdant presence. Propagating it is a wonderfully satisfying way to multiply your greenery, and I’m here to walk you through it. For beginners, this is a fairly beginner-friendly plant to propagate, which is always a bonus!
The Best Time to Start
The sweet spot for propagating Lolium apenninum is undoubtedly spring, once the danger of hard frost has passed and the soil is beginning to warm up. You can also have success in early autumn, giving your new plants time to establish before winter sets in. Aim to work with actively growing plants; you’ll see the most vigorous results then.
Supplies You’ll Need
Here’s a quick rundown of what you’ll want to have on hand:
- Sharp pruning shears or a clean utility knife
- A well-draining potting mix (a good base is 50% peat or coir and 50% perlite or coarse sand)
- Small pots or seed trays with drainage holes
- A watering can with a fine rose
- Optional: Rooting hormone (though often not strictly necessary for ryegrass, it can give an extra boost)
- Optional: A plastic bag or dome to create a mini-greenhouse
Propagation Methods
For Lolium apenninum, division is the most common and easiest method.
Division:
- Wait for the right time: Your perennial ryegrass should be actively growing, not dormant.
- Gently excavate: Carefully dig up the plant from its current location. Try to disturb the root ball as little as possible.
- Loosen the roots: Gently shake off excess soil. You’ll usually see distinct clumps or shoots emerging from the base.
- Divide the plant: Using your hands or a clean spade, carefully pull the plant apart into smaller sections. Each section should have its own roots and a few healthy shoots. If it’s a bit stubborn, you can use a clean knife to guide the separation.
- Replant immediately: Make sure your new divisions are planted into your prepared, well-draining soil as soon as possible, no more than an inch or two deeper than they were originally growing. Water them in thoroughly.
The “Secret Sauce” (Pro Tips)
- Don’t be afraid to be a little firm when dividing. If a clump feels like it wants to split in a certain spot, help it along. It’s tougher than it looks!
- If you’re planting divisions directly into the ground, make sure the soil is moist but not waterlogged. Overwatering is the quickest way to invite trouble.
- For those divisions that might be a little delicate, I sometimes like to let them sit in a shady spot for a day or two before replanting. This allows any small cuts to callous over a bit, reducing the chance of disease.
Aftercare & Troubleshooting
Once your new divisions are planted, keep the soil consistently moist but never soggy. Think of it as giving them a good drink, then letting them dry out slightly before the next watering. You should start to see new growth appearing within a few weeks.
The main pitfall to watch out for is root rot. This usually happens due to overwatering or poor drainage. If your plant looks yellow and wilts even though the soil is wet, that’s often a sign of rot. Unfortunately, once root rot sets in, it’s very difficult to recover the plant. Prevention is key!
A Little Patience Goes a Long Way
Propagating plants is a journey of observation and patience. Enjoy the process of creating new life from your existing plants. Soon, you’ll have an abundance of beautiful Lolium apenninum to share or enjoy in your own garden. Happy growing!
Resource: