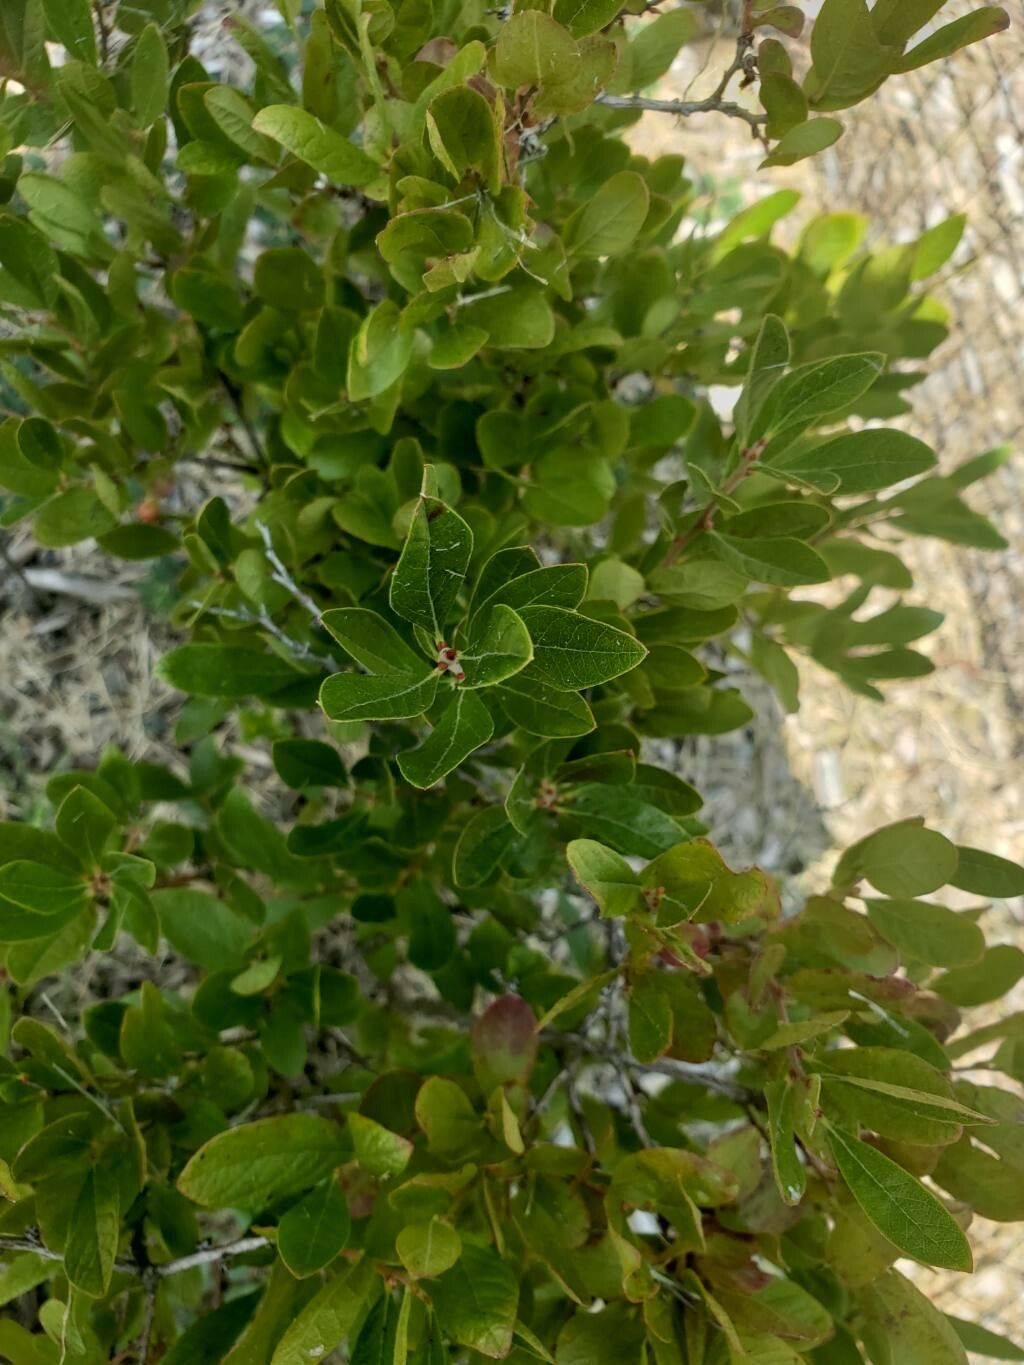
Hey there, fellow garden enthusiasts! It’s so lovely to connect with you today. I’ve been digging in the dirt for two decades now, and I still get a thrill every time I manage to coax a new plant into being. Today, we’re going to talk about a real gem: Gaylussacia baccata, or as many of us know it, Black Huckleberry.
Why Grow Black Huckleberry?
These low-growing shrubs are just delightful. They offer those beautiful spring flowers which turn into tasty, tart berries – a real treat for us and for the birds! Plus, their fall color is simply spectacular, a fiery crimson that lights up any shady corner. Propagating them yourself is incredibly rewarding. It’s your chance to fill your landscape with these beauties, share them with friends, or simply enjoy the satisfaction of watching life multiply. Is it easy? Honestly, it’s moderately easy, especially if you’re a little patient. It’s a great project to build your propagation skills.
The Best Time to Start
Timing is everything in the garden, isn’t it? For Gaylussacia baccata, your best bet is late spring to early summer. This is when the plant is actively growing, and you can collect soft, new stems. These succulent shoots have the best chance of rooting readily. You can also have some success with semi-hardwood cuttings in late summer, but spring is generally more forgiving.
Supplies You’ll Need
Gathering your tools beforehand makes the whole process so much smoother. Here’s what I find essential:
- Sharp, clean pruning shears or a sharp knife: For making clean cuts.
- A good quality potting mix: I like a blend of equal parts peat moss (or coco coir), perlite, and a bit of compost. This ensures good drainage and aeration.
- Rooting hormone (optional but helpful): This can really give your cuttings a boost. Look for one that contains IBA.
- Small pots or seedling trays: With drainage holes, of course!
- A plastic bag or a clear propagation dome: To create a humid environment.
- Water: For misting and watering.
- Labels and a marker: So you don’t forget what you planted where!
Propagation Methods
Let’s get our hands dirty! While Black Huckleberry can be a bit finicky, these methods usually do the trick.
Stem Cuttings (The Most Reliable Method)
This is generally the way to go for Black Huckleberry.
- Select your stems: Look for healthy, current-season growth that is pliable but not too floppy. You want stems that are about 3-6 inches long.
- Take your cuttings: Using your clean shears, make a cut just below a leaf node. A leaf node is where a leaf stem attaches to the main stem; this is where roots tend to emerge. Remove the lower leaves, leaving just a few at the tip.
- Prepare the cuttings: If you’re using rooting hormone, dip the cut end into it.
- Plant your cuttings: Fill your chosen pots with your prepared potting mix. Make a small hole in the center with your finger or a pencil. Gently insert the cut end of the huckleberry cutting into the hole, and firm the soil gently around it.
- Water and cover: Water the soil thoroughly until it’s moist but not waterlogged. Lightly mist the leaves. Then, cover the pot with a clear plastic bag or place it under a propagation dome to maintain humidity. Make sure the leaves aren’t touching the plastic.
Division (If you have an established plant)
If you happen to have an older, established Black Huckleberry clump, you can divide it.
- Dig up the plant: In early spring, before growth really kicks off, carefully excavate the entire plant.
- Separate the clumps: Gently tease apart the root ball to separate it into smaller sections. Ensure each section has plenty of roots and at least one good growing shoot. You might need a sharp spade or knife to help separate stubborn sections.
- Replant: Immediately replant the divisions back into the ground or into pots filled with good soil, watering them well.
The “Secret Sauce” (Pro Tips)
Here are a few little tricks that really make a difference:
- Bottom Heat is Your Friend: For stem cuttings, placing your pots on a heat mat designed for plants can significantly speed up rooting. It mimics the warmth of spring soil and encourages root development.
- Don’t Drown Them! Overwatering is the quickest way to kill a cutting. The soil should be consistently moist, not soggy. Feel the soil with your finger; if the top inch feels dry, it’s time to water. If it feels wet, wait.
- Air Circulation is Key: While we want humidity for rooting, stagnant air can lead to fungal issues. Every day, lift the plastic bag or open the propagation dome for a few minutes to let fresh air in. This helps prevent rot and mildew.
Aftercare & Troubleshooting
Once you see roots forming (you can gently tug on a cutting; if there’s resistance, roots have likely formed), it’s time for a little extra care.
- Gradual Acclimation: Slowly start to reduce humidity. Remove the plastic bag for longer periods each day over a week or so.
- Potting Up: Once the new plants have a good root system and show signs of new growth, you can pot them up into slightly larger containers. Use a well-draining potting mix.
- Watering: Continue to keep their soil consistently moist. As they grow bigger, they’ll become more forgiving.
- Troubleshooting – Rot: The biggest enemy is rot. If you see your cuttings turning brown and mushy at the base, or developing black spots, it’s usually a sign of too much moisture and poor air circulation. Try to let the soil dry out a bit more between waterings and ensure good airflow. Unfortunately, sometimes rot is unstoppable. Don’t get discouraged; just try again!
Keep Growing!
Propagating Black Huckleberry is a wonderfully hands-on way to connect with nature and expand your garden. Be patient, pay attention to your cuttings, and try not to get too discouraged if not every single one makes it. That’s part of the adventure! Seeing those tiny roots develop and then a whole new plant emerge is pure magic. Happy growing, everyone!
Resource:
https://identify.plantnet.org/k-world-flora/species/Gaylussacia%20baccata%20(Wangenh.)%20K.Koch/data