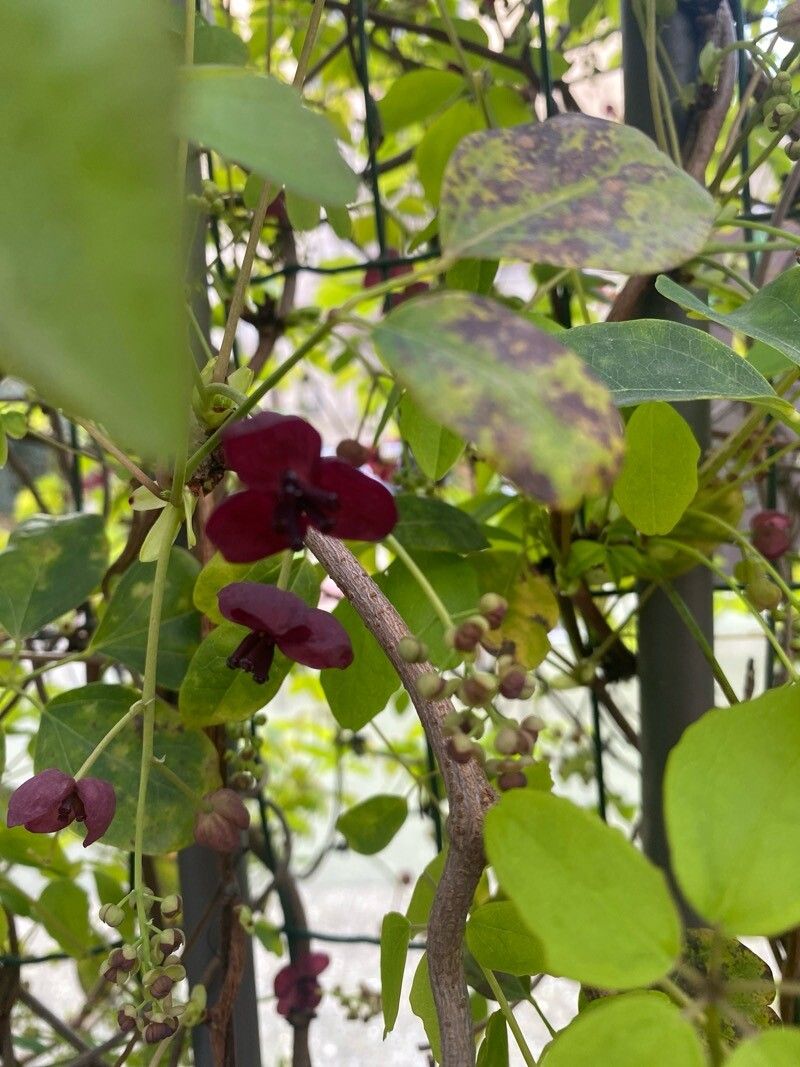
Oh, Akebia trifoliata! It’s one of those vines that just makes a garden feel a little more magical, isn’t it? Its lovely, hand-shaped leaves and fragrant, sometimes exotic-looking flowers can really add a touch of whimsy. And the best part? You can easily bring that magic into other parts of your garden, or even share it with friends. I’ve found propagating Akebia is a wonderfully rewarding endeavor, and while it might seem a little tricky at first, it’s actually quite forgiving. Even if you’re just dipping your toes into the world of plant propagation, I think you’ll find Akebia to be a good companion for your learning journey.
The Best Time to Start
For the highest success rate with Akebia trifoliata, I’ve found that late spring to early summer is absolutely prime time. This is when the plant is actively growing, and the stems have matured slightly but are not yet woody. Think of the growth that’s happened since the last hard frost. That slightly soft, yet firm, stem material is your golden ticket. Trying to propagate too early in the spring, when everything is still quite tender, can be a challenge. Waiting too long until the heat of mid-summer can also stress the cuttings.
Supplies You’ll Need
Gathering your tools beforehand makes the whole process so much smoother. Here’s what you’ll likely want on hand:
- Sharp pruning shears or a clean, sharp knife: For making clean cuts.
- Rooting hormone (powder or gel): This isn’t strictly mandatory for Akebia, but it can give your cuttings a significant boost.
- Small pots or seed trays: Aim for something around 4-6 inches in size.
- Well-draining potting mix: A good blend of peat moss, perlite, and a little compost works wonders. You can also use a dedicated seed-starting mix.
- Small plastic bags or a propagator lid: To create a humid environment.
- Watering can with a fine spray: For gentle watering.
- Labels and a pen: So you don’t forget what you planted where!
Propagation Methods: My Go-To Approach
While Akebia can be propagated in a few ways, stem cuttings are my absolute favorite and usually yield the best results for me. It’s straightforward and incredibly satisfying to see those tiny roots appear.
- Take Your Cuttings: On a slightly overcast day (less stress for the parent plant!), select healthy, vigorous stems from your Akebia. Look for stems that are firm but not yet woody – you want that pencil-thickness. Using your clean, sharp pruning shears or knife, take cuttings that are about 6-8 inches long. Make a clean cut just below a leaf node (where a leaf attaches to the stem). This node is where roots are most likely to form. Remove the lower leaves from the cutting, leaving just a few at the very top.
- Prepare the Cuttings: Dip the cut end of each stem into rooting hormone. Gently tap off any excess. This is like giving your cutting a little head start in the root development game.
- Plant Your Cuttings: Fill your small pots with your prepared, moistened potting mix. Make a pilot hole in the center of the soil with your finger or a pencil. Insert the cut end of the Akebia cutting into the hole, ensuring that the rooting hormone-coated end is well-covered by soil. Gently firm the soil around the stem.
- Create a Humid Environment: This is crucial! Water the soil gently until it’s evenly moist but not waterlogged. Then, carefully place your potted cuttings into a clear plastic bag, making sure the leaves of the cuttings don’t touch the sides of the bag. You can loop the bag over the rim of the pot or use stakes to keep it open. Alternatively, use a propagator lid if you have one. Place the pots in a bright location but out of direct sunlight.
The “Secret Sauce” (Pro Tips)
After years of playing in the dirt, I’ve picked up a few little tricks that make a world of difference.
- Don’t let the leaves touch the water. Whether you’re doing water propagation or misting your cuttings, condensation is your friend, but standing water on leaves can lead to rot. If you notice leaves wilting and they are touching the soil or the sides of the plastic, gently prune them or adjust your setup.
- Bottom heat is a game-changer. If you have a heat mat designed for seed starting, placing your pots on it can significantly speed up root development. Akebia seems to love a little warmth from below, encouraging those roots to emerge much faster. Just make sure the mat is on a low setting.
- Wipe condensation daily. While you want humidity, a little gentle “airing out” can prevent fungal issues. Once a day, open the plastic bag or propagator lid for a few minutes to allow for some air exchange. It’s like giving those little cuttings a breath of fresh air.
Aftercare & Troubleshooting
Once your cuttings have been planted, patience is key! After about 4-6 weeks, gently tug on a cutting. If you feel slight resistance, it means roots have formed! You can also often see roots peeking out from the drainage holes. At this point, you can carefully transplant the rooted cuttings into their own individual pots. Continue to keep them well-watered and in bright, indirect light. Once they’ve established themselves in their new pots and are showing good top growth, you can begin to harden them off before planting them in their final garden location.
Occasionally, things don’t go as planned. If you notice your cuttings turning mushy and black, that’s usually a sign of rot. This can happen from too much moisture, poor air circulation, or infected cuttings. If you see this, it’s best to discard those cuttings and start fresh, paying close attention to drainage and air flow. Wilting is also a concern, but if it’s accompanied by healthy green leaves and the soil is moist, it might just be a temporary reaction to being moved.
A Little Encouragement
Propagating Akebia is a wonderful way to connect with your garden and create more beauty. Don’t be discouraged if your first attempt isn’t perfect. Gardening, and propagation especially, is a journey of learning and a delightful experiment. Enjoy the process, celebrate each tiny root that forms, and soon you’ll have a whole new Akebia to admire. Happy gardening!
Resource:
https://identify.plantnet.org/k-world-flora/species/Akebia%20trifoliata%20(Thunb.)%20Koidz./data