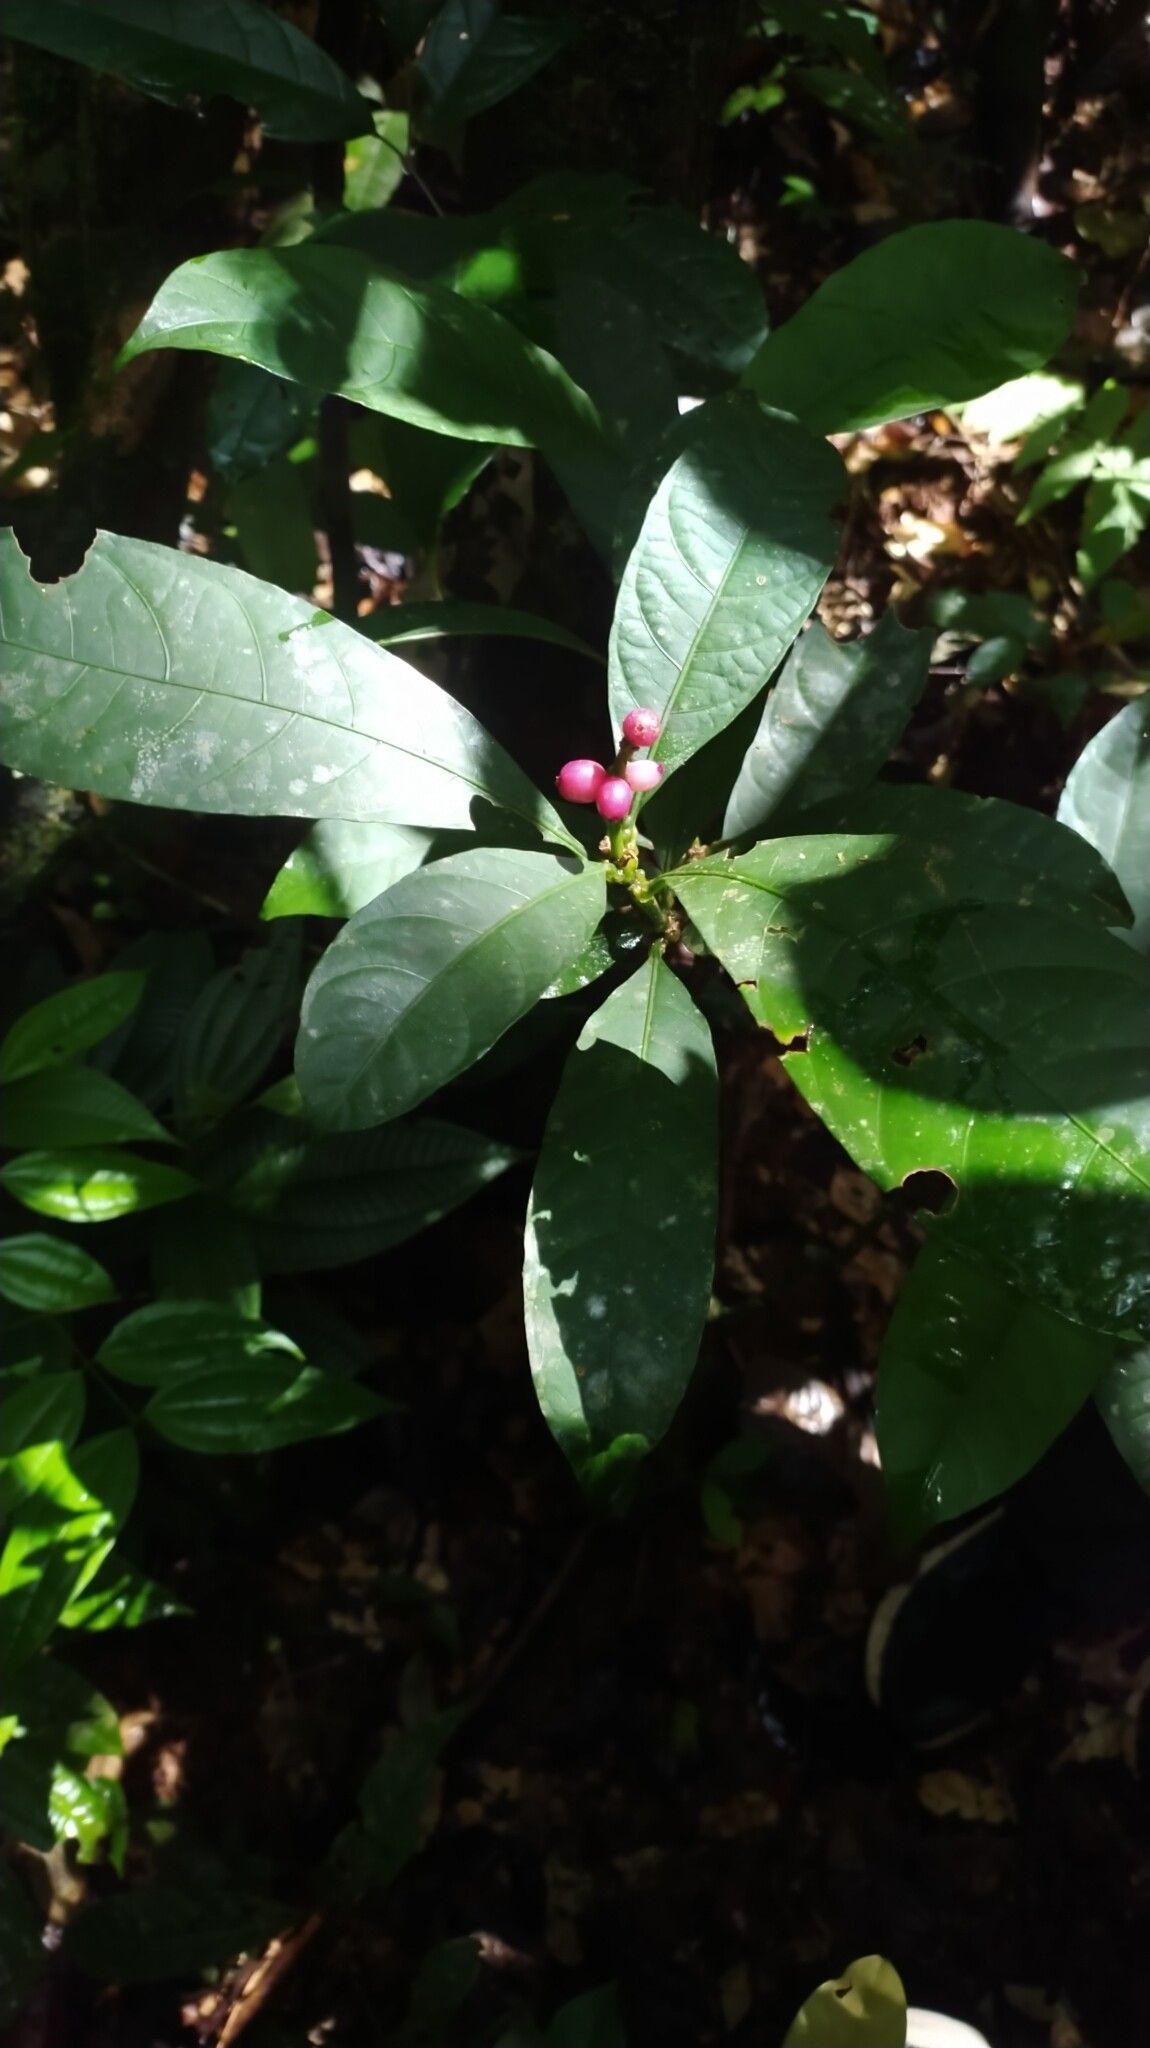
Oh, have you met Carapichea adinantha? If not, pull up a chair! This gorgeous plant, with its lush foliage and often delicate blooms, is such a delight to have in the garden or on a sunny windowsill. Growing more of them is incredibly satisfying, like sharing a little piece of your green joy with the world. And guess what? While it might seem a tad intimidating at first, propagating Carapichea adinantha is a wonderfully achievable project, even for those of you just starting to dip your toes into the world of plant propagation.
The Sweet Spot: When to Get Your Hands Dirty
For the best chance of success with Carapichea adinantha, I always reach for my pruners in late spring or early summer. This is when the plant is actively growing and has plenty of energy to put into developing new roots. Look for stems that are firm and have matured a bit, but aren’t yet woody. Think of it as selecting the “best bits” during its prime growing season!
Your Propagation Toolkit
Here’s what I like to have on hand before I start:
- Sharp, clean pruning shears or a sharp knife: For making clean cuts that heal well.
- A good quality rooting hormone: This isn’t strictly necessary, but it really gives your cuttings a helpful boost.
- Well-draining potting mix: I often use a mix of perlite and peat moss or coco coir for excellent aeration and moisture retention. A succulent or cactus mix also works well.
- Small pots or propagation trays: Clean ones are key to preventing disease.
- A clear plastic bag or propagation dome: This helps create the humid environment cuttings need.
- Water: For keeping things hydrated.
- Optional: A heat mat: This can significantly speed up root development.
Bringing New Life: Stem Cuttings
This is my go-to method for Carapichea adinantha. It’s straightforward and yields fantastic results.
- Select your cuttings: Take a healthy stem from your mature plant. You want pieces that are about 4-6 inches long. Make your cut just below a leaf node – that little bump where a leaf attaches to the stem.
- Prepare the cuttings: Gently remove the lower leaves, leaving just a few at the top. This prevents them from rotting in the soil and allows the plant to focus energy on rooting. If the leaves are quite large, you can even cut them in half to reduce water loss.
- Apply rooting hormone: Dip the cut end of the stem into your rooting hormone. Tap off any excess.
- Plant your cuttings: Fill your small pots or trays with your prepared potting mix. Make a small hole with your finger or a pencil, and gently insert the cutting, ensuring the leaf nodes are below the soil line. Firm the soil around the stem.
- Water and cover: Give the soil a light watering. Then, cover the pot with a clear plastic bag or place it under a propagation dome. This creates a mini-greenhouse effect, keeping the humidity high. If using a bag, you can use skewers to prop it up so it doesn’t touch the leaves.
The “Secret Sauce”: My Insider Tips
- Don’t let those leaves touch the water! If you’re doing water propagation (which I sometimes do as an intermediate step before soil), make sure the leaves are well above the water line. Any submerged leaf will quickly turn mushy and invite rot, which is incredibly disheartening.
- Bottom heat is your best friend. Carapichea adinantha absolutely loves a bit of warmth from below. Placing your pots on a gentle heat mat can dramatically speed up the rooting process. It mimics the warmth of a greenhouse and encourages those root initials to form.
- Patience, patience, patience! Sometimes, it feels like nothing is happening. Resist the urge to constantly dig them up to check for roots. I usually wait at least 3-4 weeks, and often longer, before I even think about gently tugging on a cutting to see if it has resistance.
Nurturing Your New Sprouts & What to Watch For
Once you start to see little roots emerging from the drainage holes or feel a firm resistance when you gently tug, your cuttings have officially graduated!
- Acclimation is key. Gradually remove the plastic bag or dome over a few days, allowing the new plant to adjust to normal humidity levels.
- Keep the soil consistently moist but not soggy. Overwatering is the quickest way to spell disaster at this stage. Let the top inch of soil dry out a bit between waterings.
- Bright, indirect light is ideal. Avoid harsh, direct sunlight for your delicate new plants.
The most common sign of trouble is rot. If your cutting turns black and mushy, or if leaves start dropping off en masse without any signs of rooting, it’s usually a sign of too much moisture and not enough air circulation. Sometimes, a humid environment can be too humid and lead to fungal issues. If you see any signs of mold, remove the affected cutting and increase air circulation.
Don’t be discouraged if not every single cutting takes. Propagation is always a bit of an experiment, and sometimes the plant just doesn’t cooperate. But the sheer joy of seeing those tiny roots emerge and watching a new plant unfurl its first leaves under your care? That’s pure gardening magic. So, grab your pruners, get your hands dirty, and happy propagating!
Resource: